
Diver with Longquan Ware (Image credits to ISEAS–Yusof Ishak Institute)
Careful recovery (Image credits to ISEAS–Yusof Ishak Institute)
Brown Ware (Image credits to ISEAS–Yusof Ishak Institute)
Bowl with Chinese characters (Image credits to ISEAS–Yusof Ishak Institute)
Sorting artefacts on deck (Image credits to ISEAS–Yusof Ishak Institute)
Sorting Finds (Image credits to ISEAS–Yusof Ishak Institute)
Studying a copper-alloy bracelet (Image credits to ISEAS–Yusof Ishak Institute)
A cannon from the site of Shipwreck 2 is lifted on board (Image credits to ISEAS–Yusof Ishak Institute)
Small blue-and-white cups from Shipwreck 2 (Image credits to ISEAS–Yusof Ishak Institute)
Longquan ware from Shipwreck 1 (Image credits to ISEAS–Yusof Ishak Institute)
Retrieval of finds. (Image credits to ISEAS–Yusof Ishak Institute)
Retrieval of Finds (Image credits to ISEAS–Yusof Ishak Institute)
Porcelain snuff bottles from SW2 (Image credits to ISEAS–Yusof Ishak Institute)
Qingbai figurine of a horse with a side-saddle rider from SW2 (Image credits to ISEAS–Yusof Ishak Institute)
Rabbit head handle from Shipwreck 2 (Image credits to ISEAS–Yusof Ishak Institute)
Range of artefacts from Shipwreck 2 (Image credits to ISEAS–Yusof Ishak Institute)
Octagonal serving dishes in perfect condition from SW2 (Image credits to ISEAS–Yusof Ishak Institute)
Makara figurine from SW2 (Image credits to ISEAS–Yusof Ishak Institute)
Lychee knob on a flat lid from SW2 (Image credits to ISEAS–Yusof Ishak Institute)
Figurine of happy Buddha from SW2 (Image credits to ISEAS–Yusof Ishak Institute)
Dragon on a storage jar shard from SW2 (Image credits to ISEAS–Yusof Ishak Institute)
Earthenware duck from SW (Image credits to ISEAS–Yusof Ishak Institute)
Figurine of boy of good fortune from SW2 (Image credits to ISEAS–Yusof Ishak Institute)
Figurine of Guanyin head from SW2 (Image credits to ISEAS–Yusof Ishak Institute)
Dog figurine from SW2 (Image credits to ISEAS–Yusof Ishak Institute)
Blue-and-white spiral decorated cup from SW2 and Cafe-au-lait cup (Image credits to ISEAS–Yusof Ishak Institute)
Blue-and-white ginger jar lid from SW2 (Image credits to ISEAS–Yusof Ishak Institute)
A regal Chinese couple holding fans from SW2 (Image credits to ISEAS–Yusof Ishak Institute)
Large Longquan dish with an everted foliated rim from SW1 (Image credits to ISEAS–Yusof Ishak Institute)
Large Longquan dish with impressed decoration from SW1 (Image credits to ISEAS–Yusof Ishak Institute)
Large Longquan dish with impressed lotus decoration from SW1 (Image credits to ISEAS–Yusof Ishak Institute)
Nearly intact blue-and-white bowl with alternating lotus and scroll decoration from SW1 (Image credits to ISEAS–Yusof Ishak Institute)
Large Longquan dish with a plain rim from SW1 (Image credits to ISEAS–Yusof Ishak Institute)
Large Longquan bowl from SW1 (Image credits to ISEAS–Yusof Ishak Institute)
Large blue-and-white jar shard from SW1 (Image credits to ISEAS–Yusof Ishak Institute)
Large blue-and-white bowl with peony decoration from SW1 (Image credits to ISEAS–Yusof Ishak Institute)
Small Longquan jarlet from SW1 (Image credits to ISEAS–Yusof Ishak Institute)
Blue and white bottle from SW1 (Image credits to ISEAS–Yusof Ishak Institute)
Blue-and-white stem-bowl shard with cross-vajra decoration from SW1 (Image credits to ISEAS–Yusof Ishak Institute)
Blue-and-white stem-bowl shard from SW1 (Image credits to ISEAS–Yusof Ishak Institute)
Small and fine blue-and-white dish with lobed rim from SW1 (Image credits to ISEAS–Yusof Ishak Institute)
Small Longquan bowl from SW1 (Image credits to ISEAS–Yusof Ishak Institute)
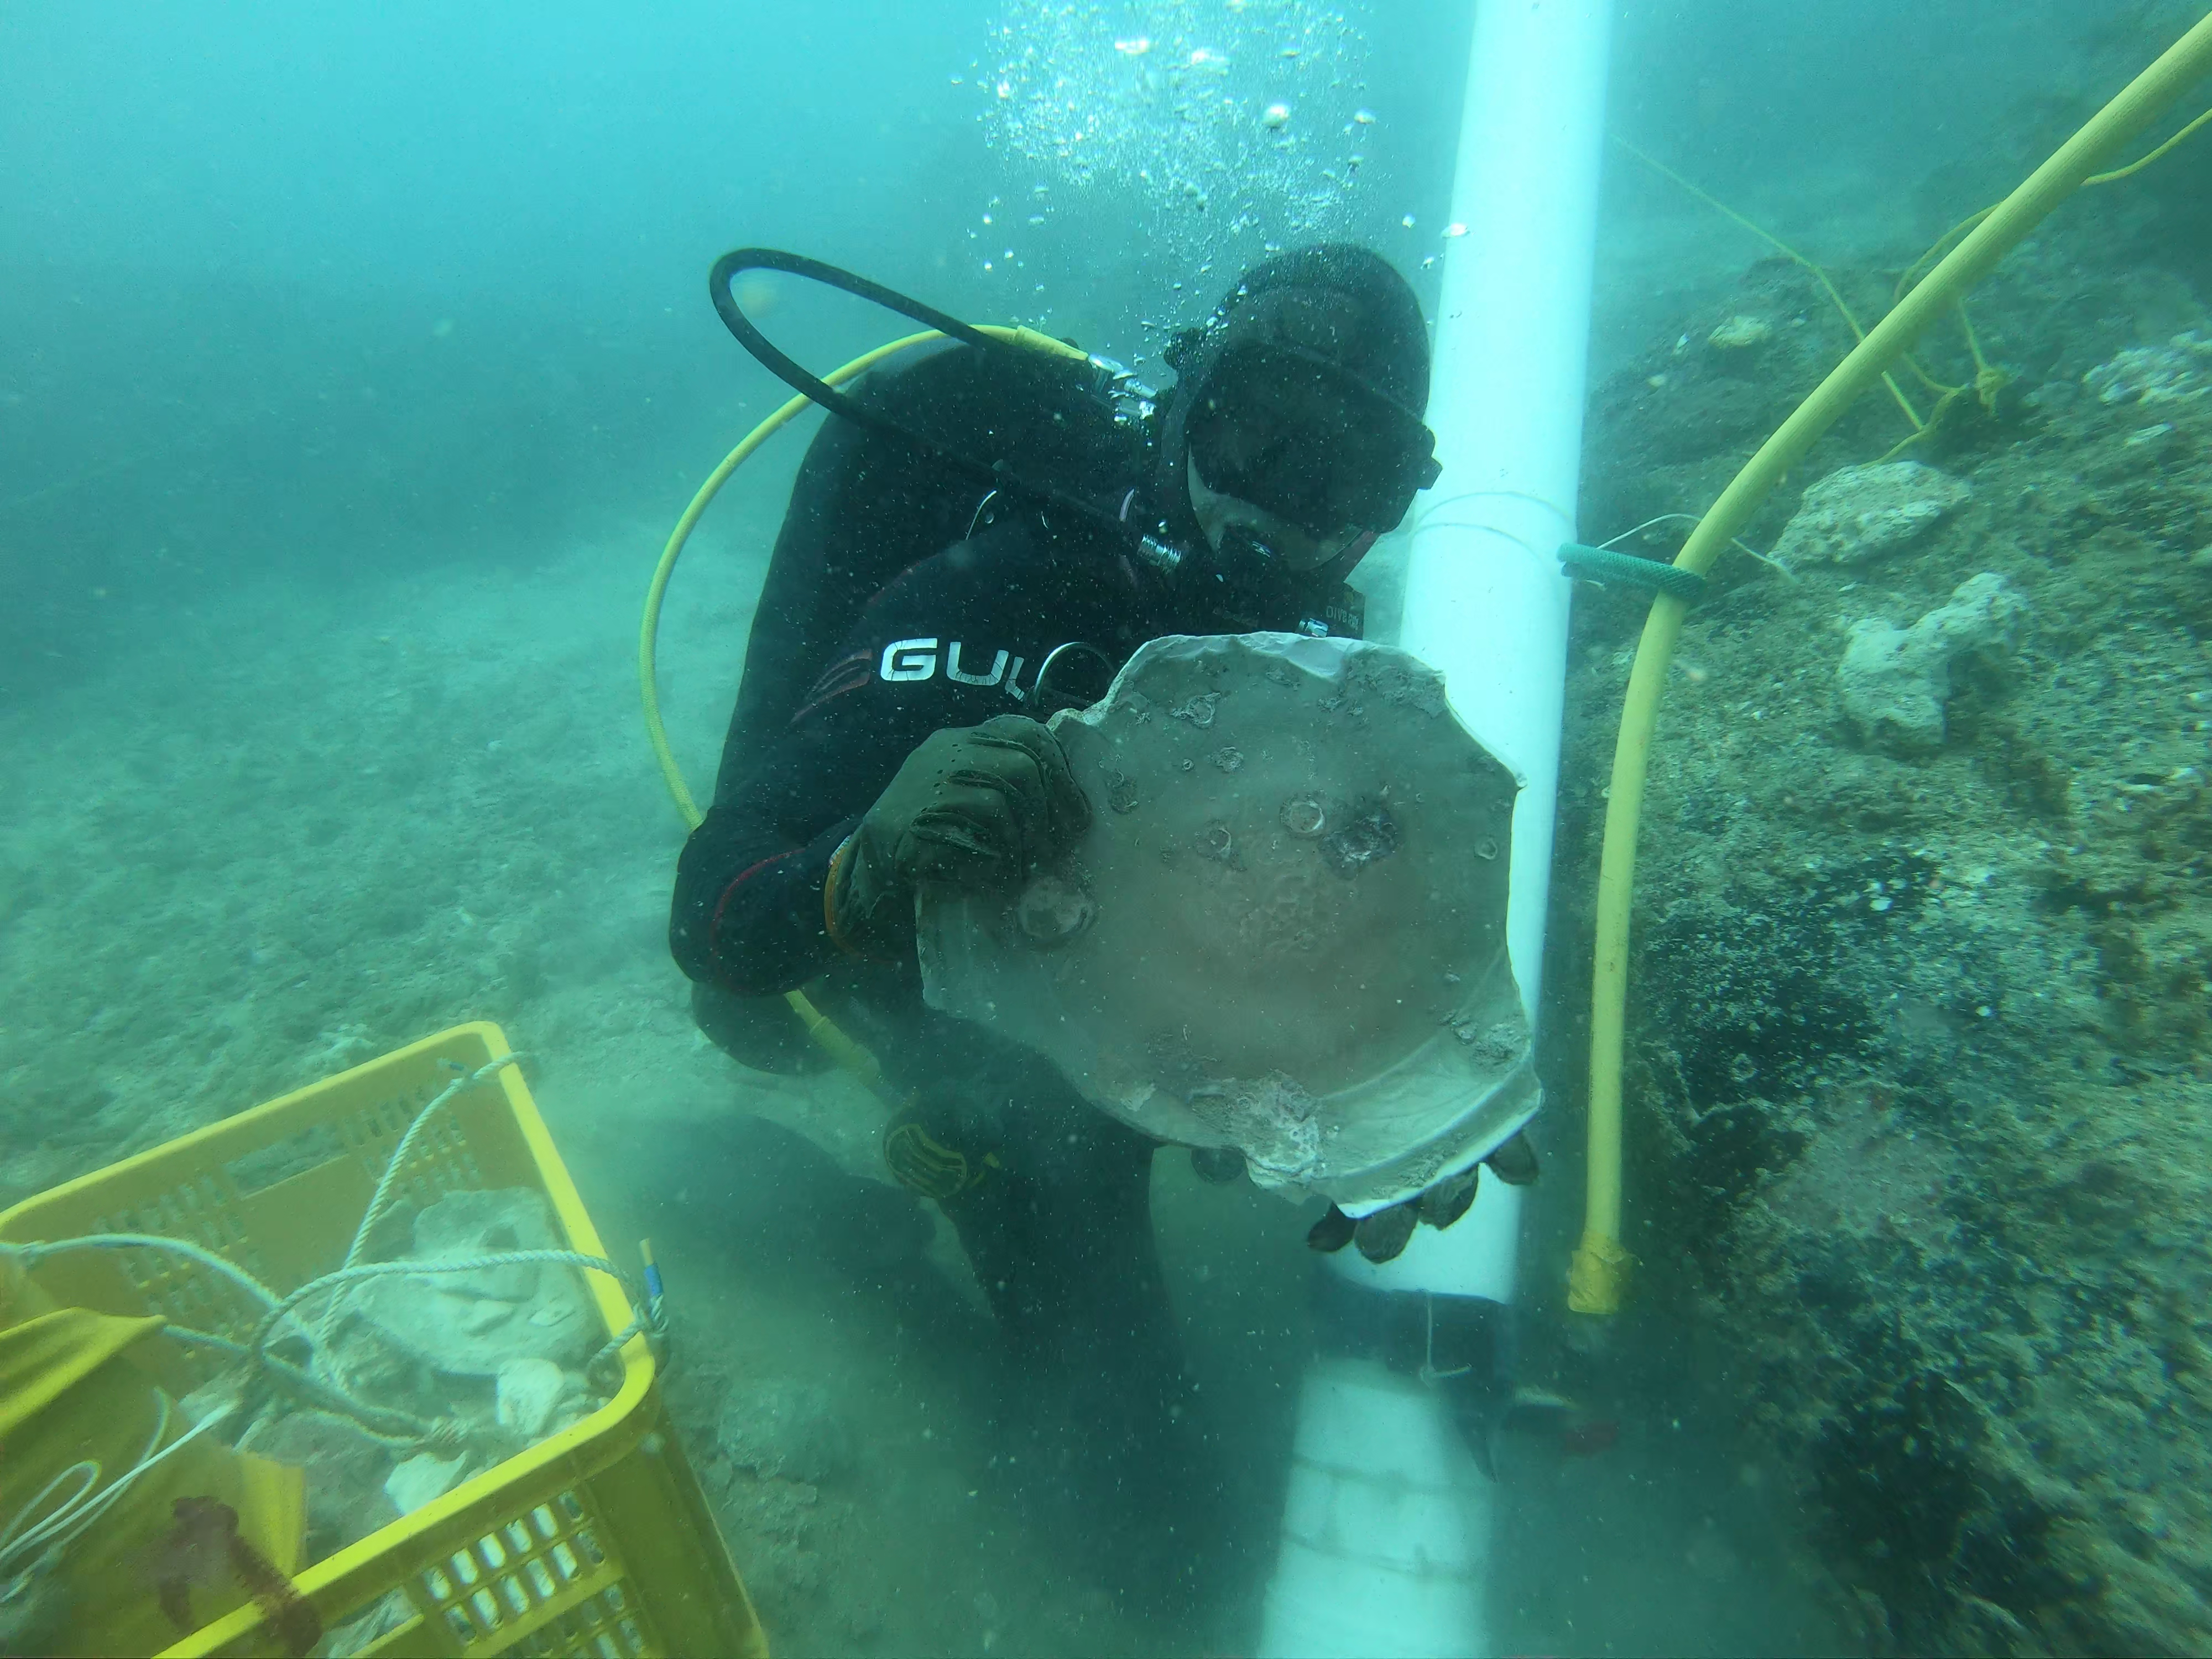
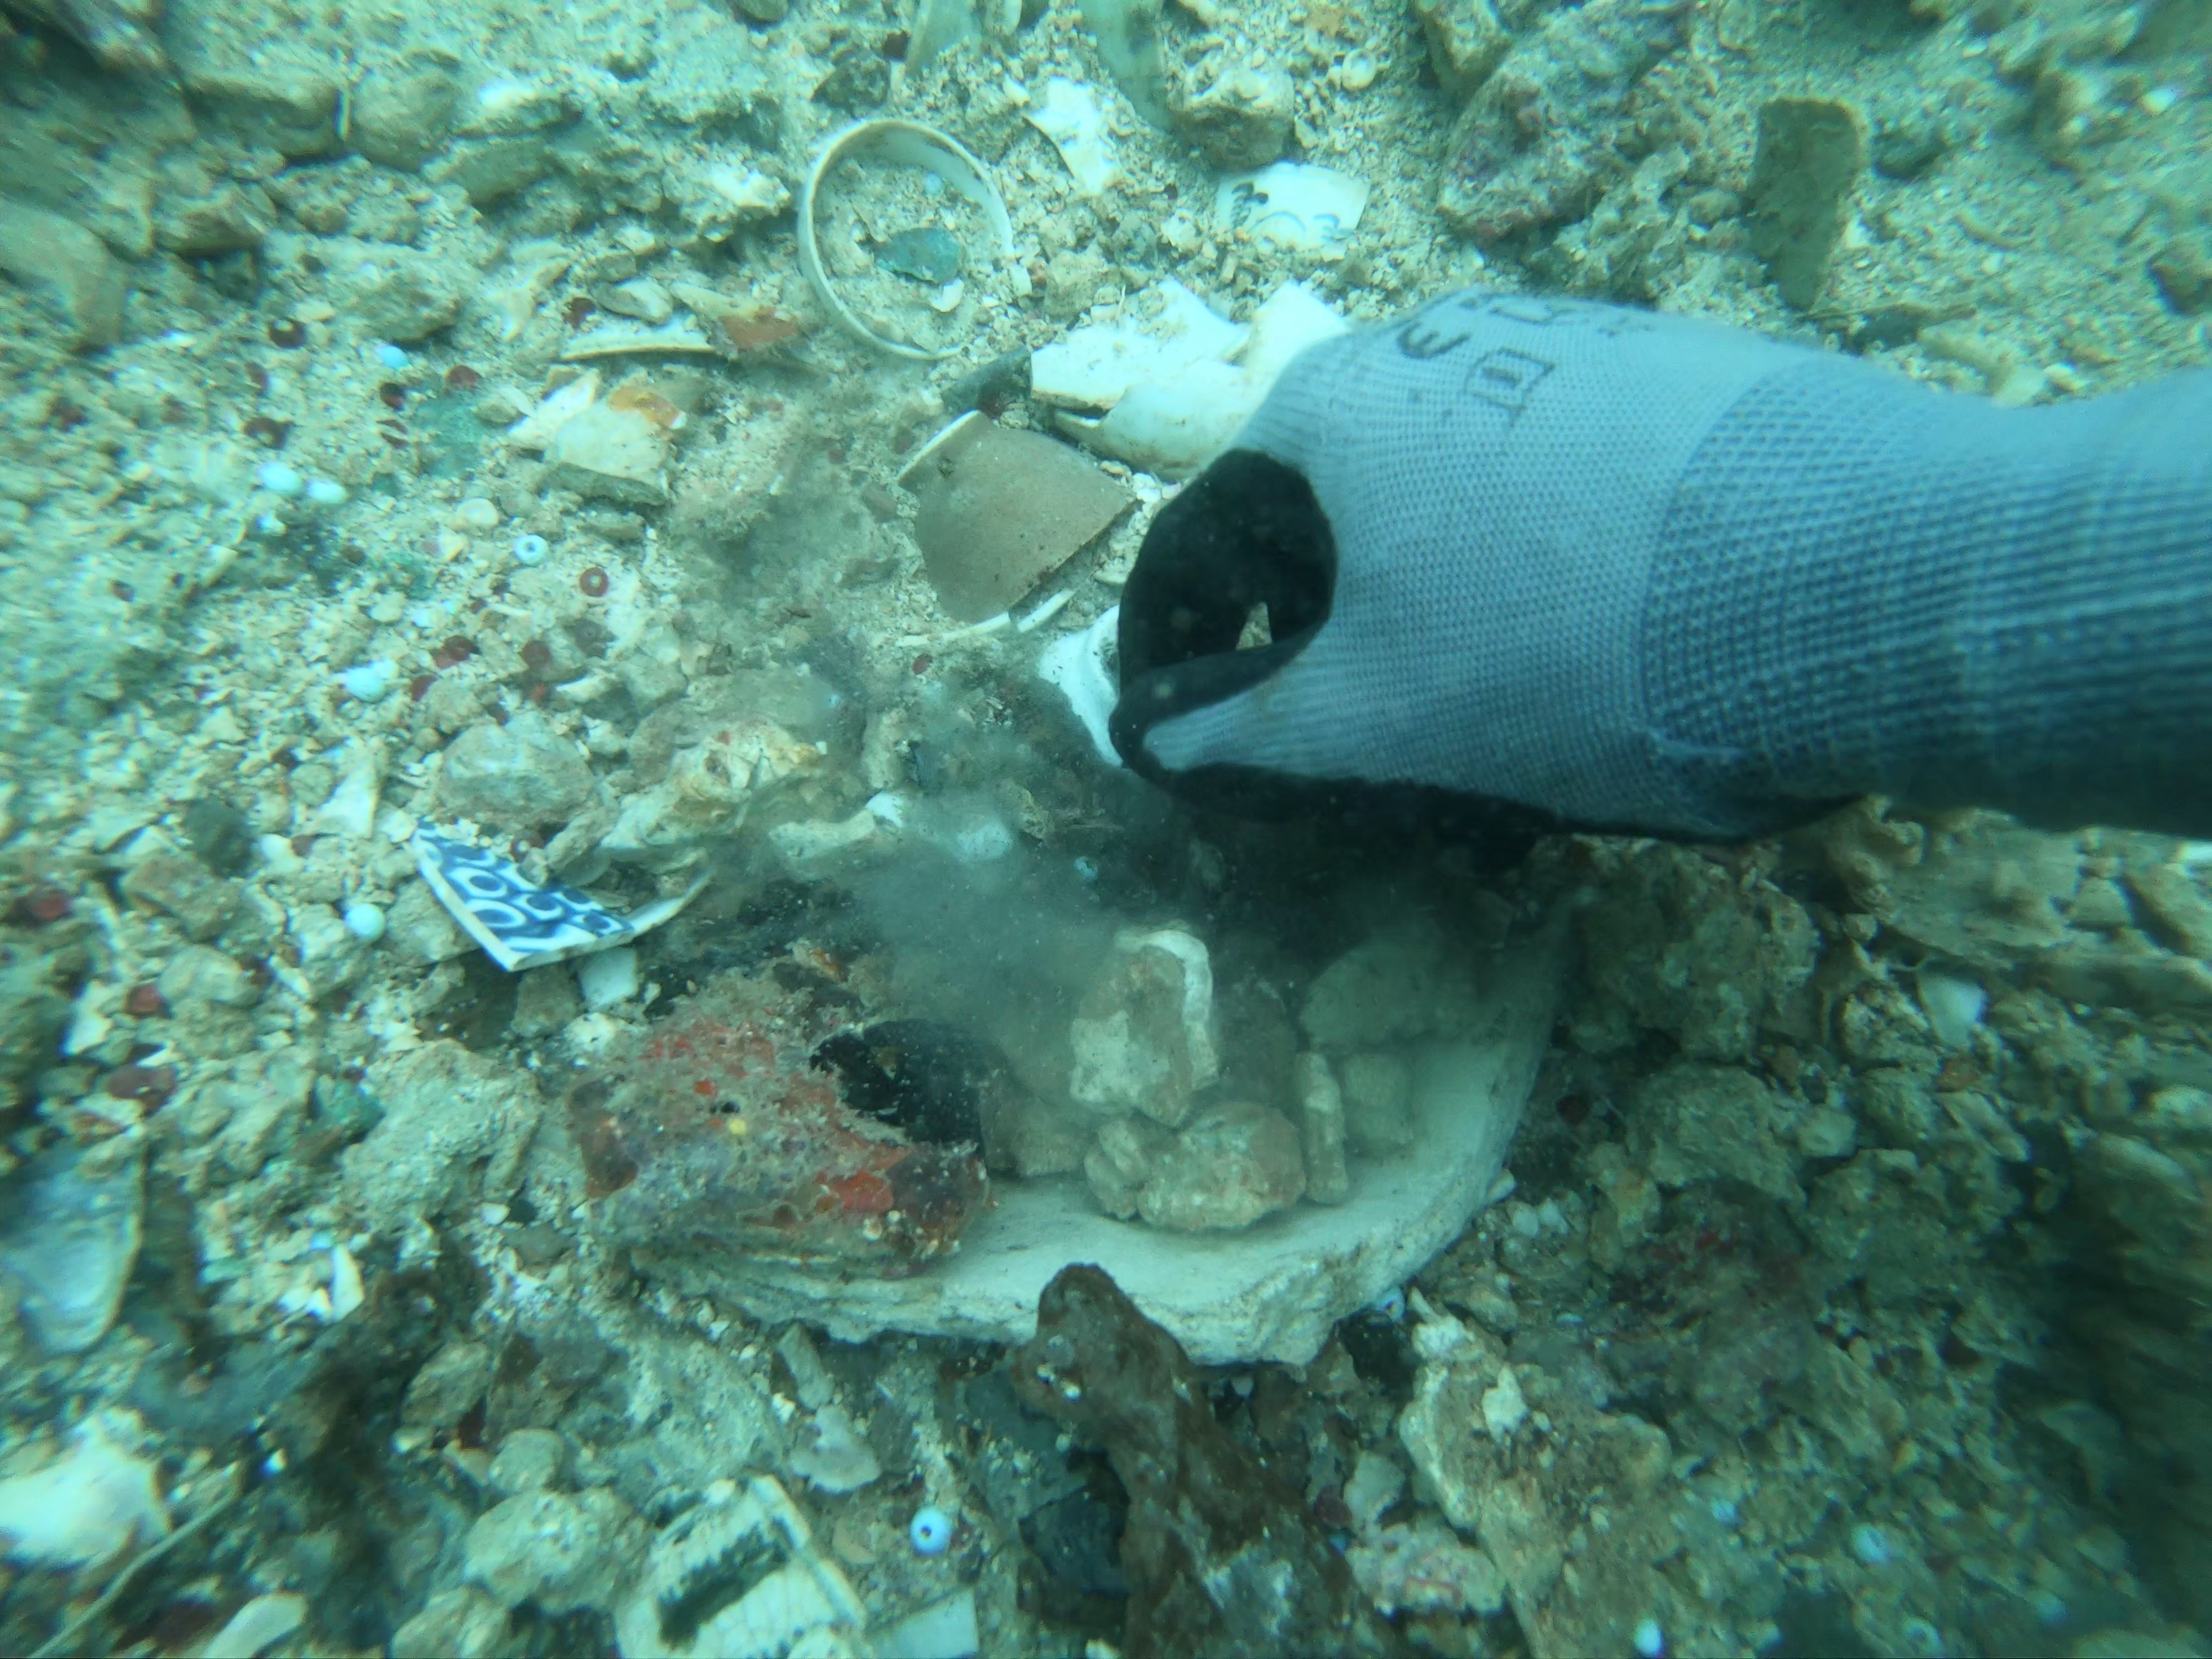
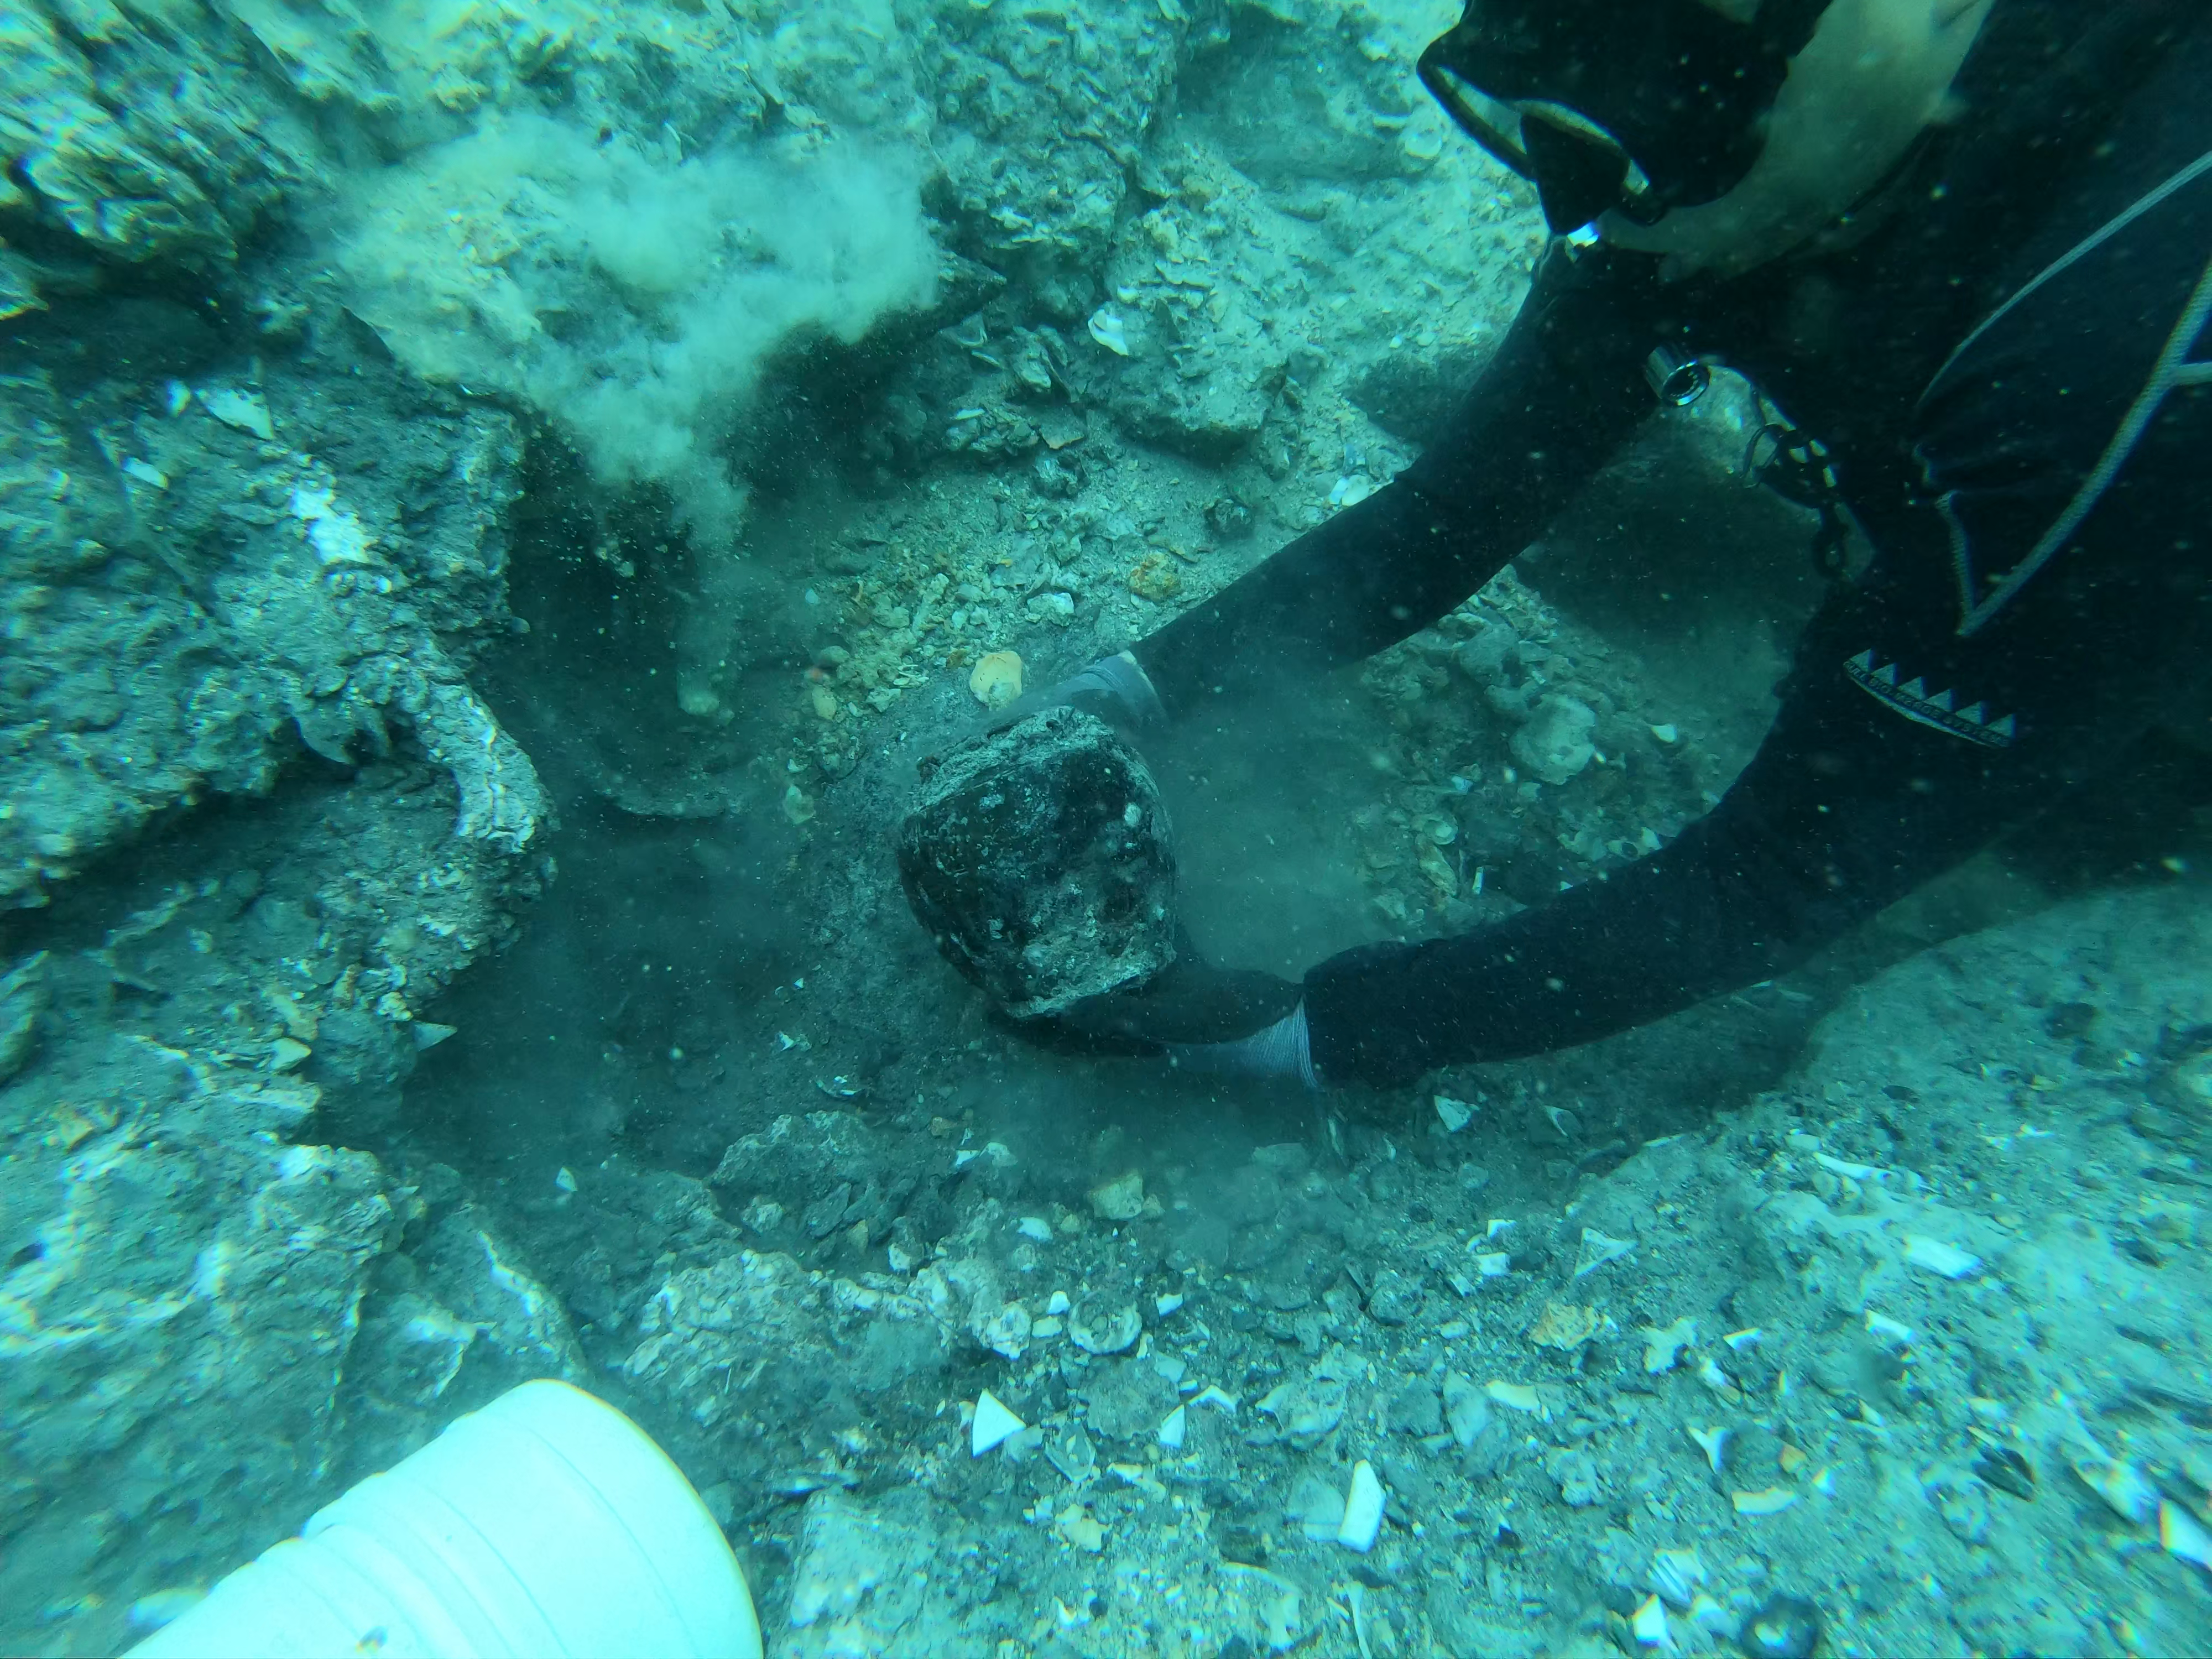
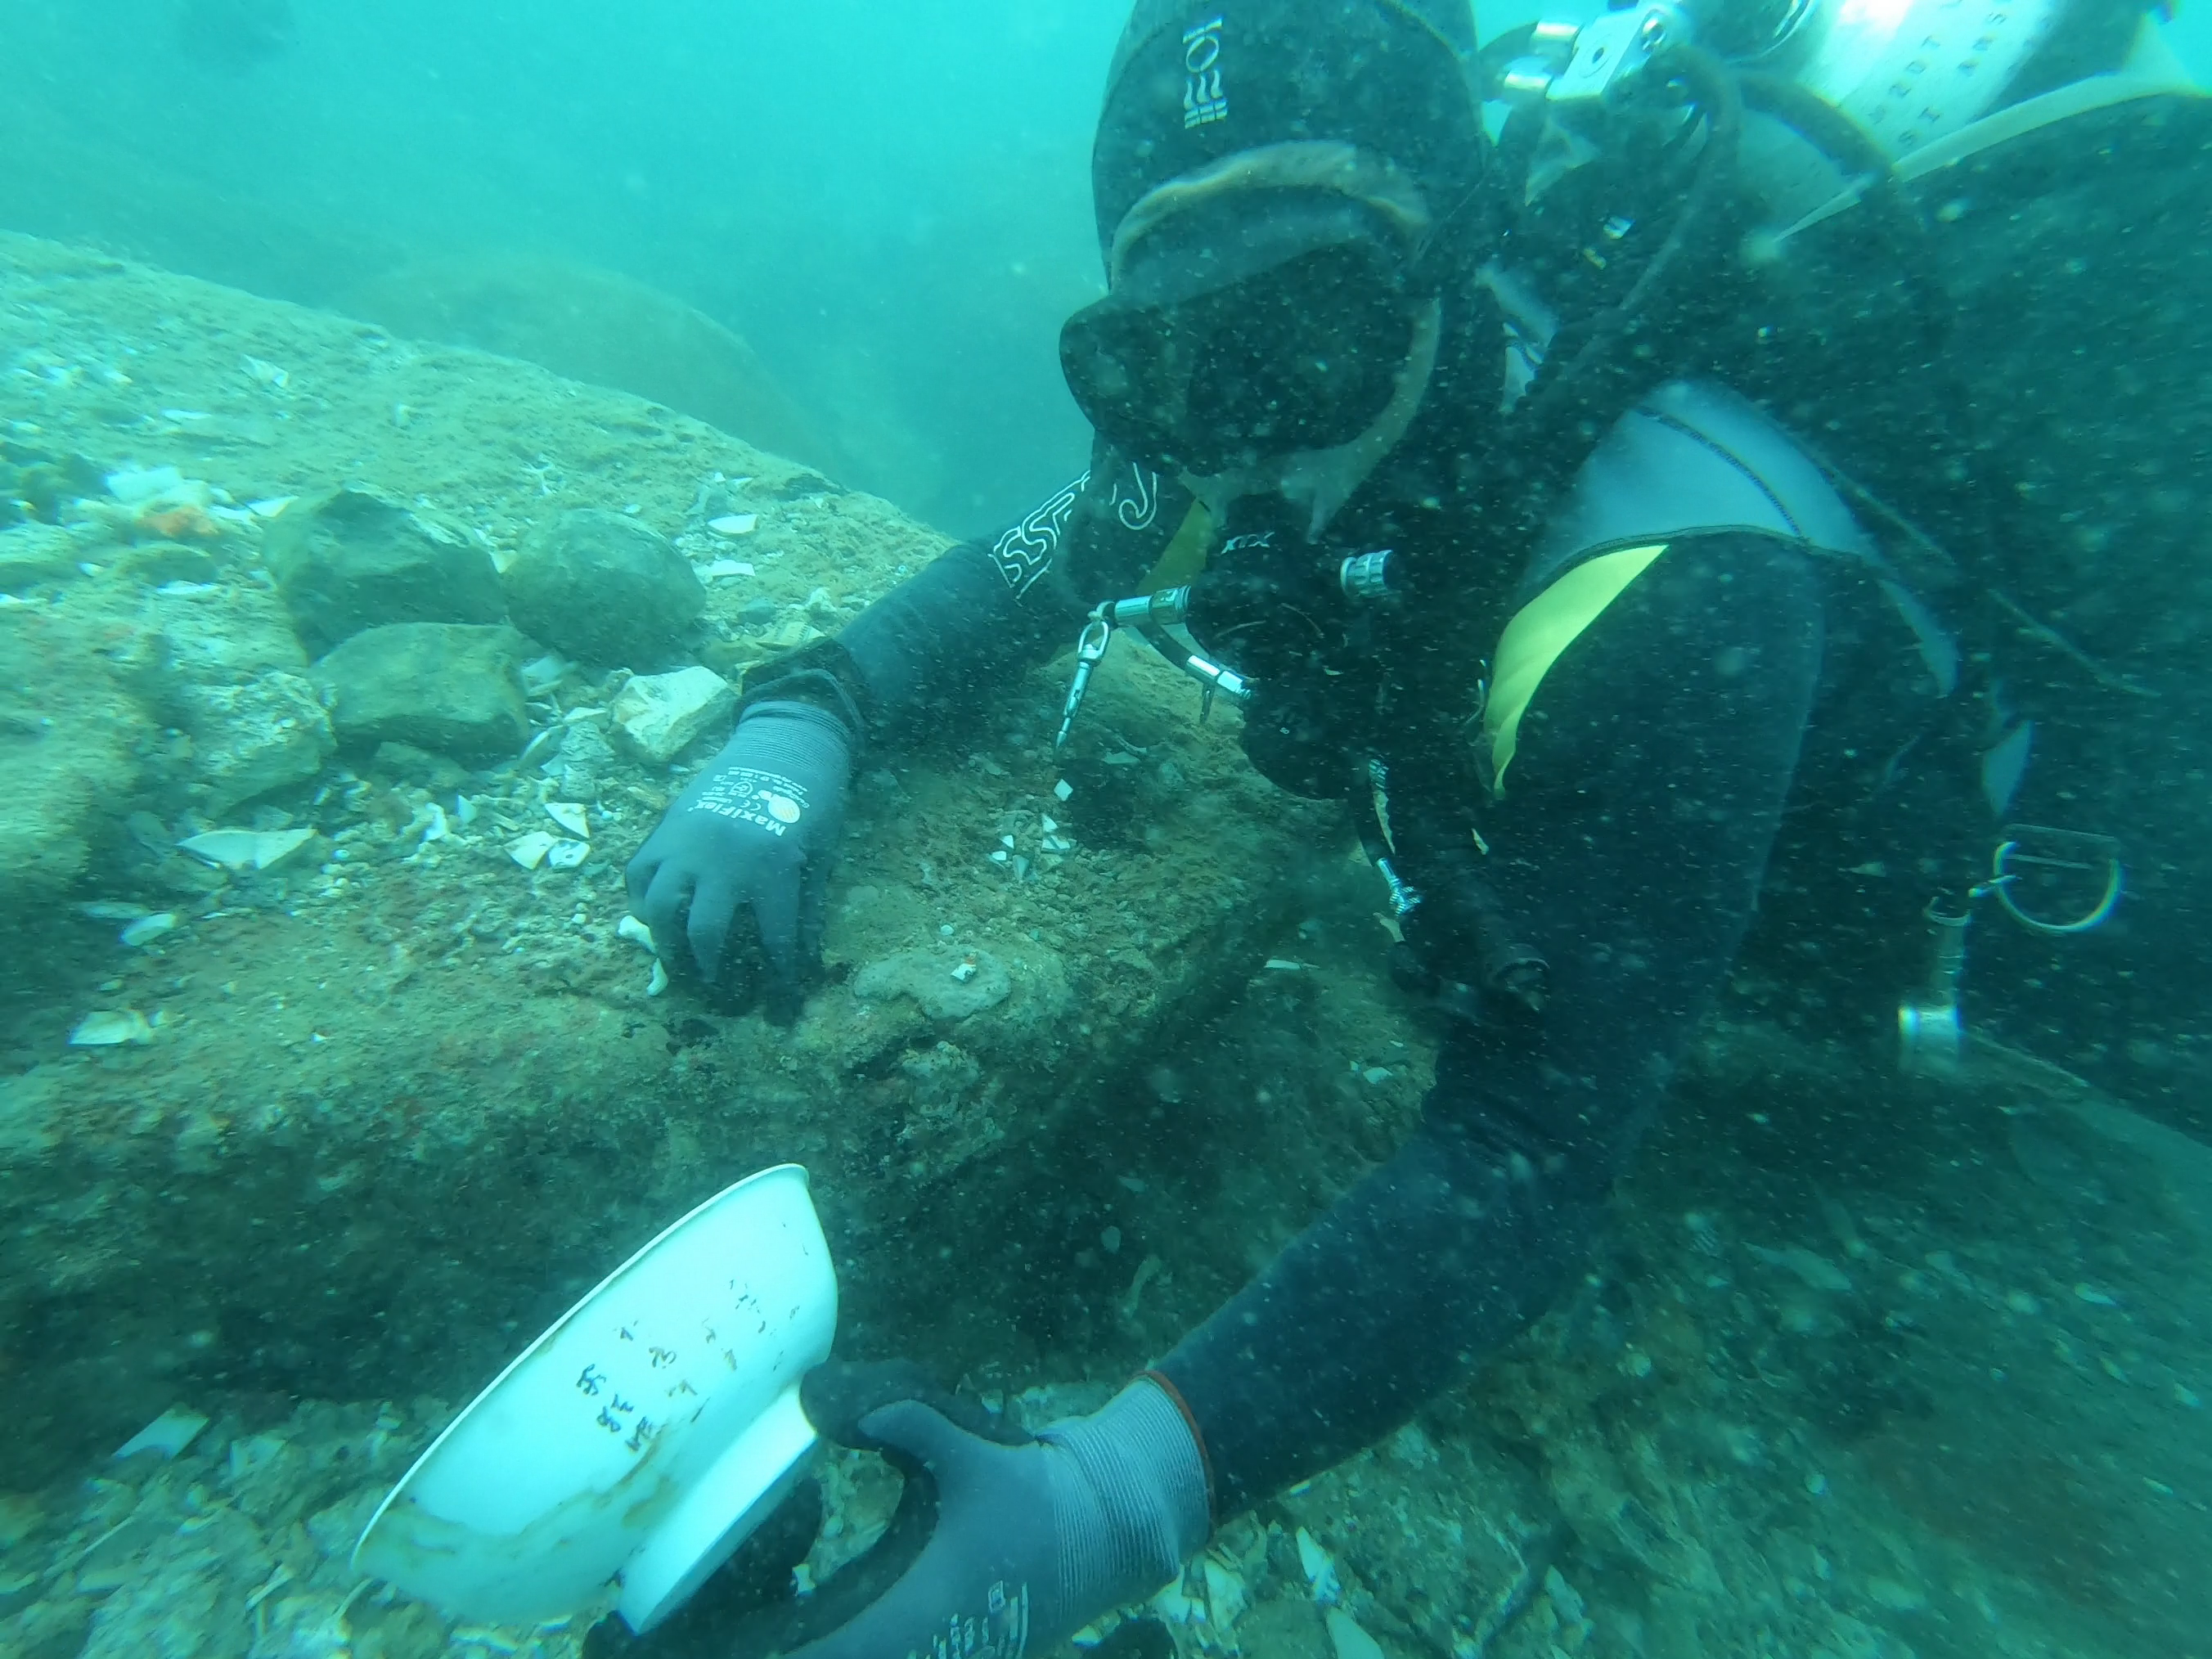
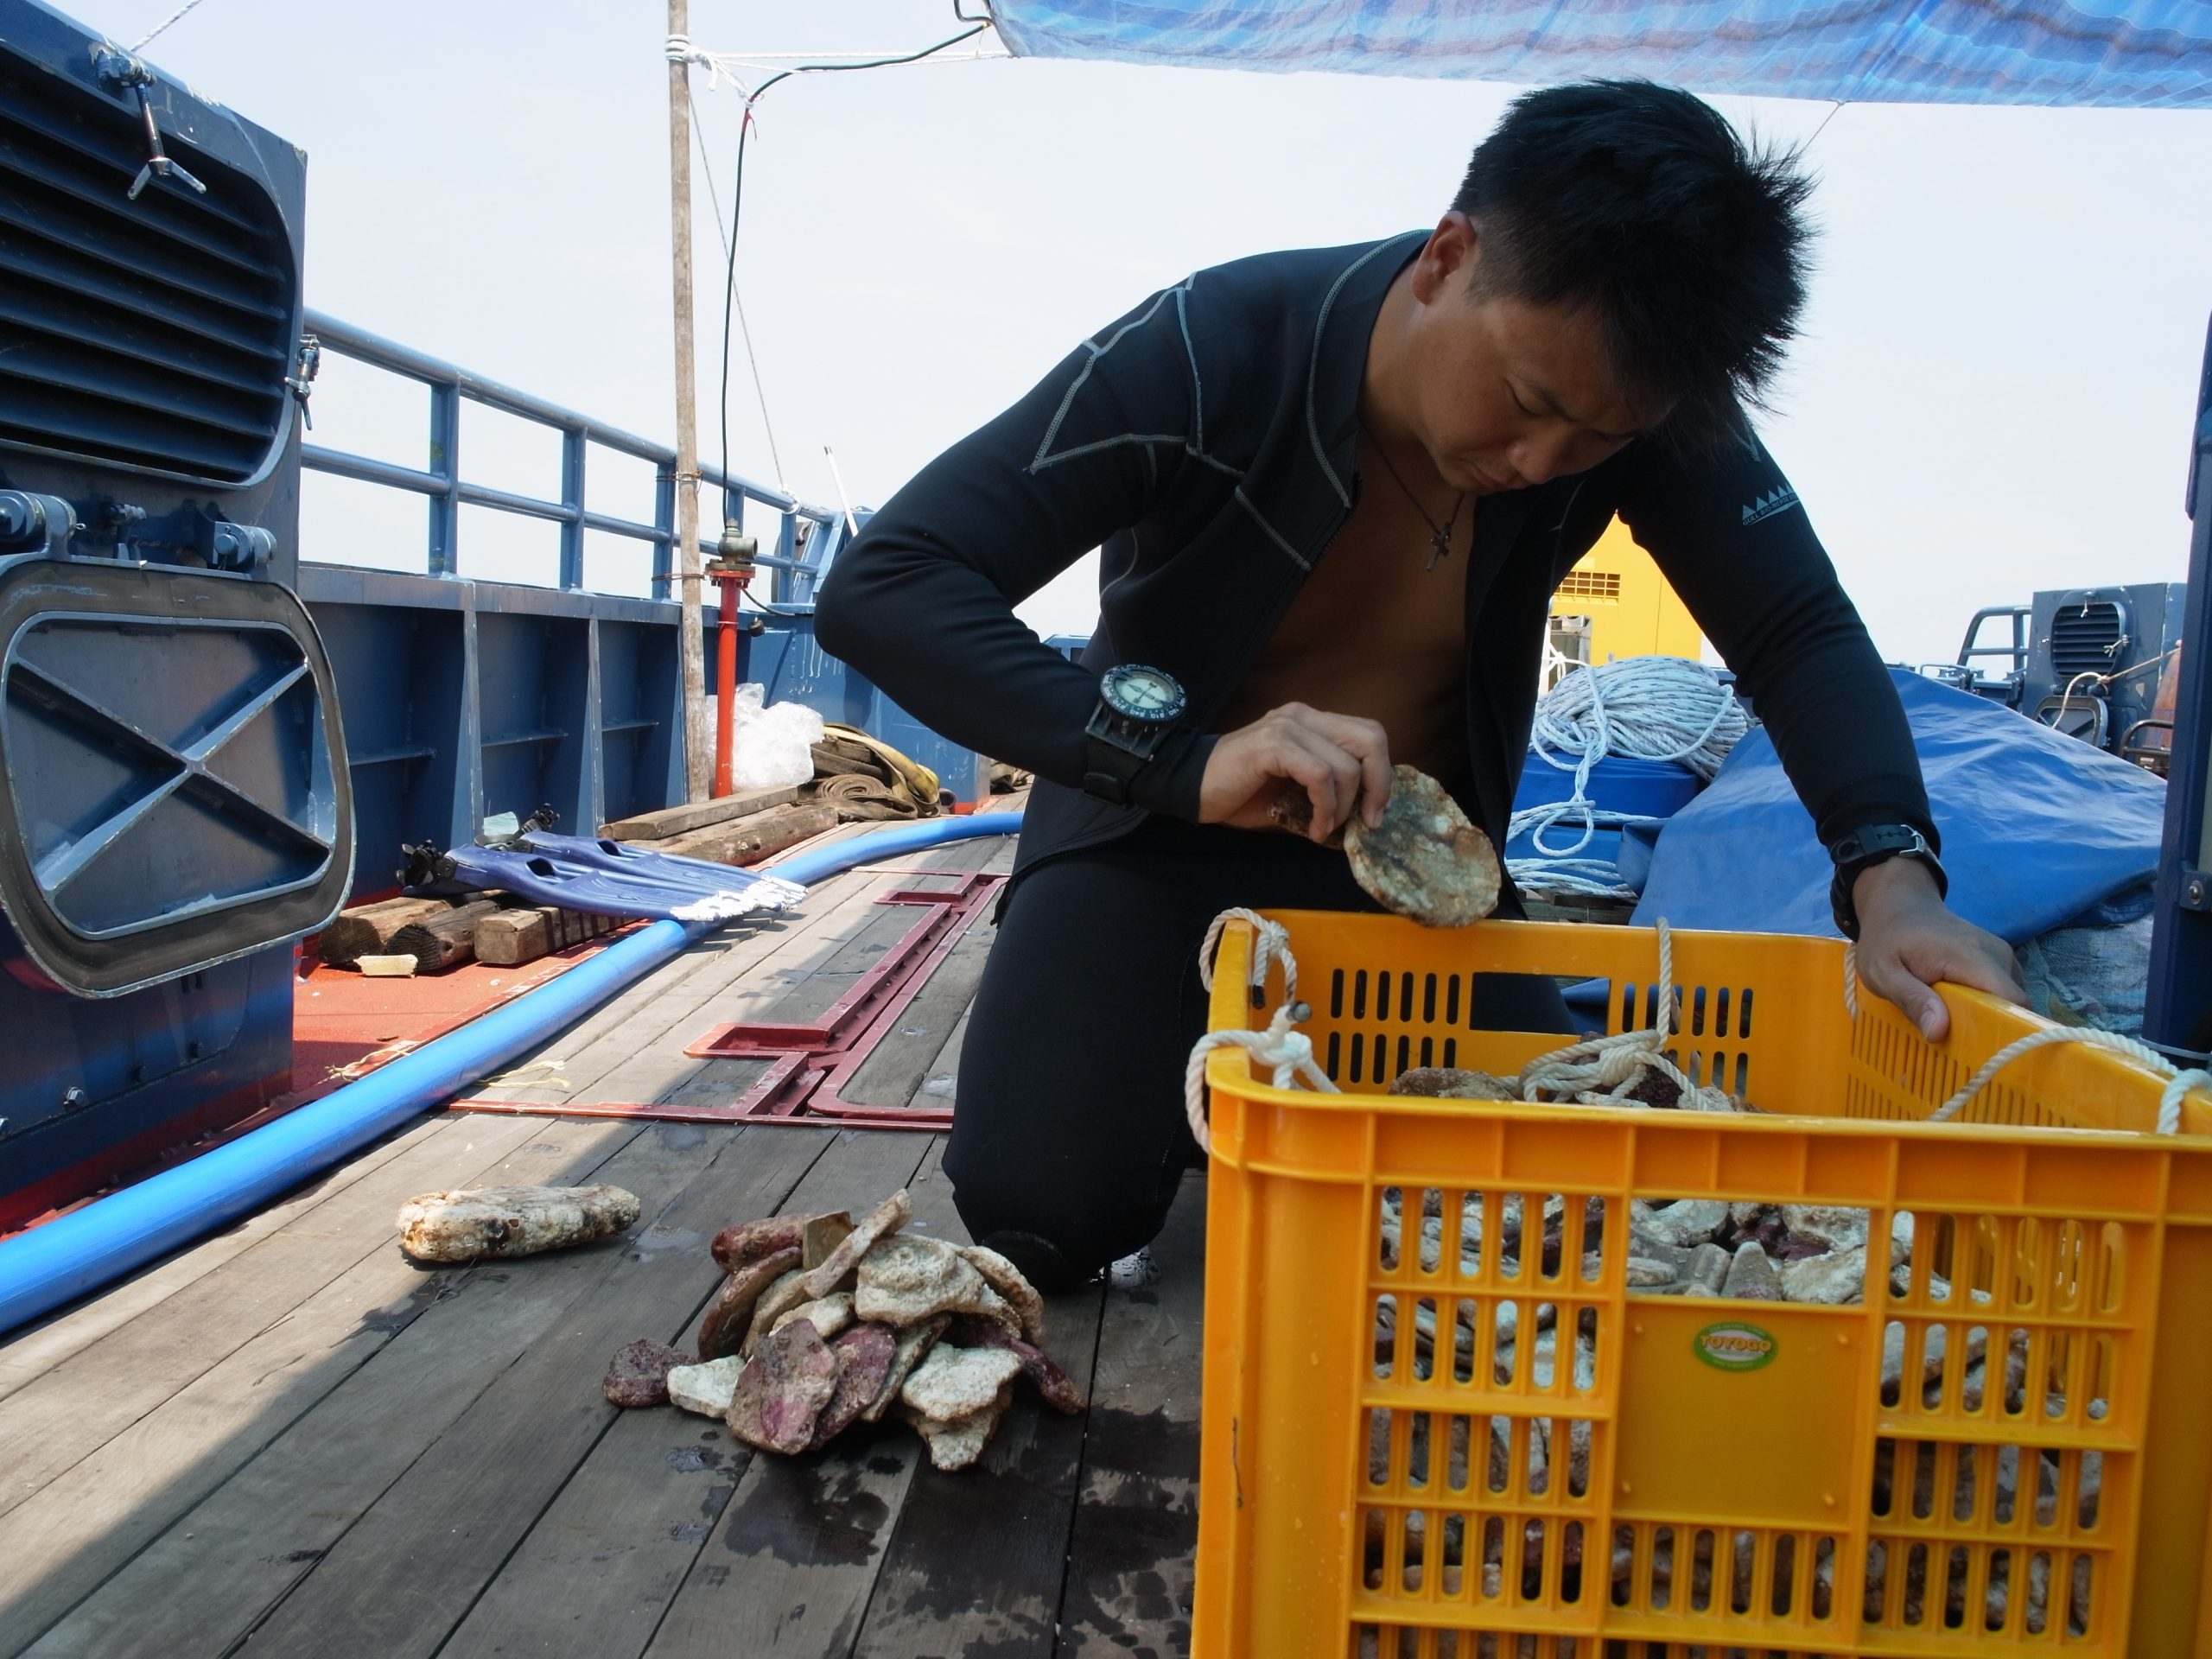
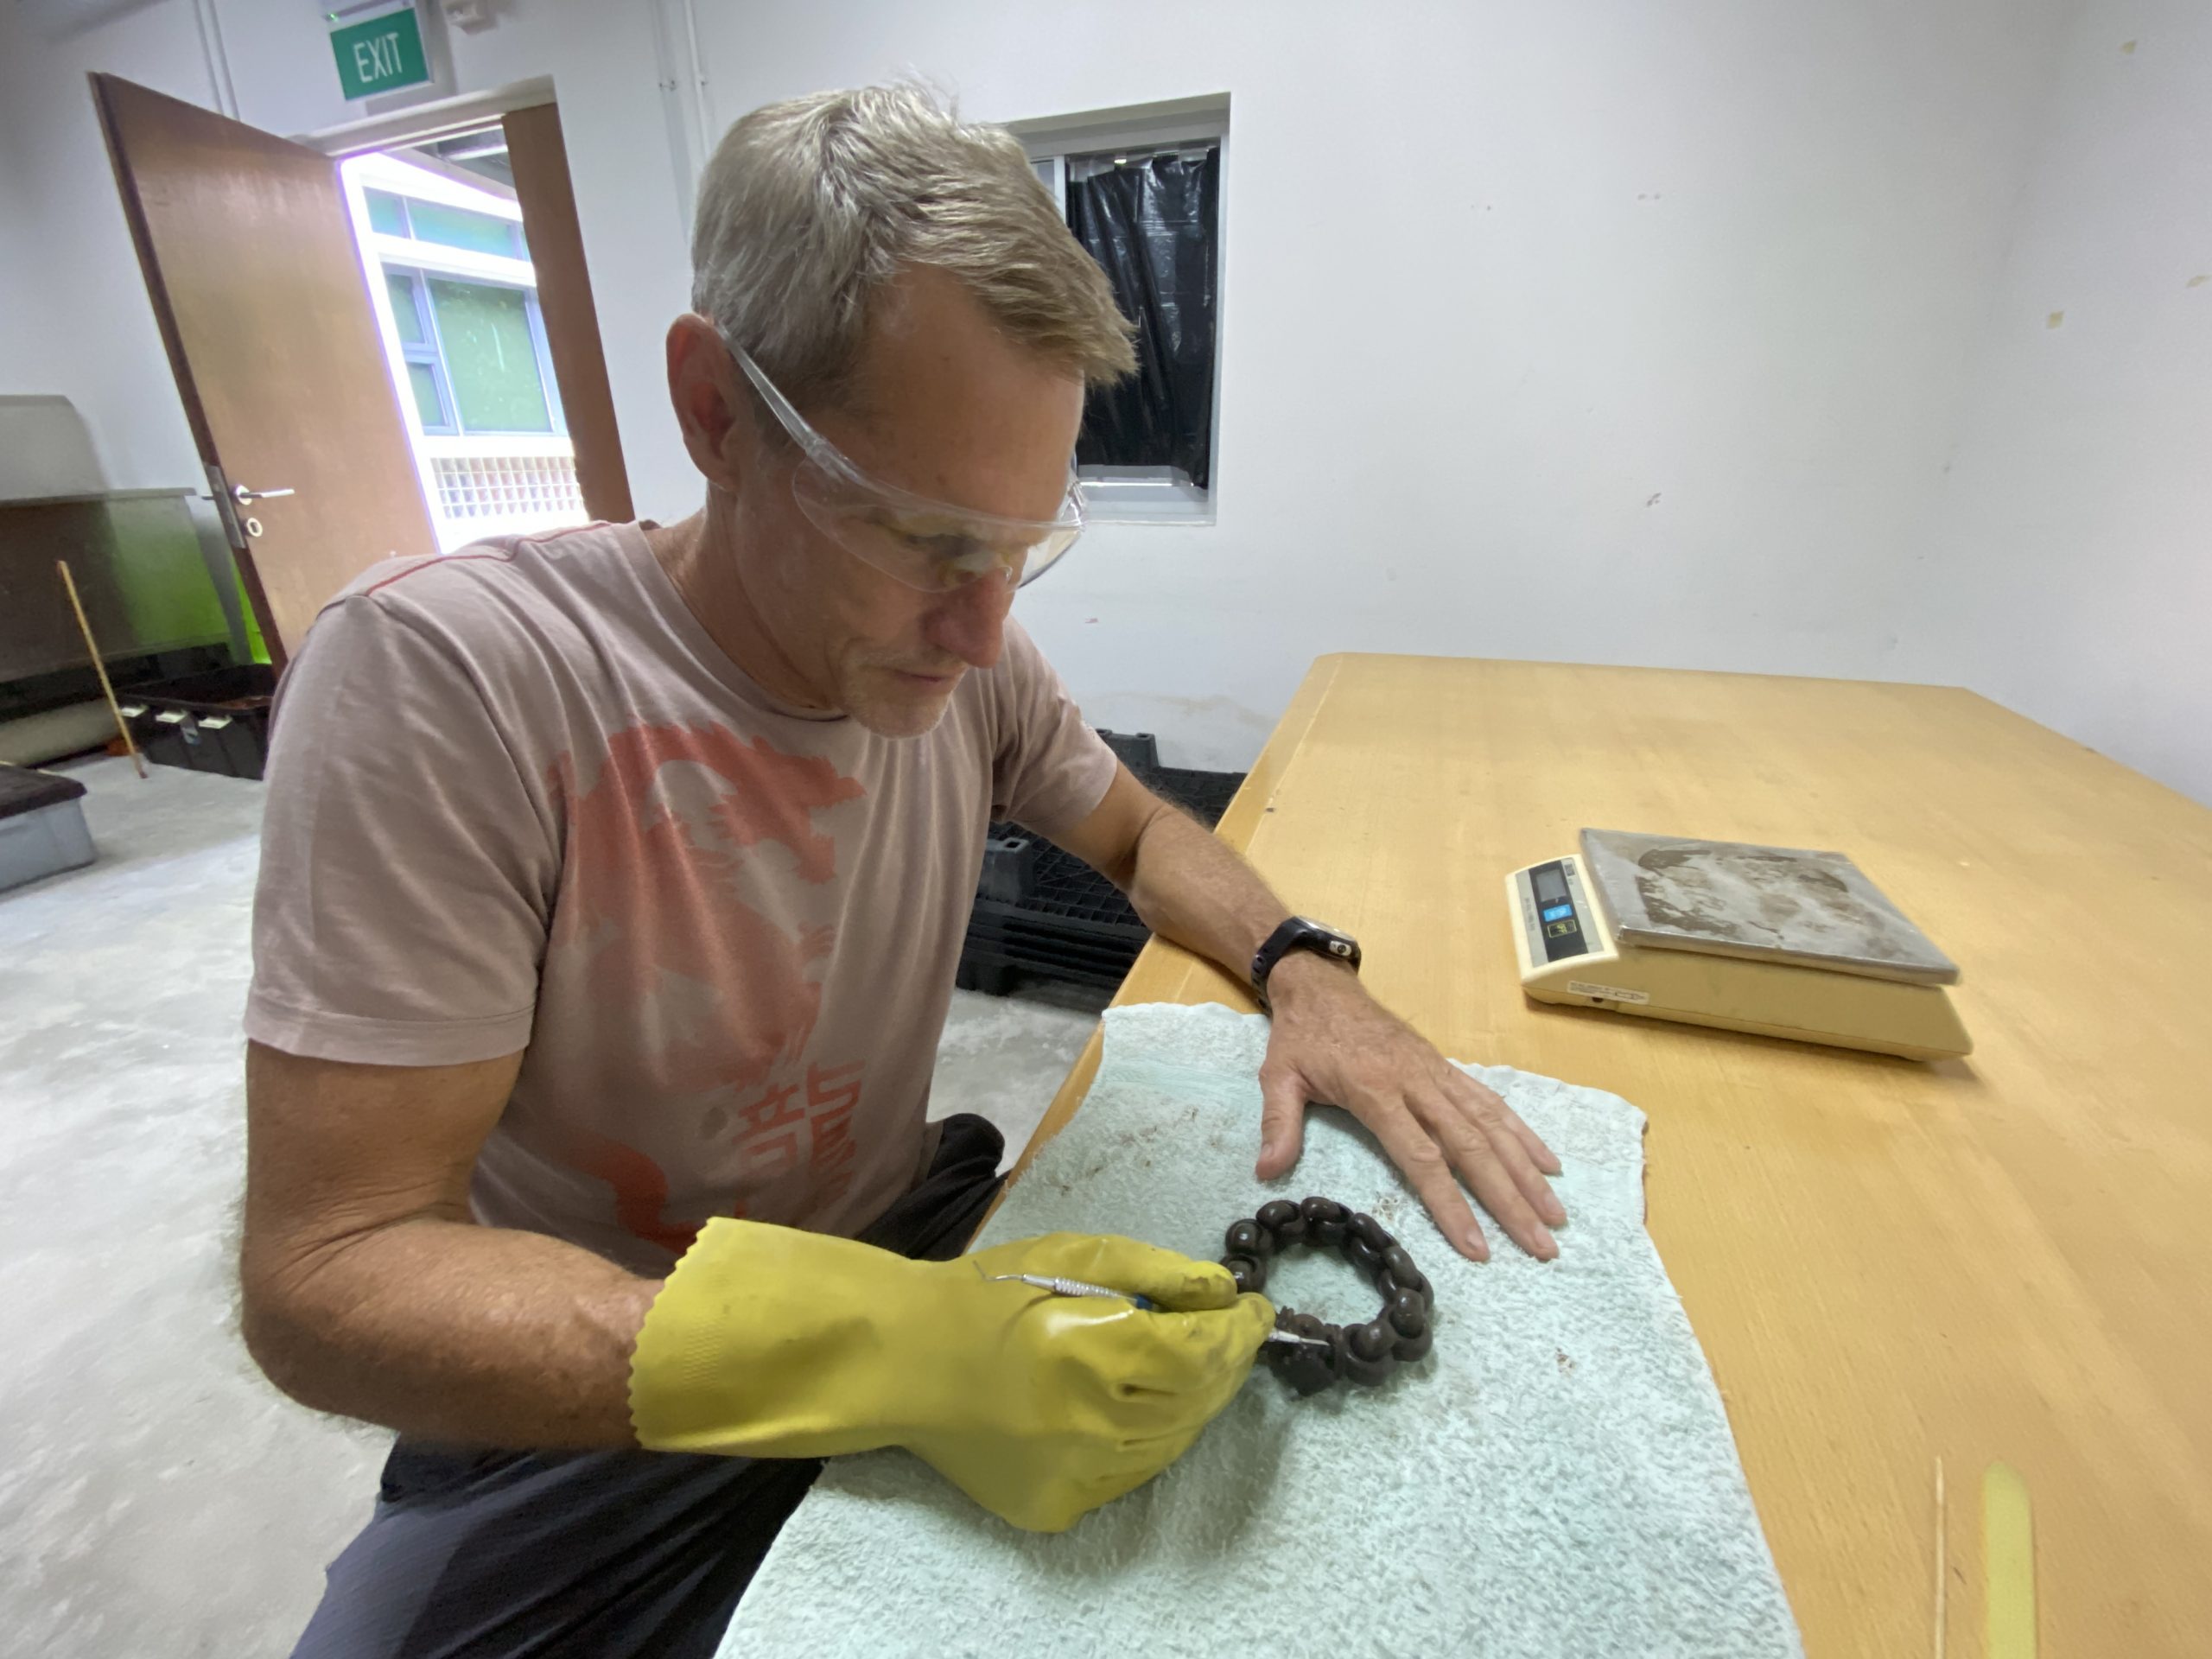
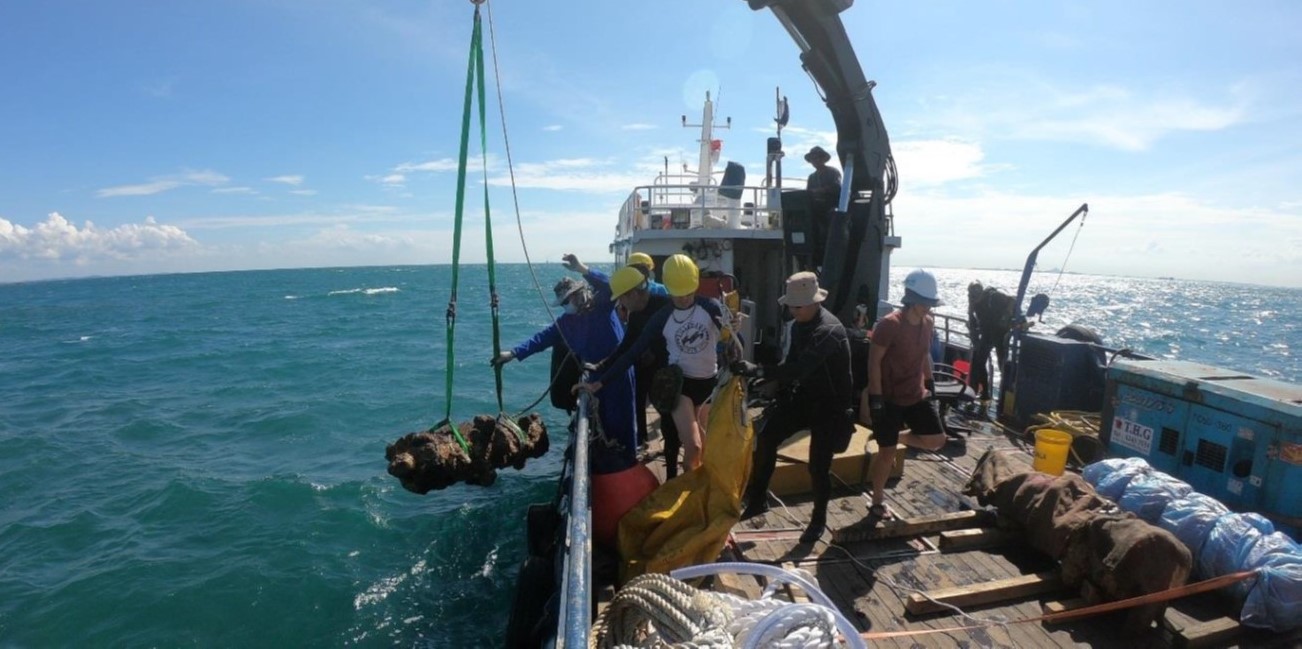
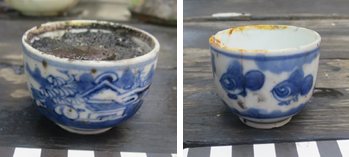
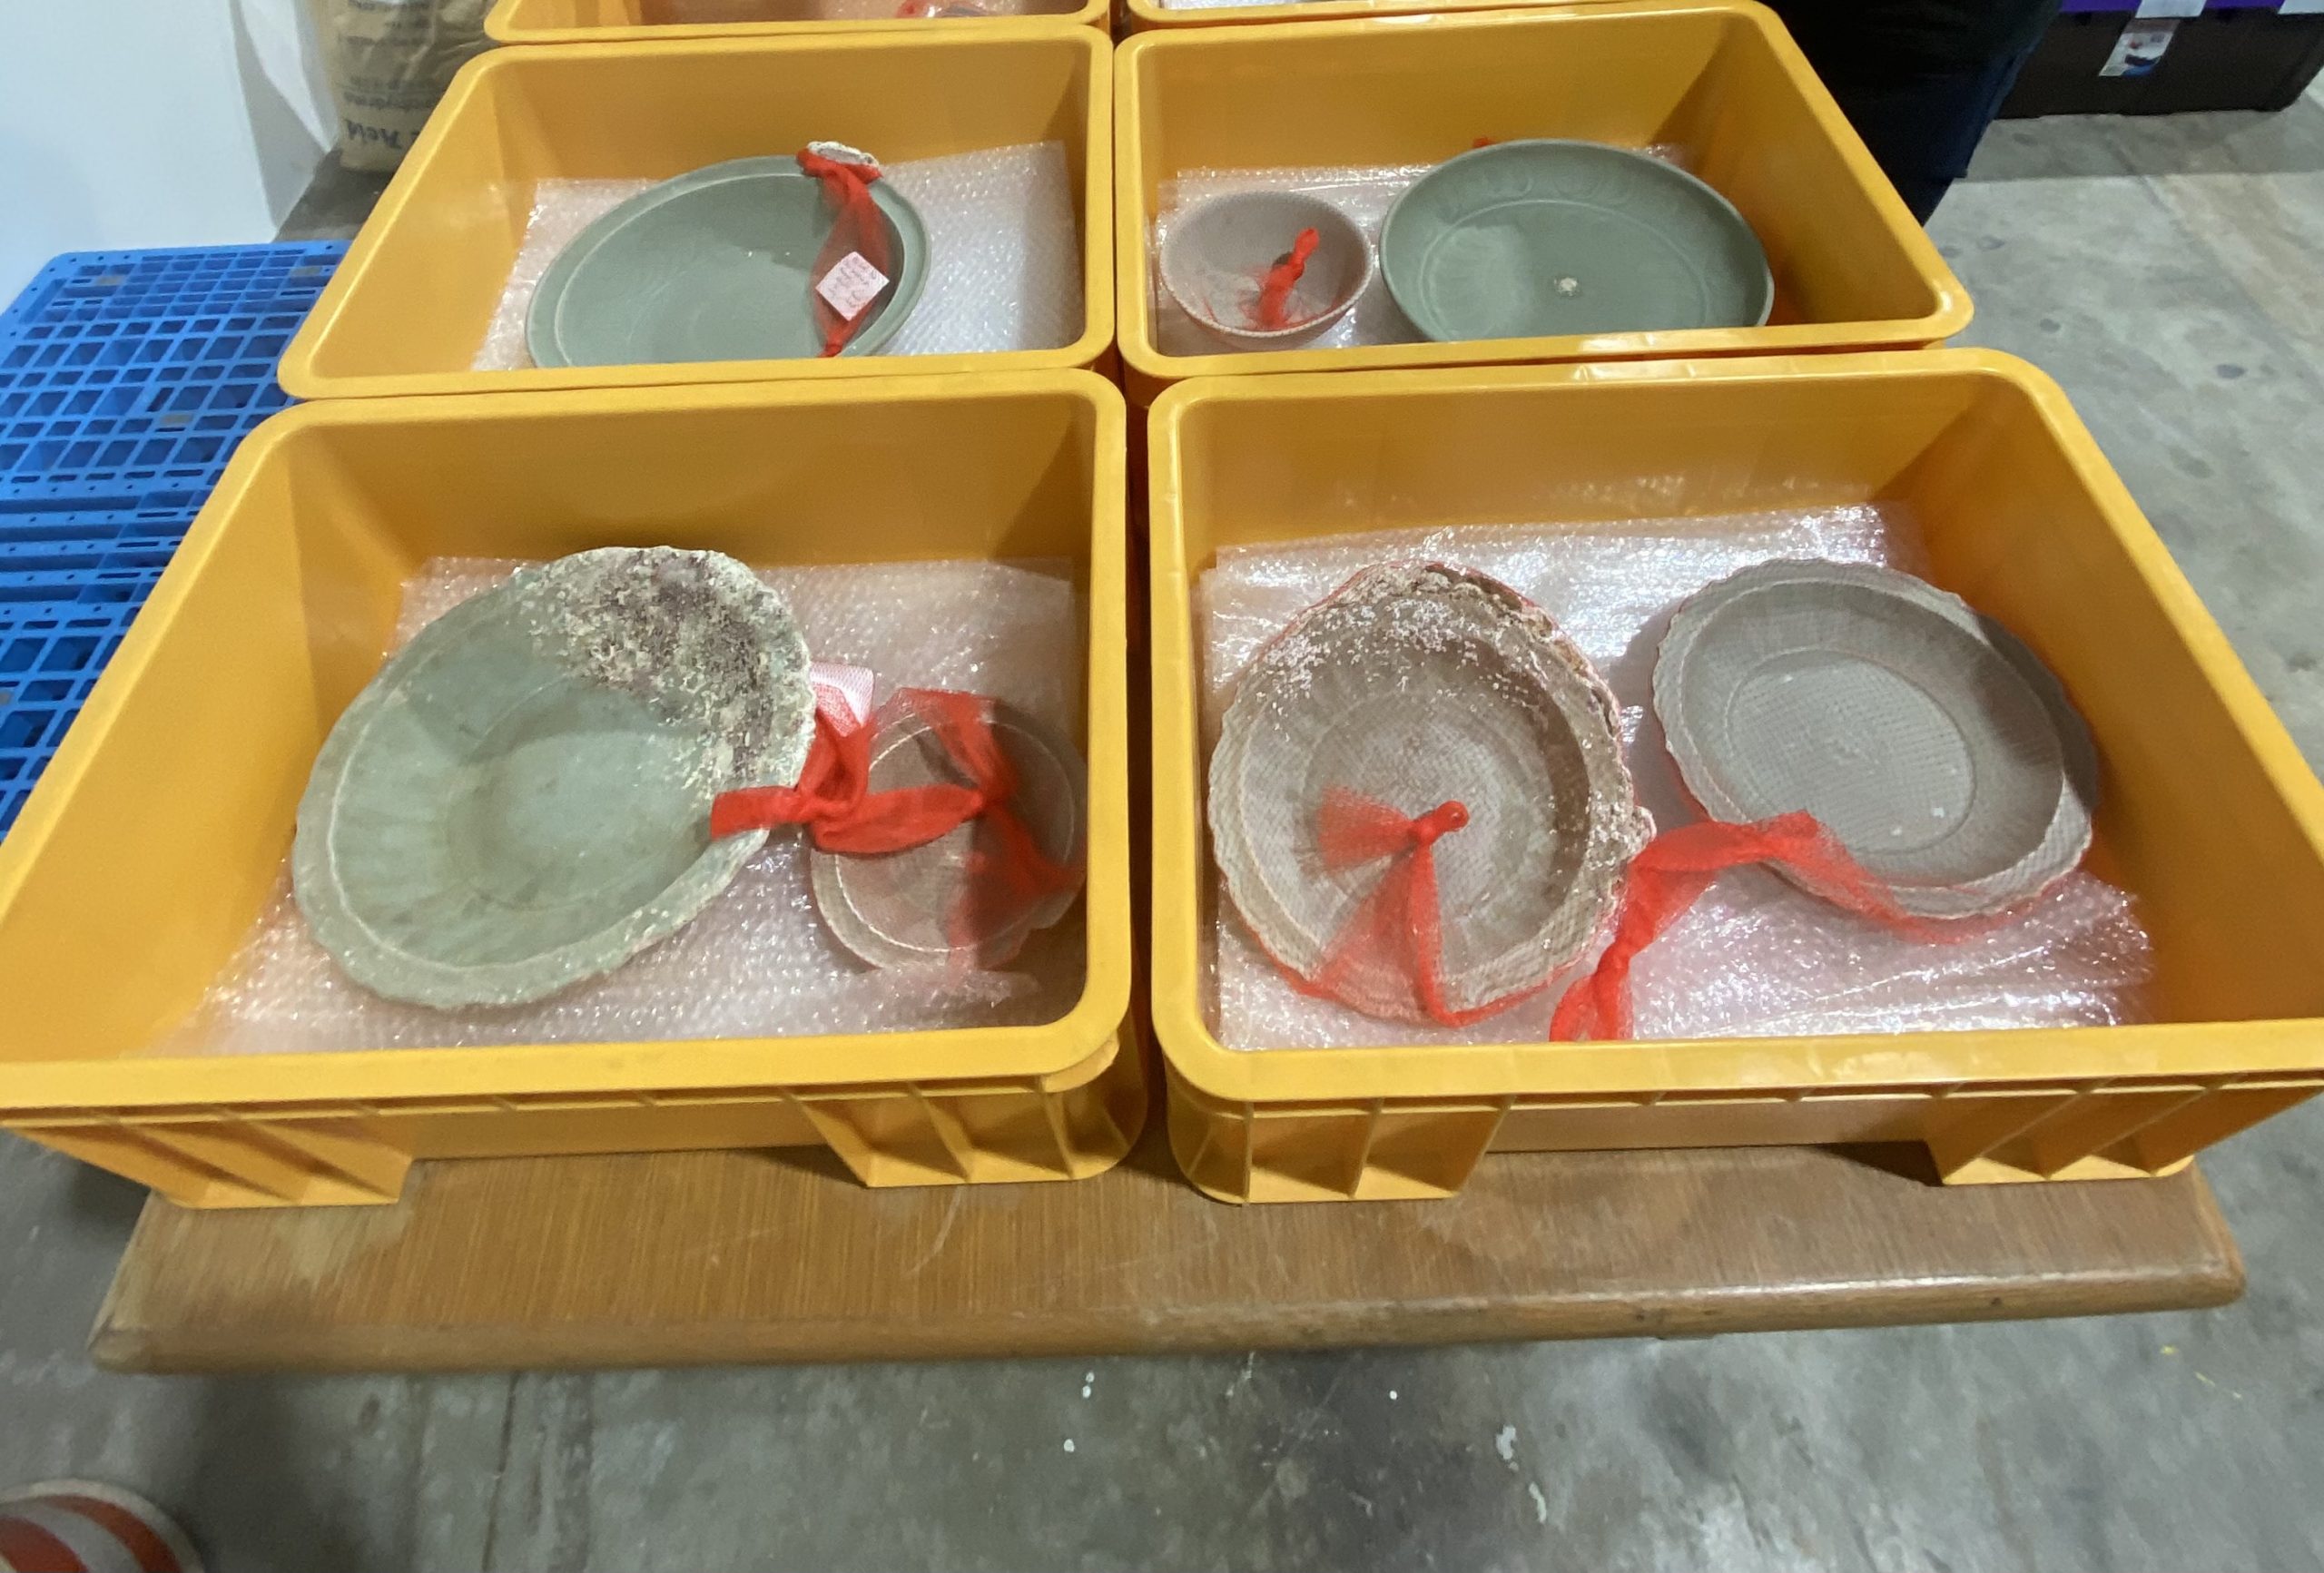
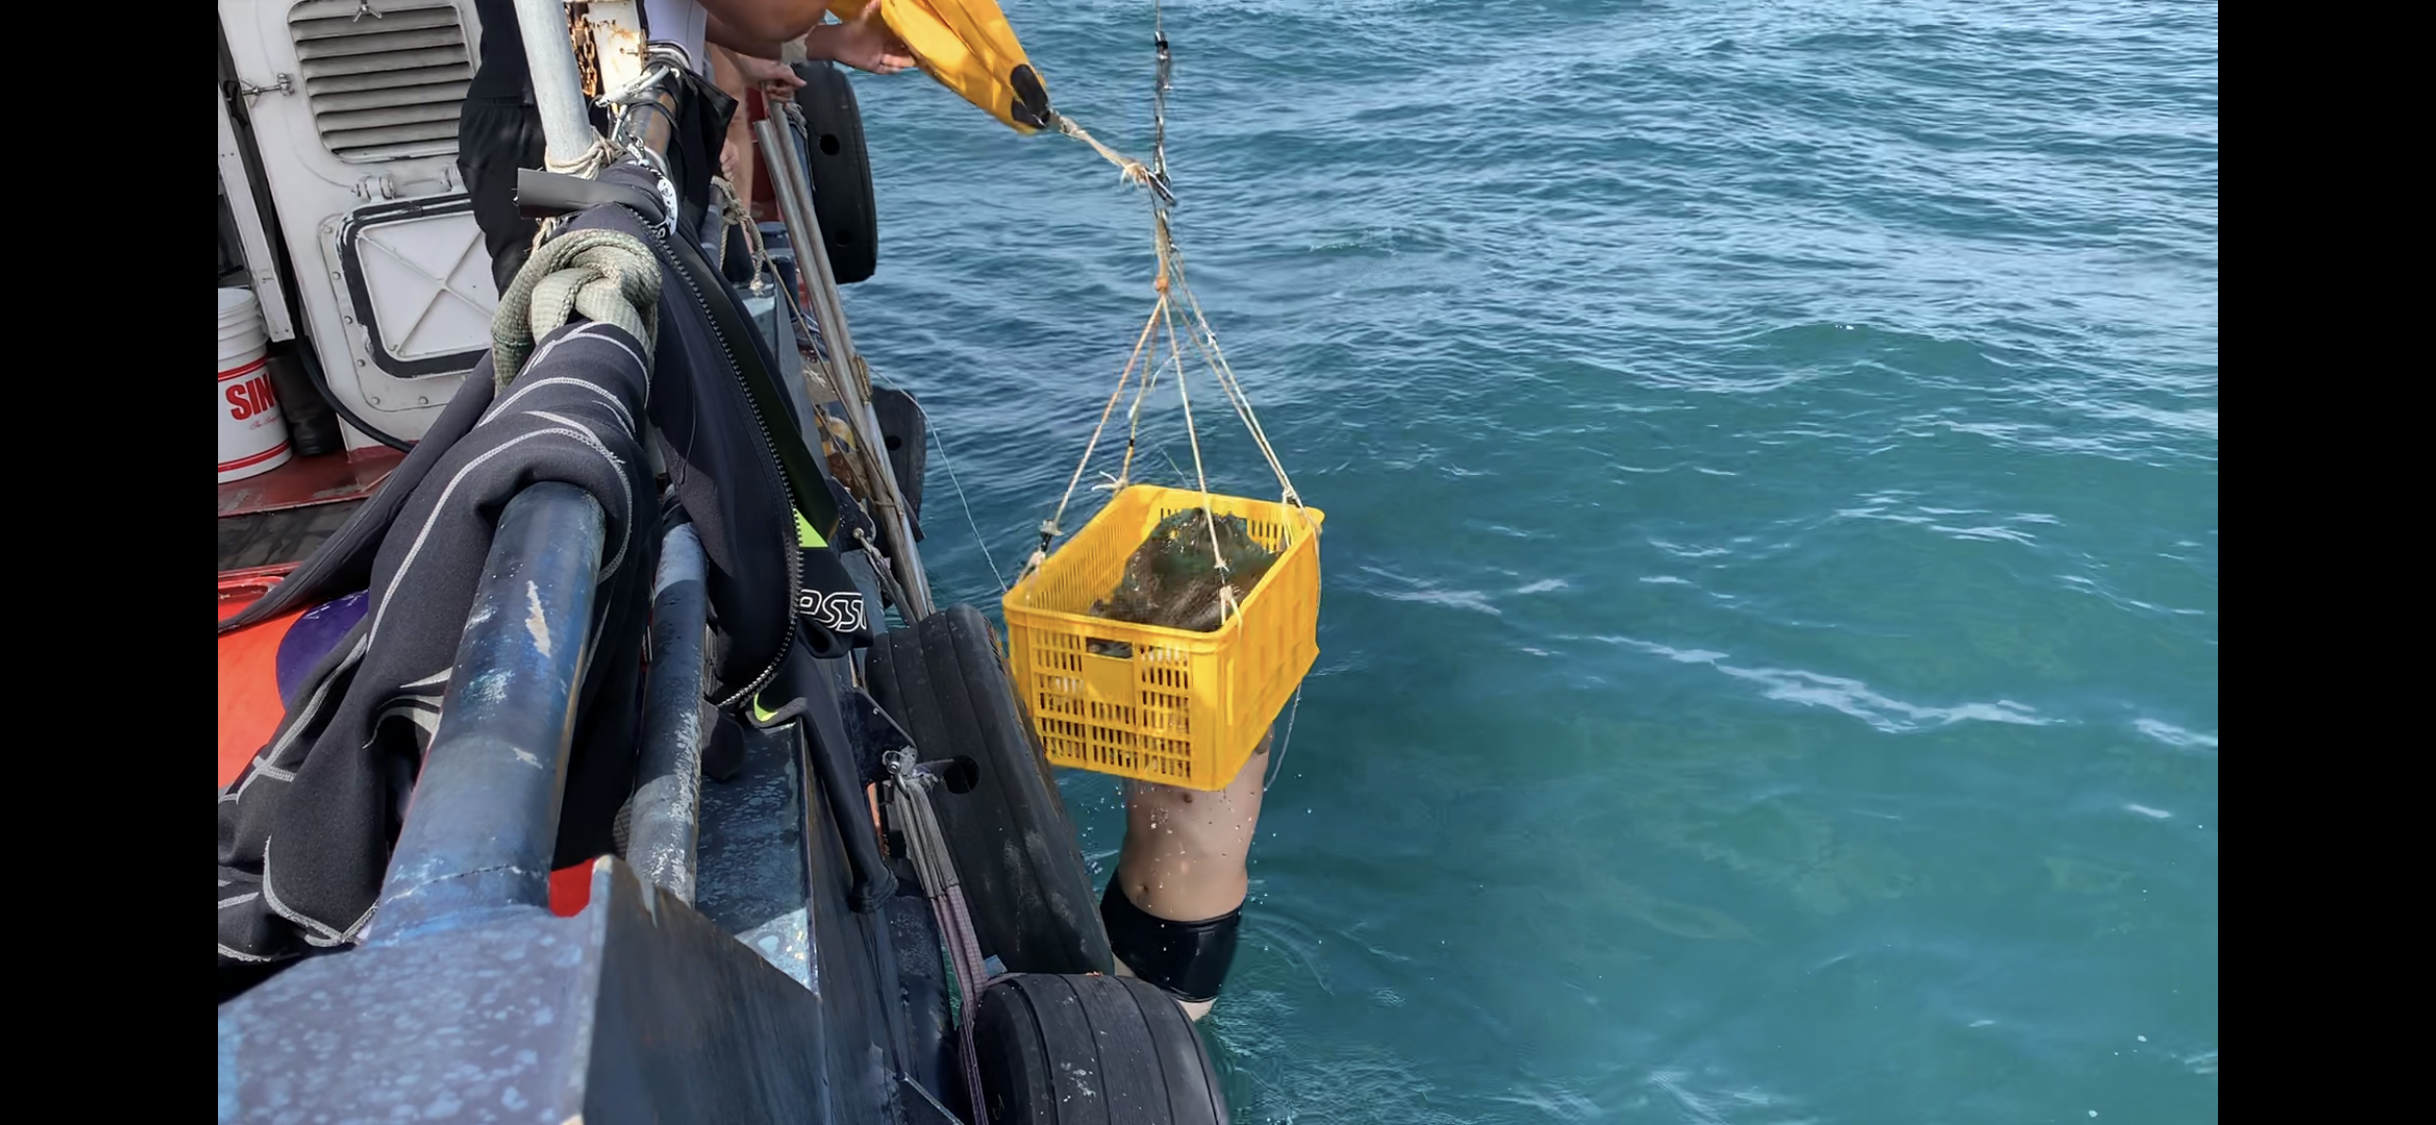
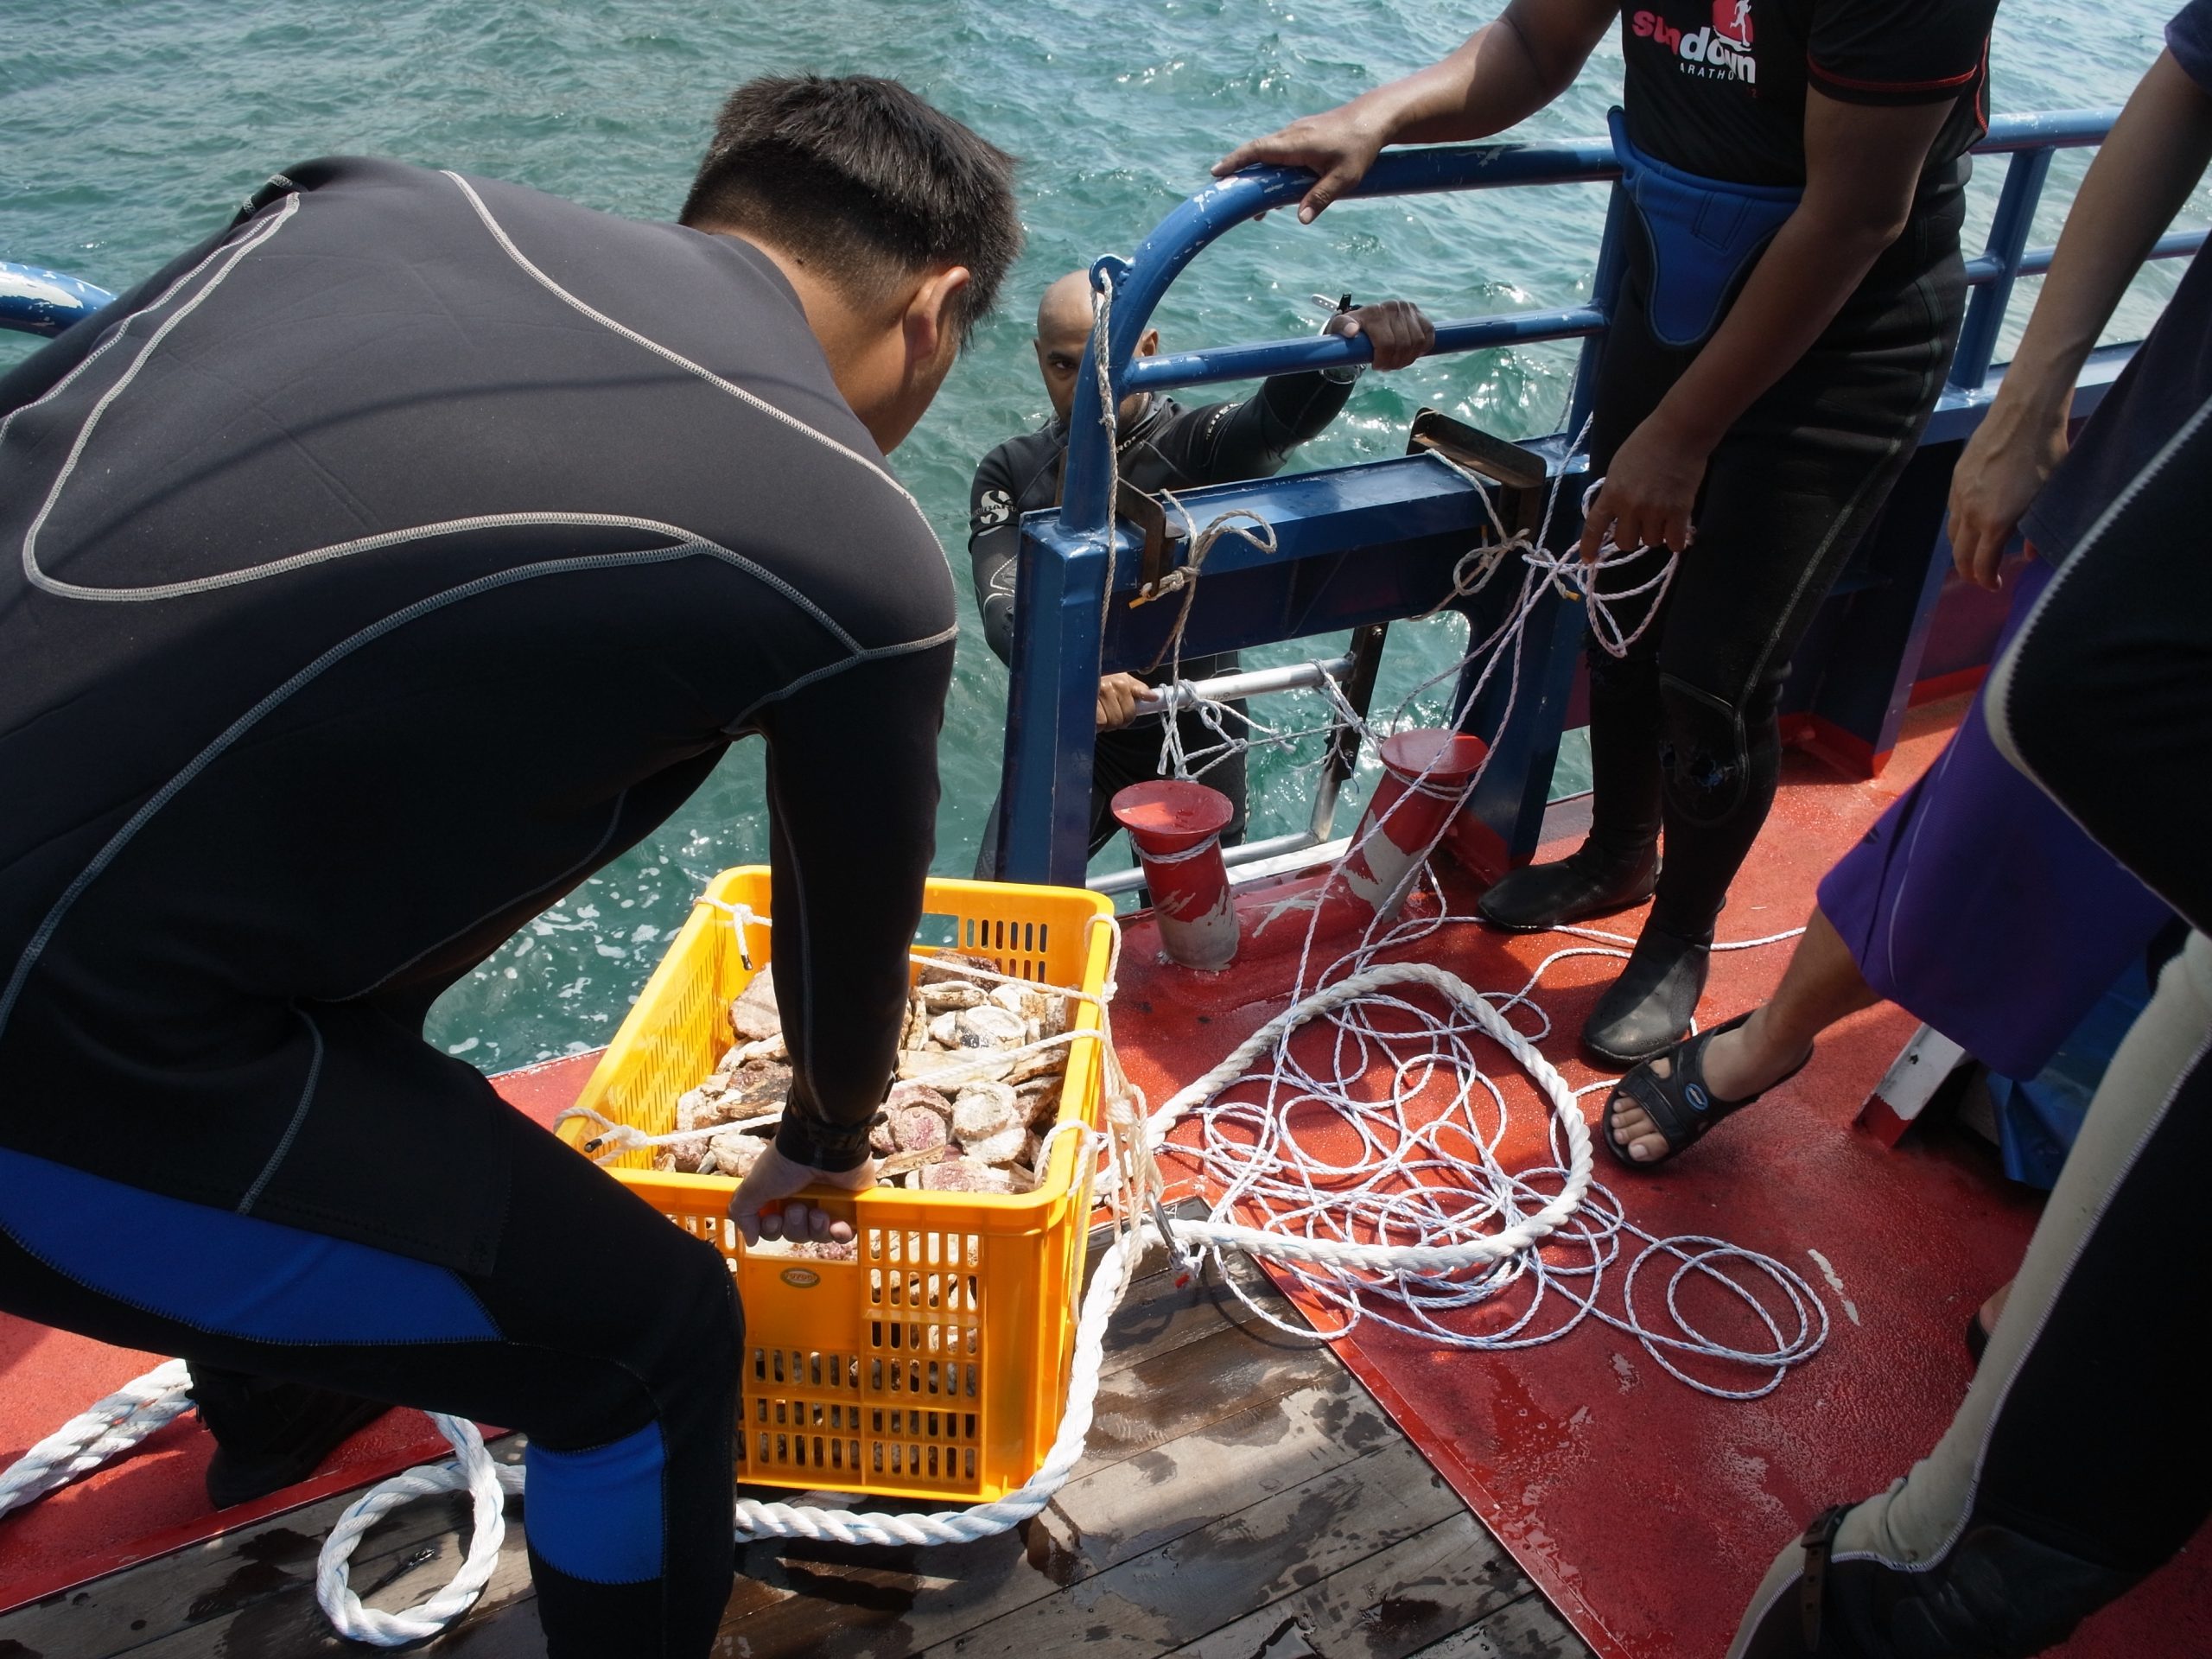
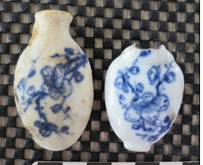
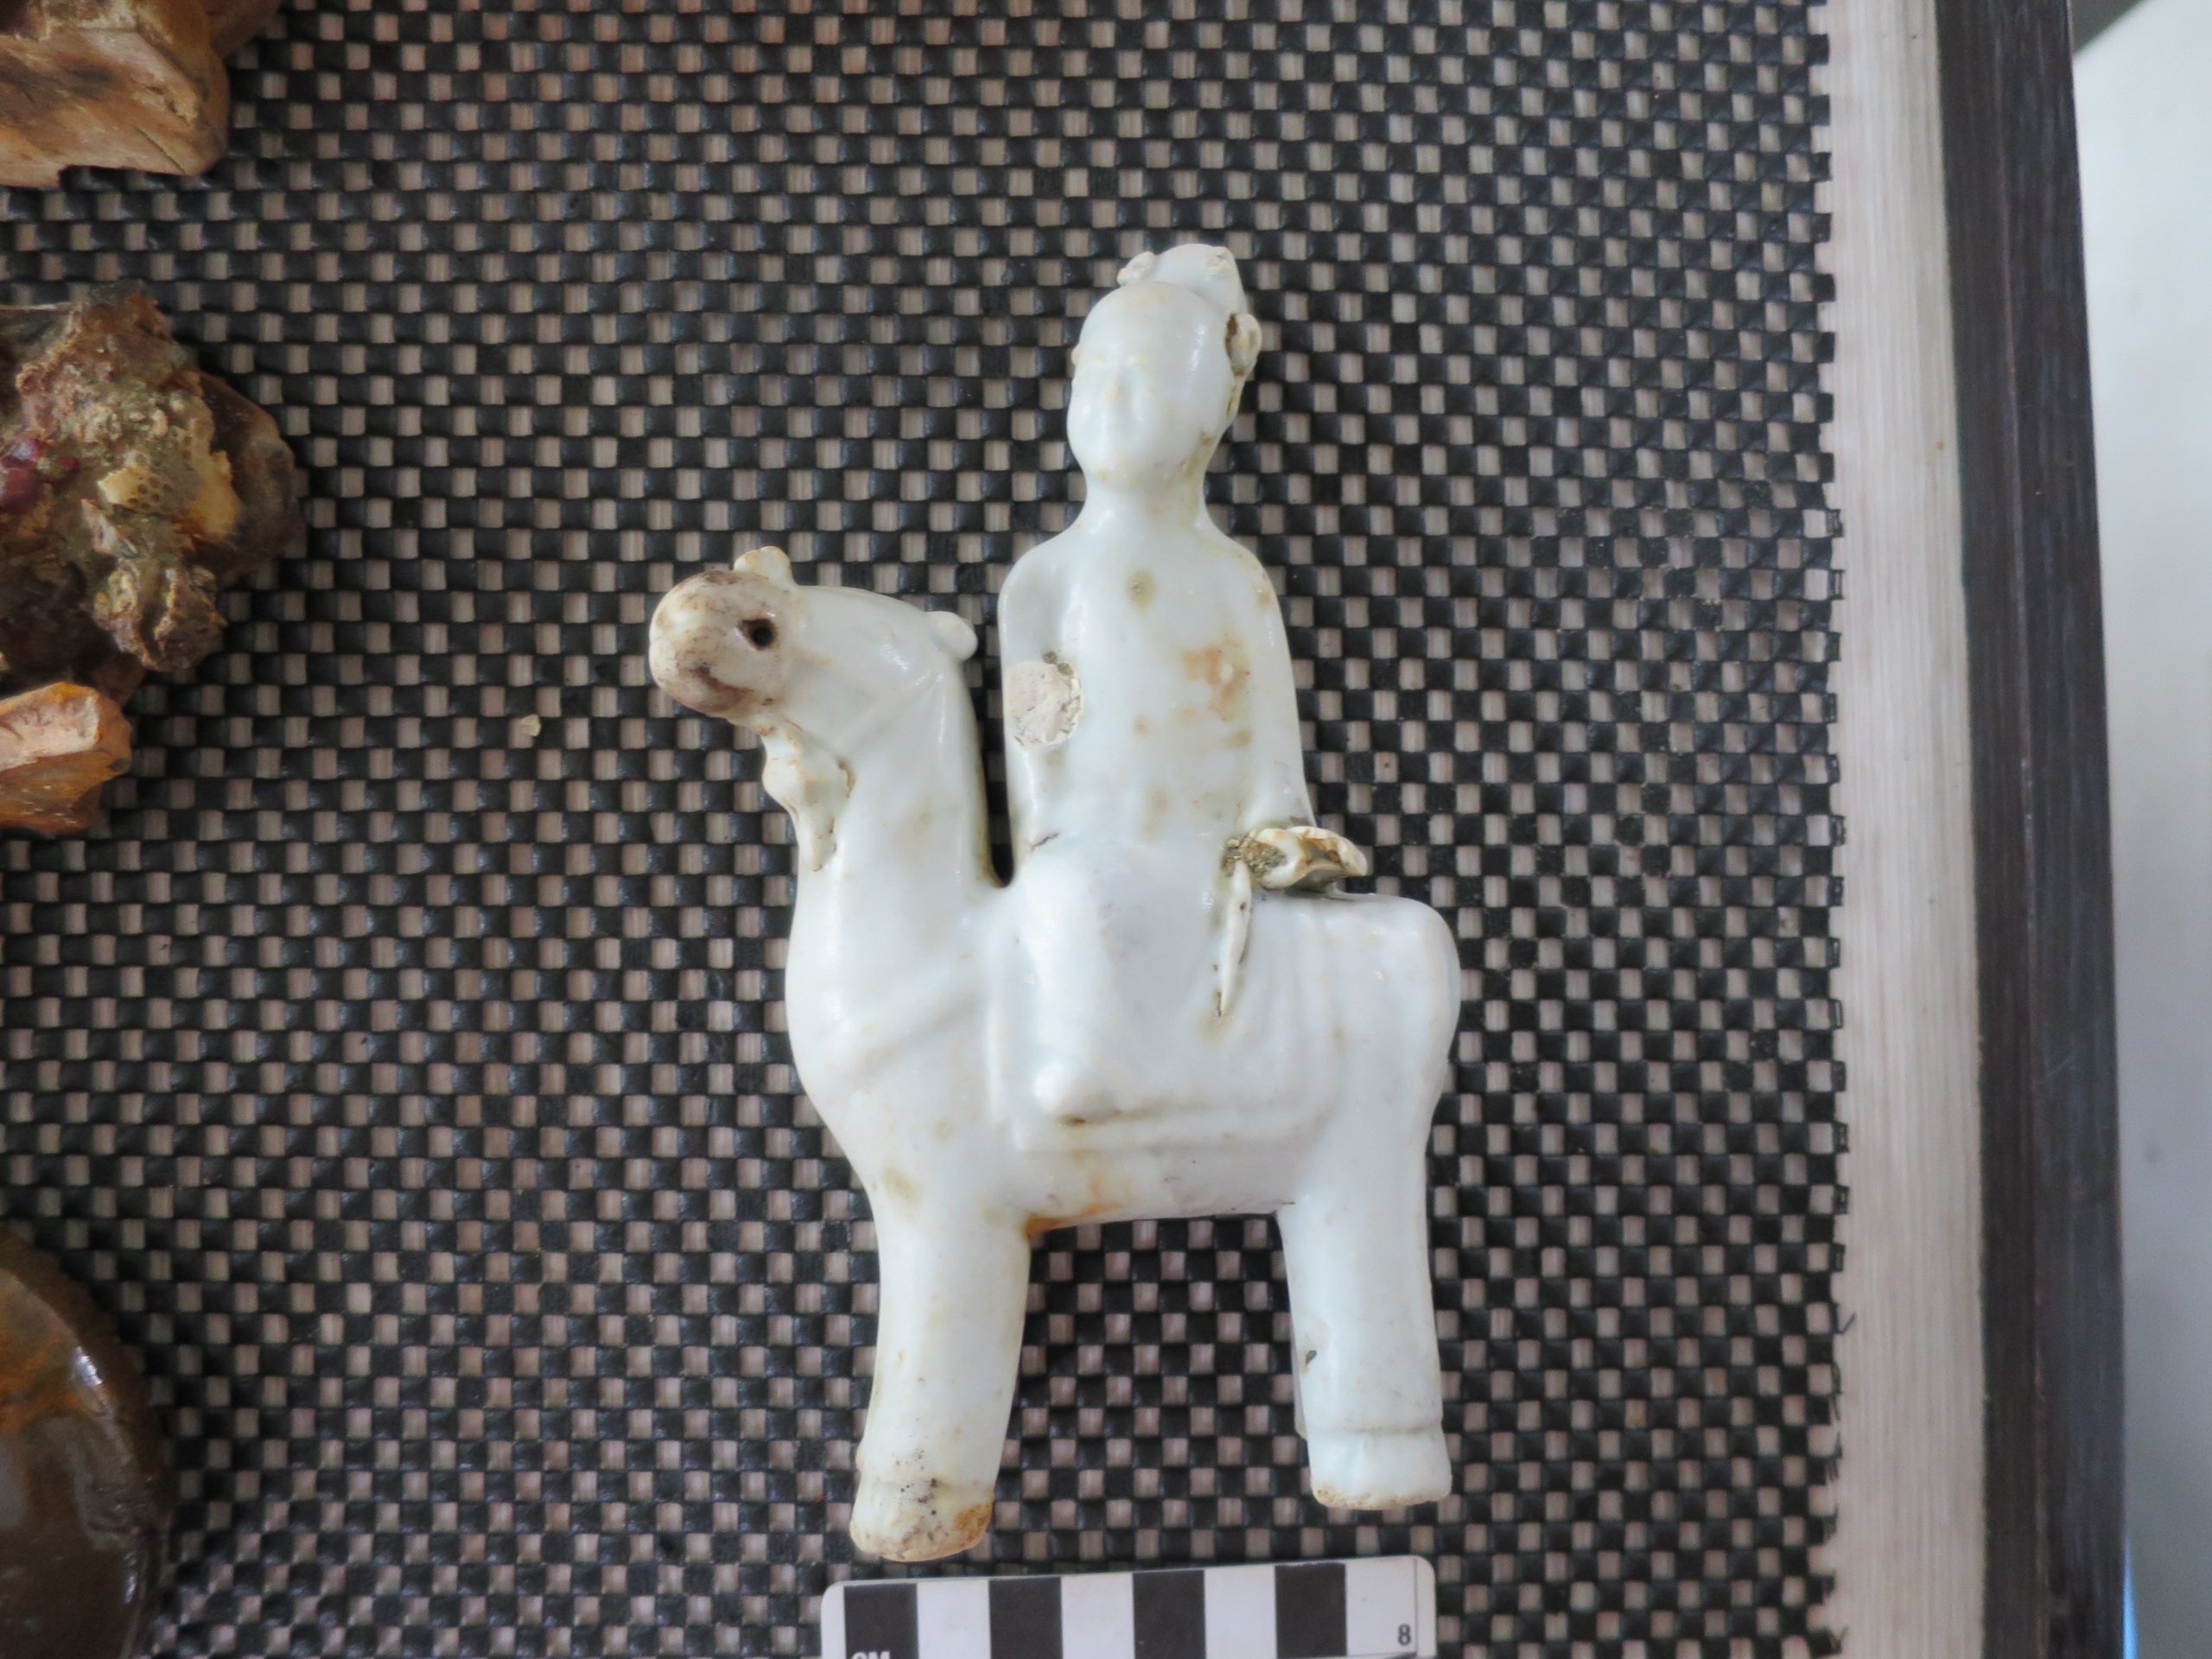
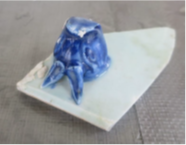
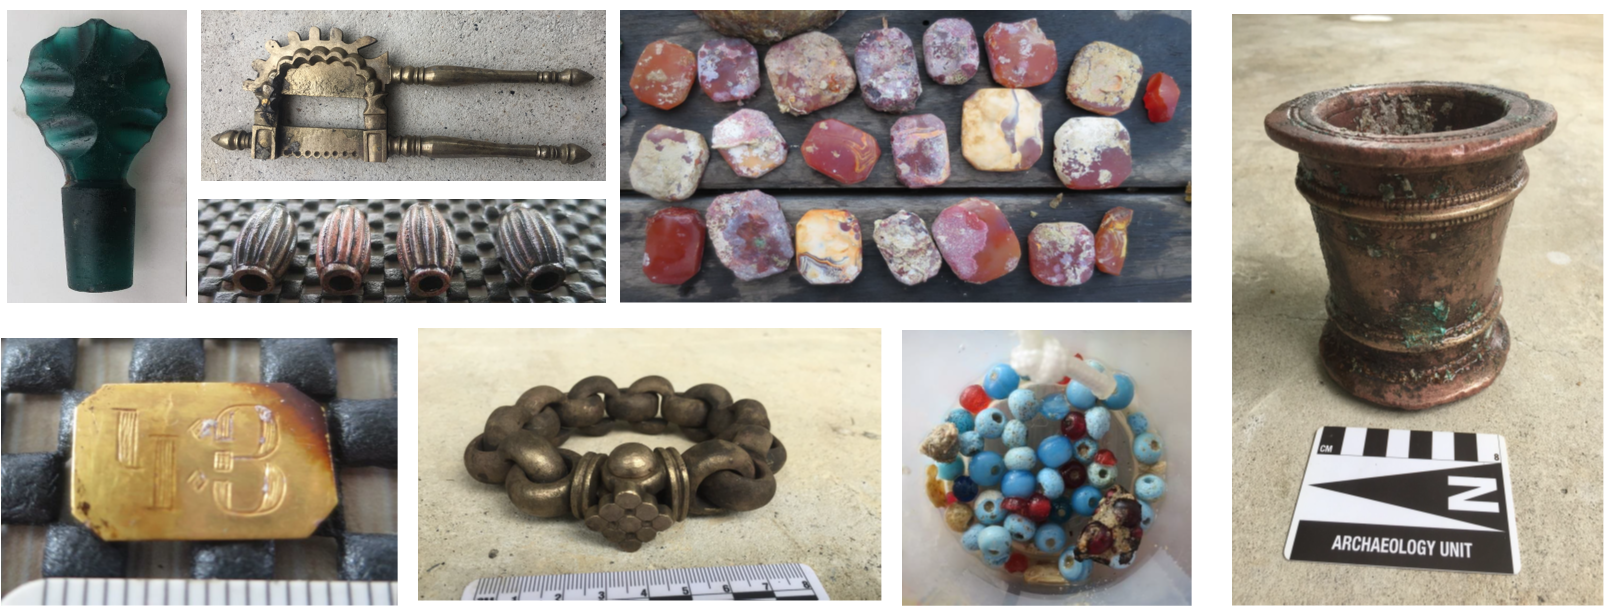
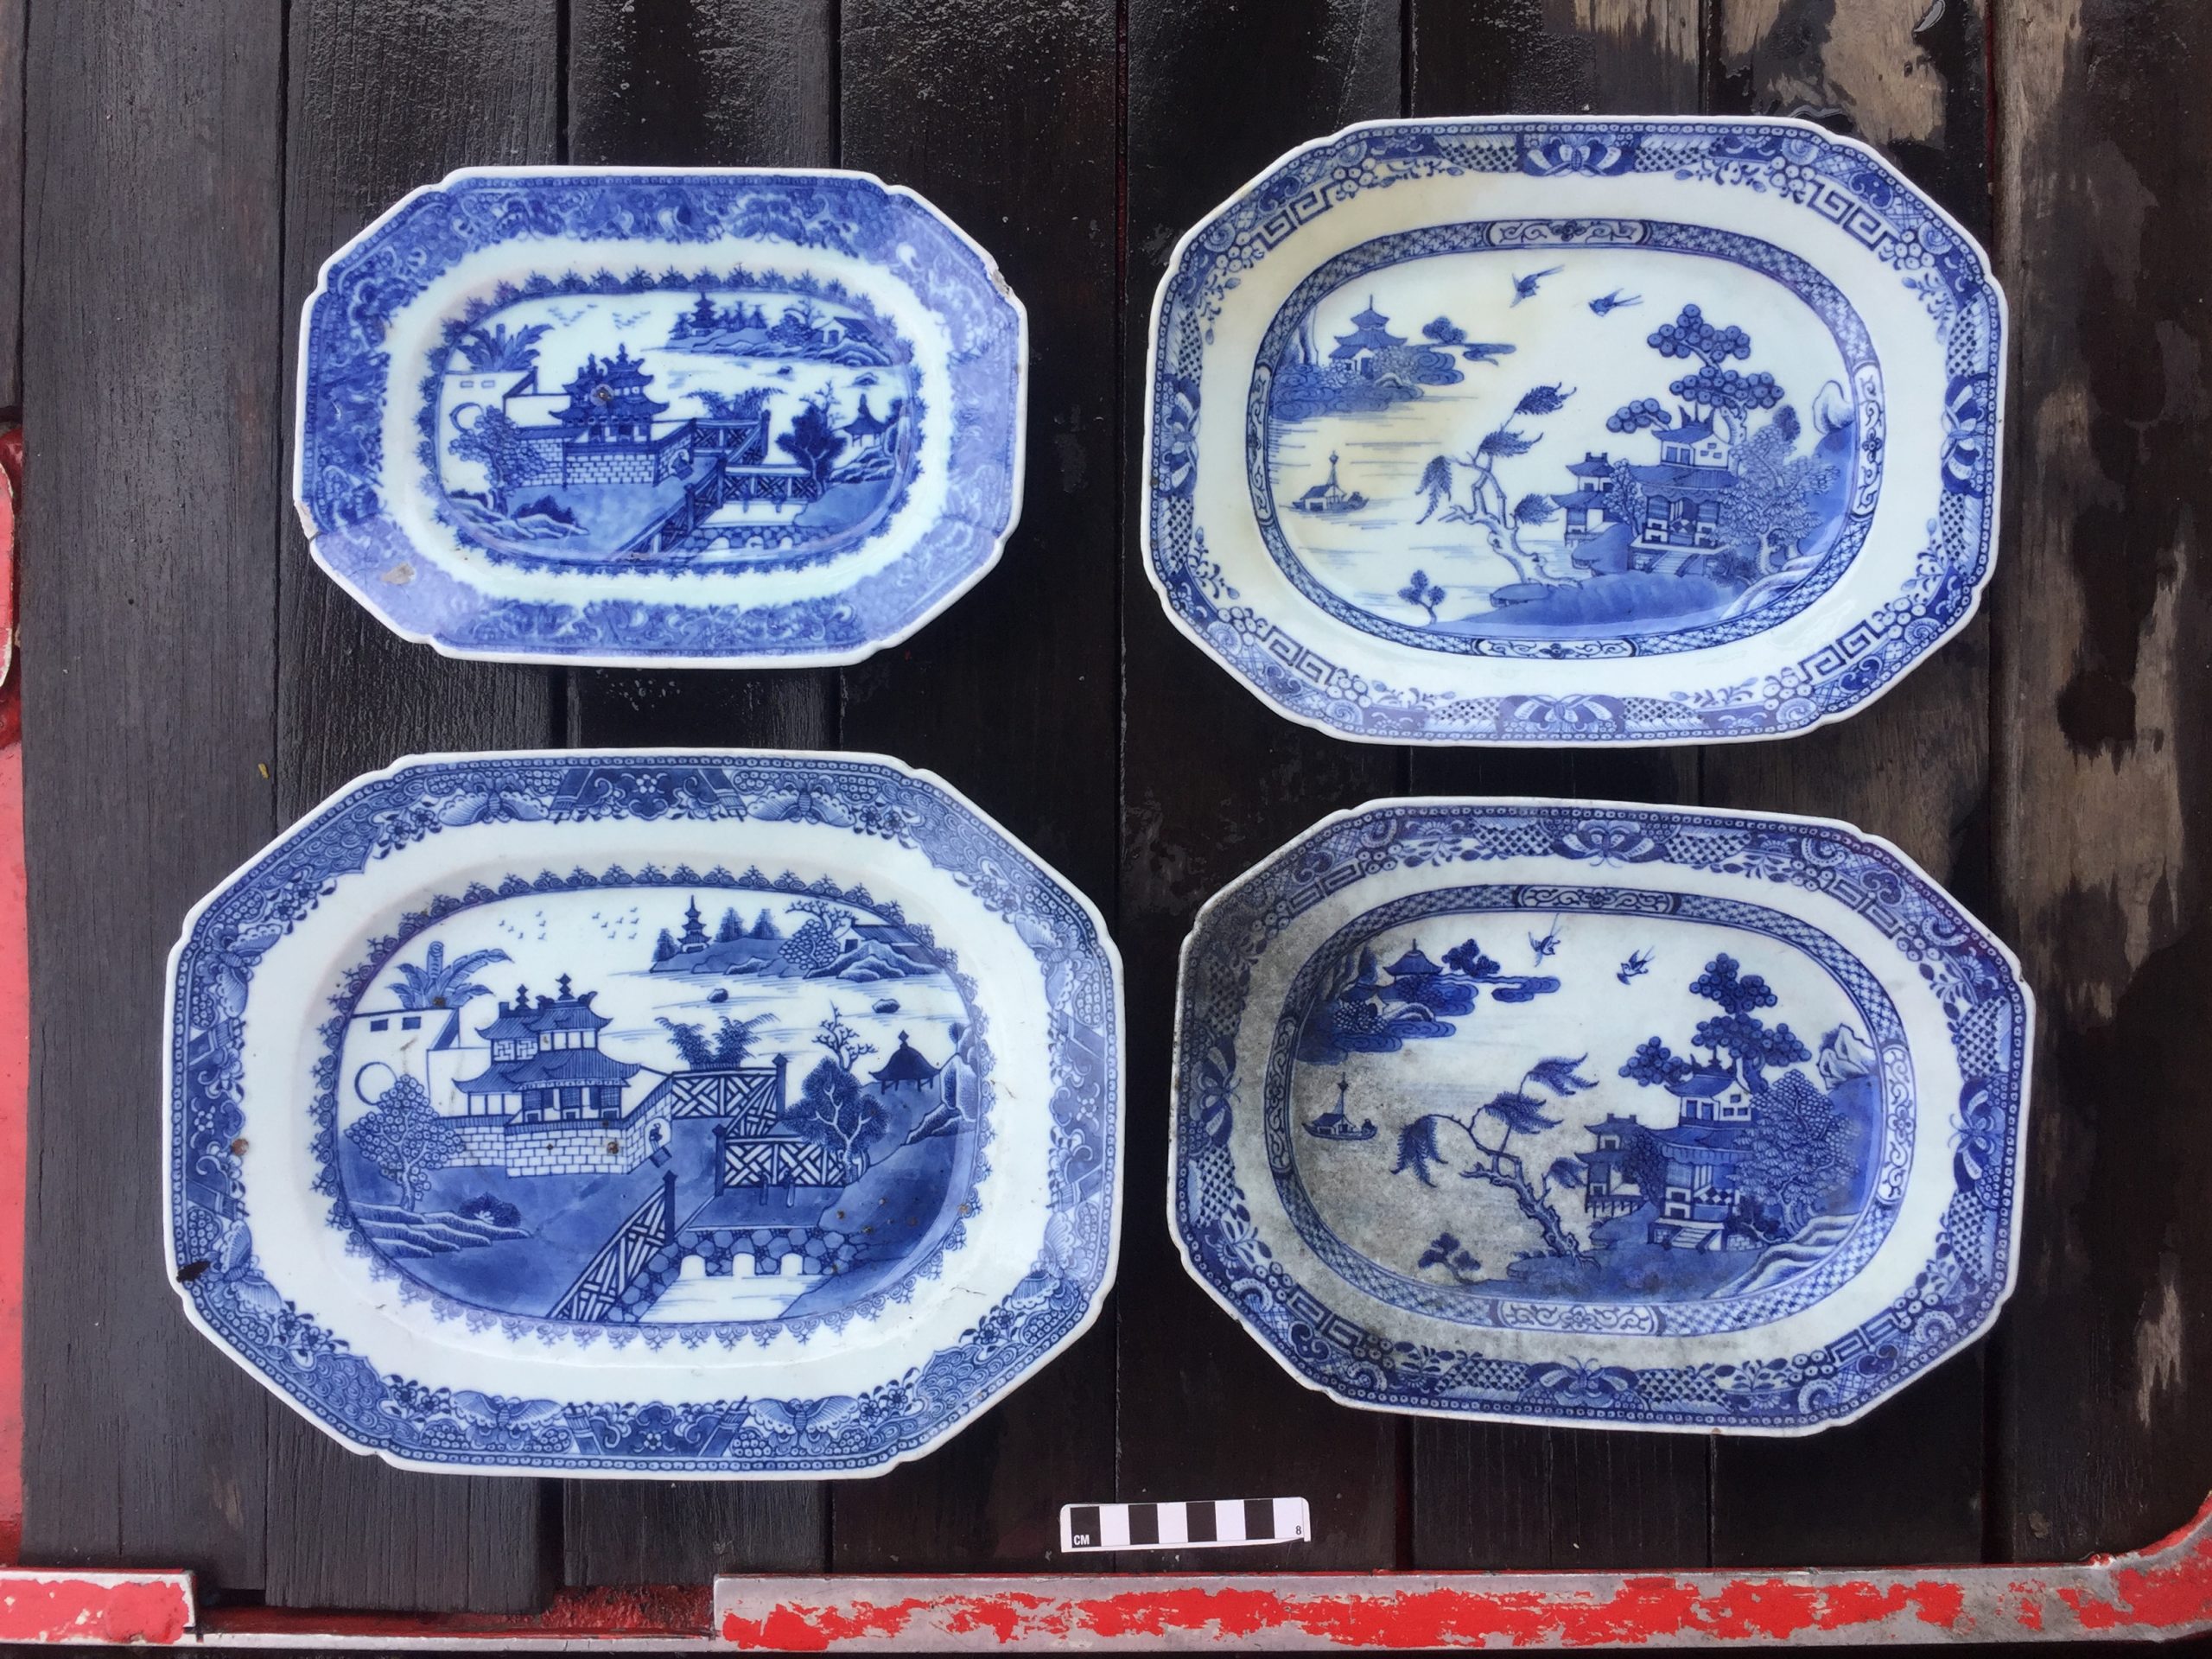
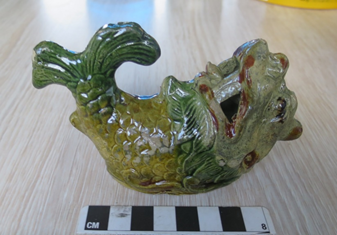
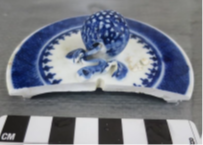
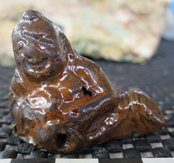
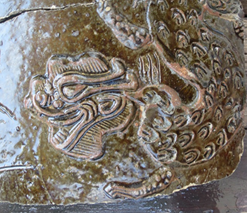
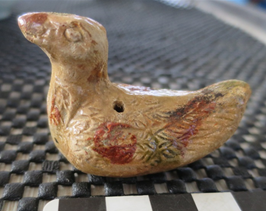
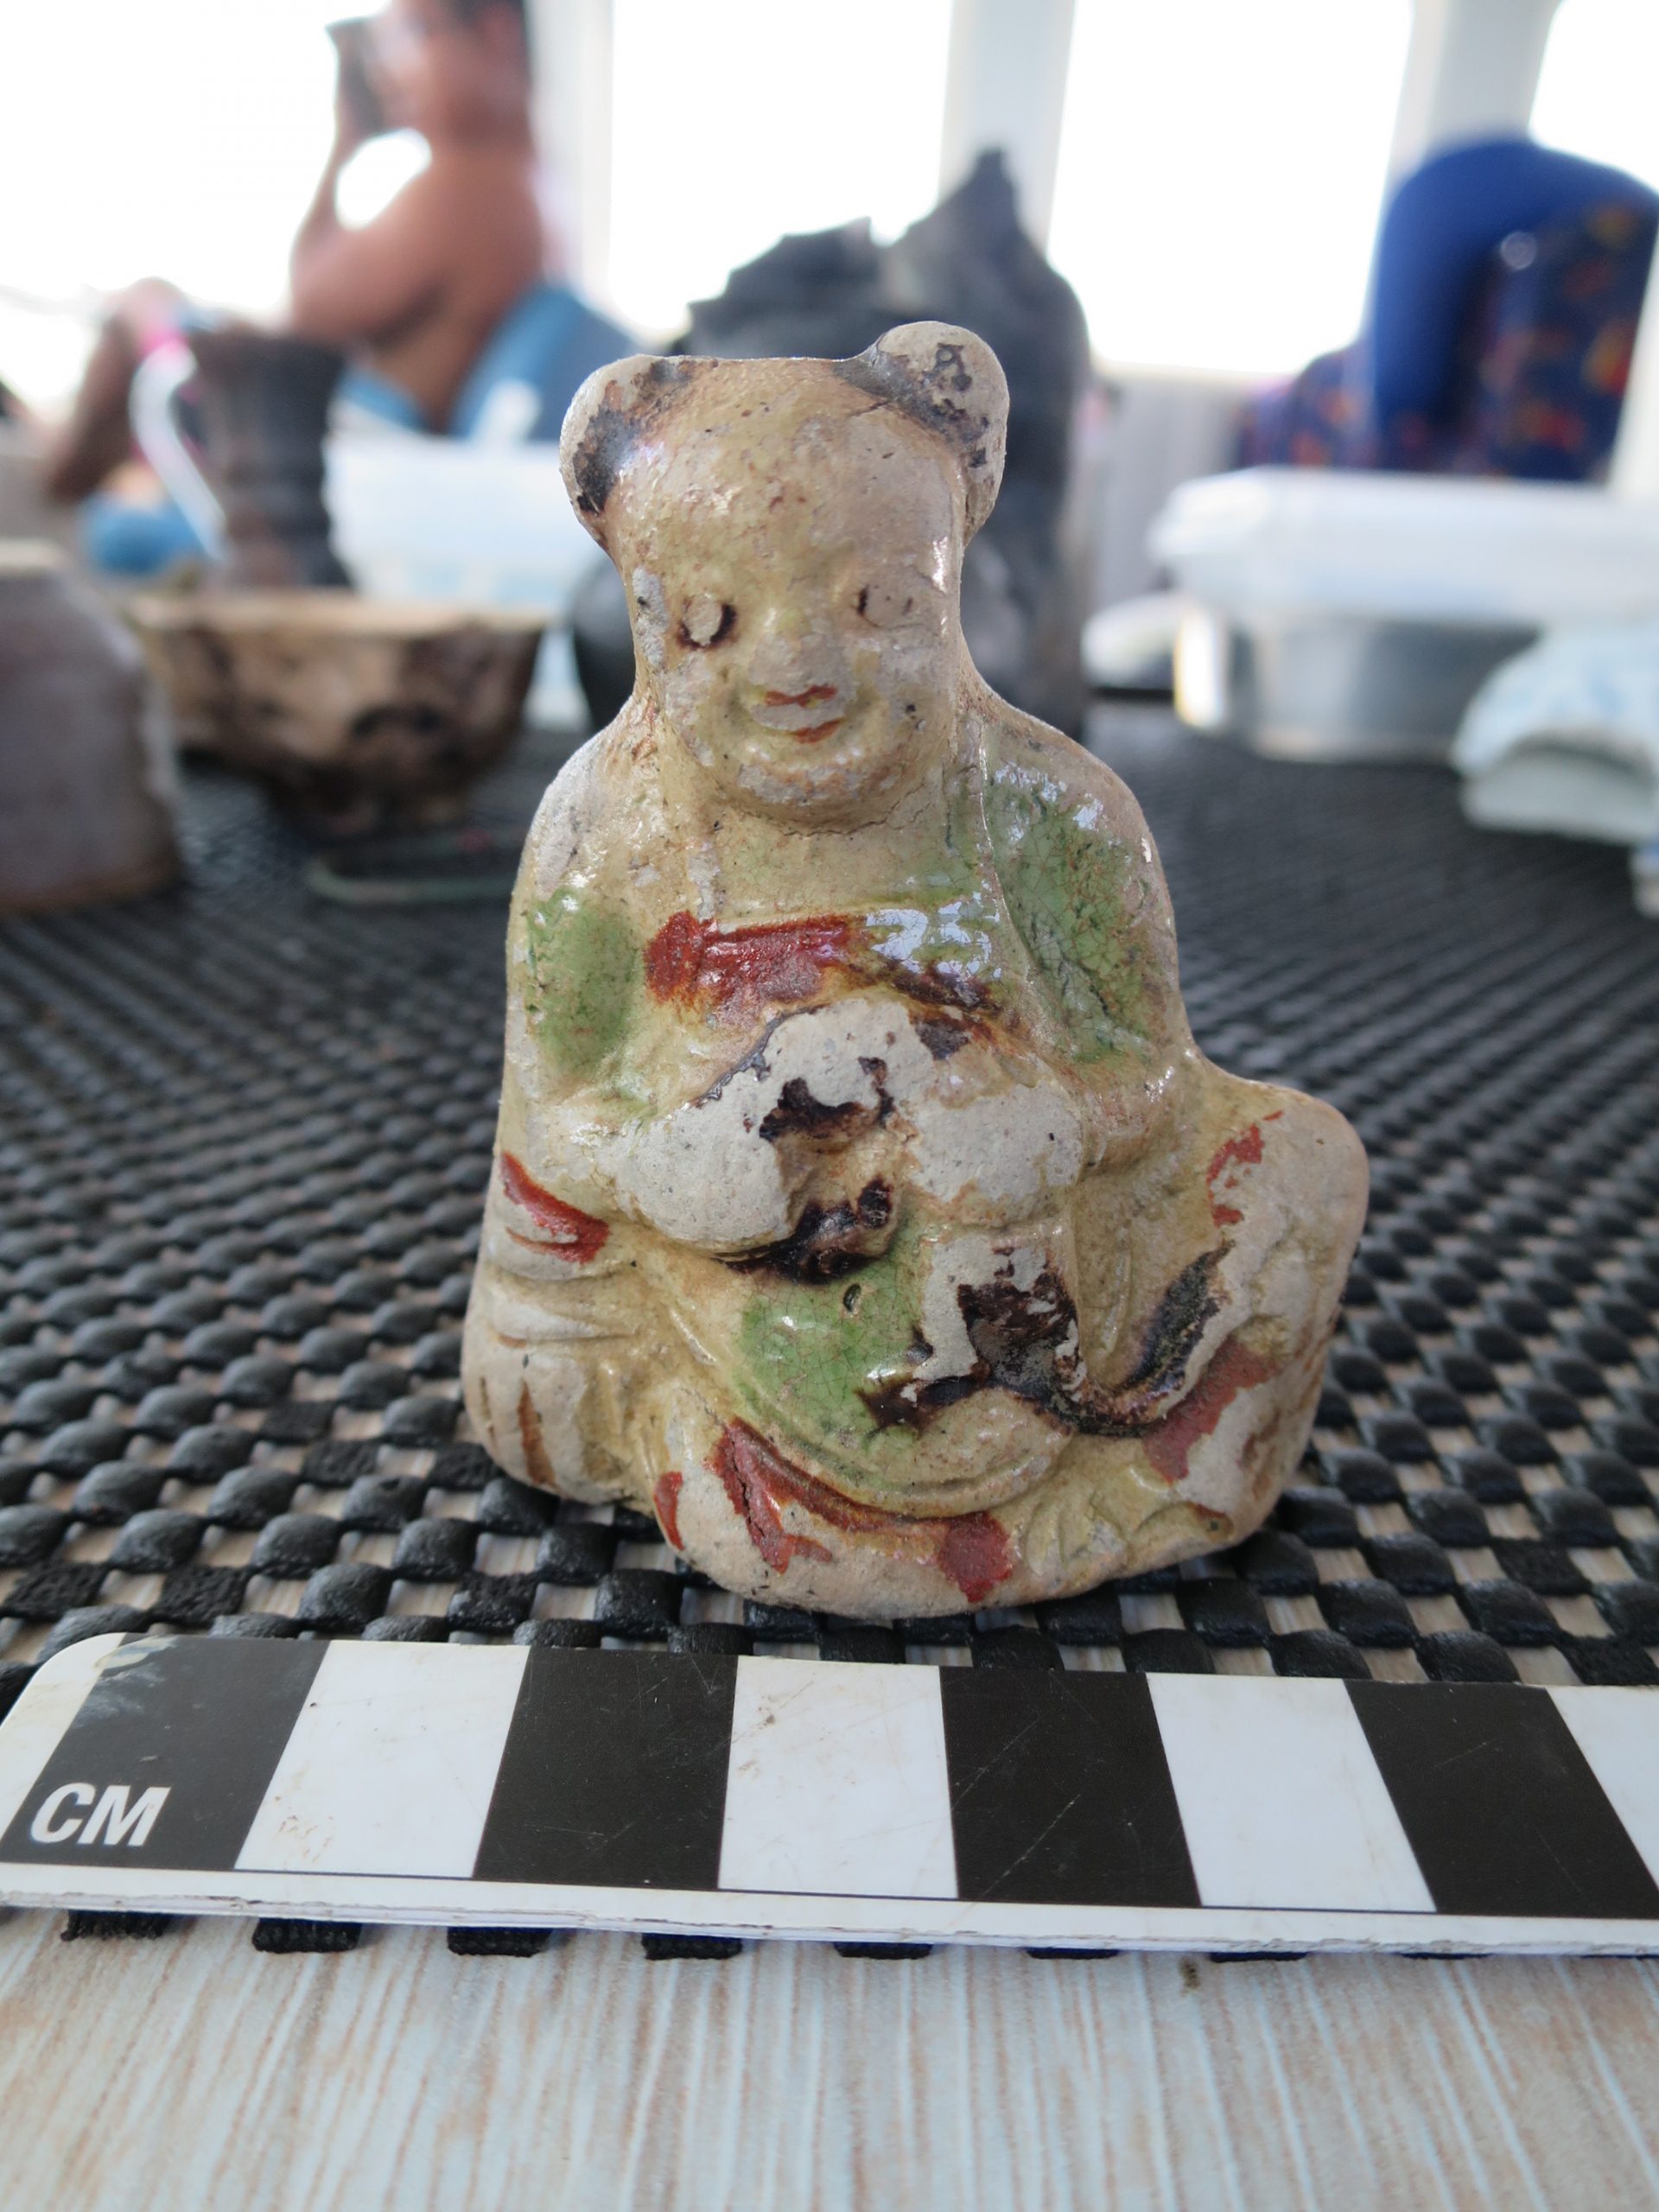
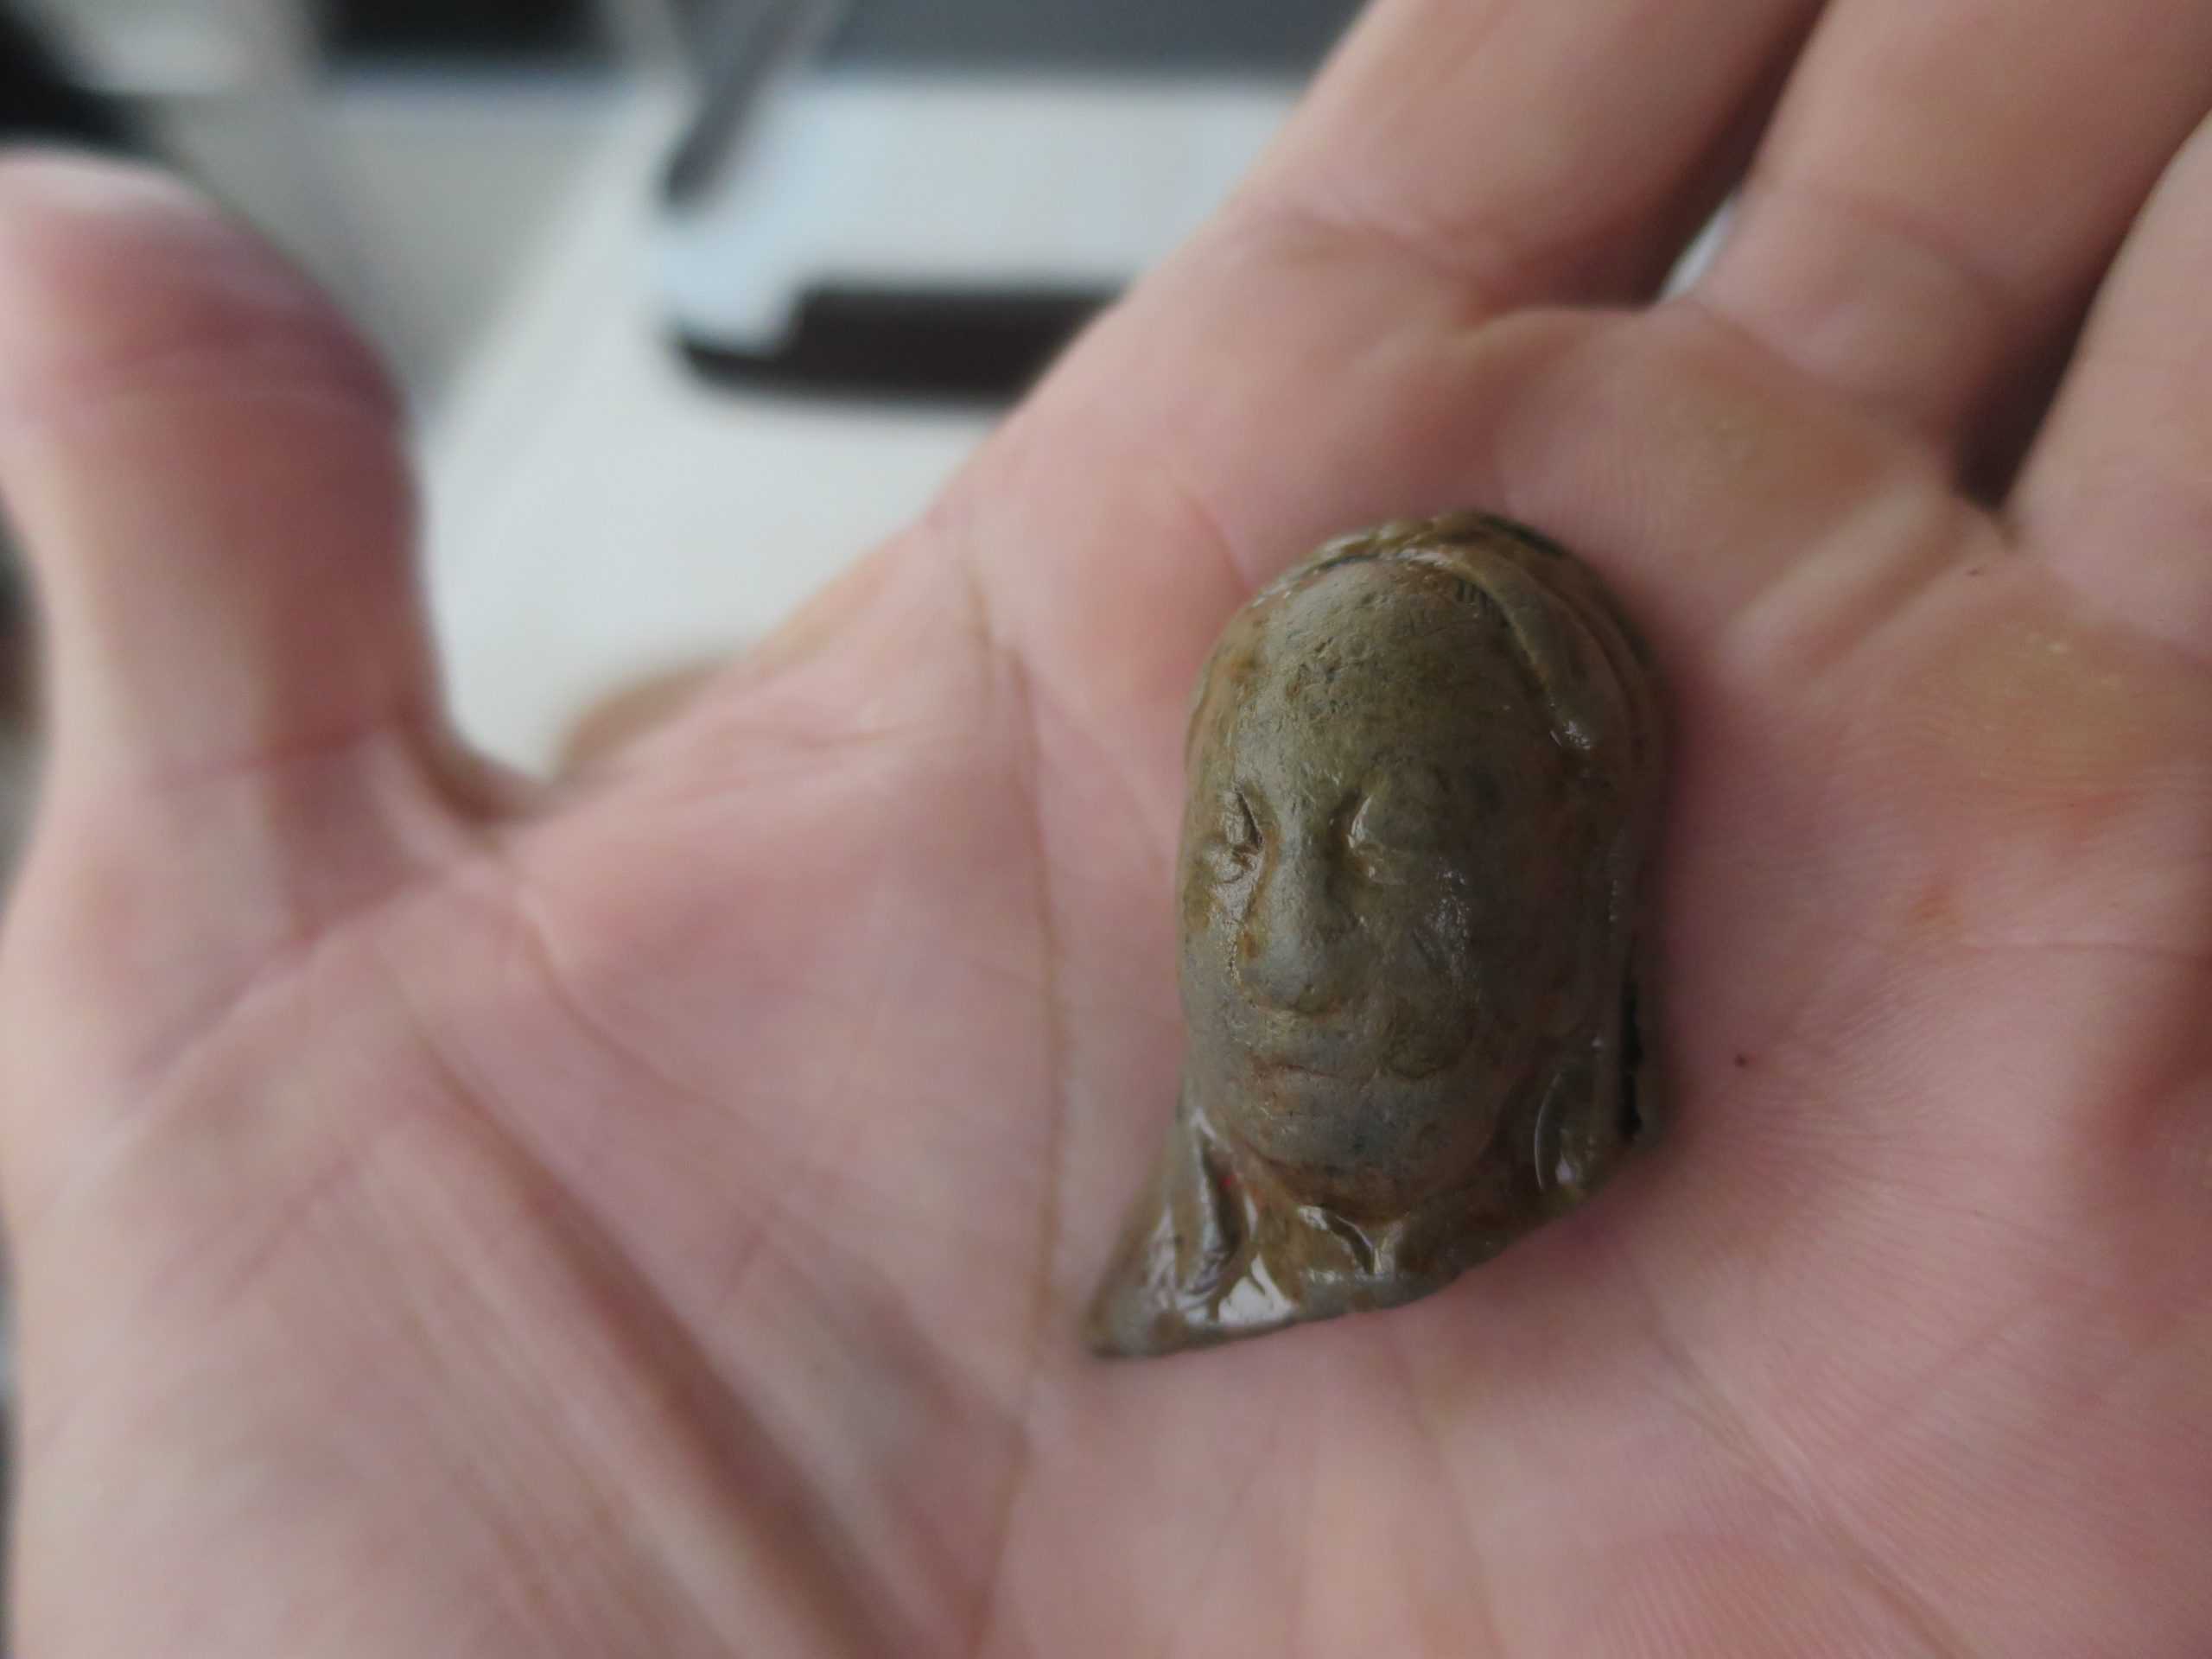
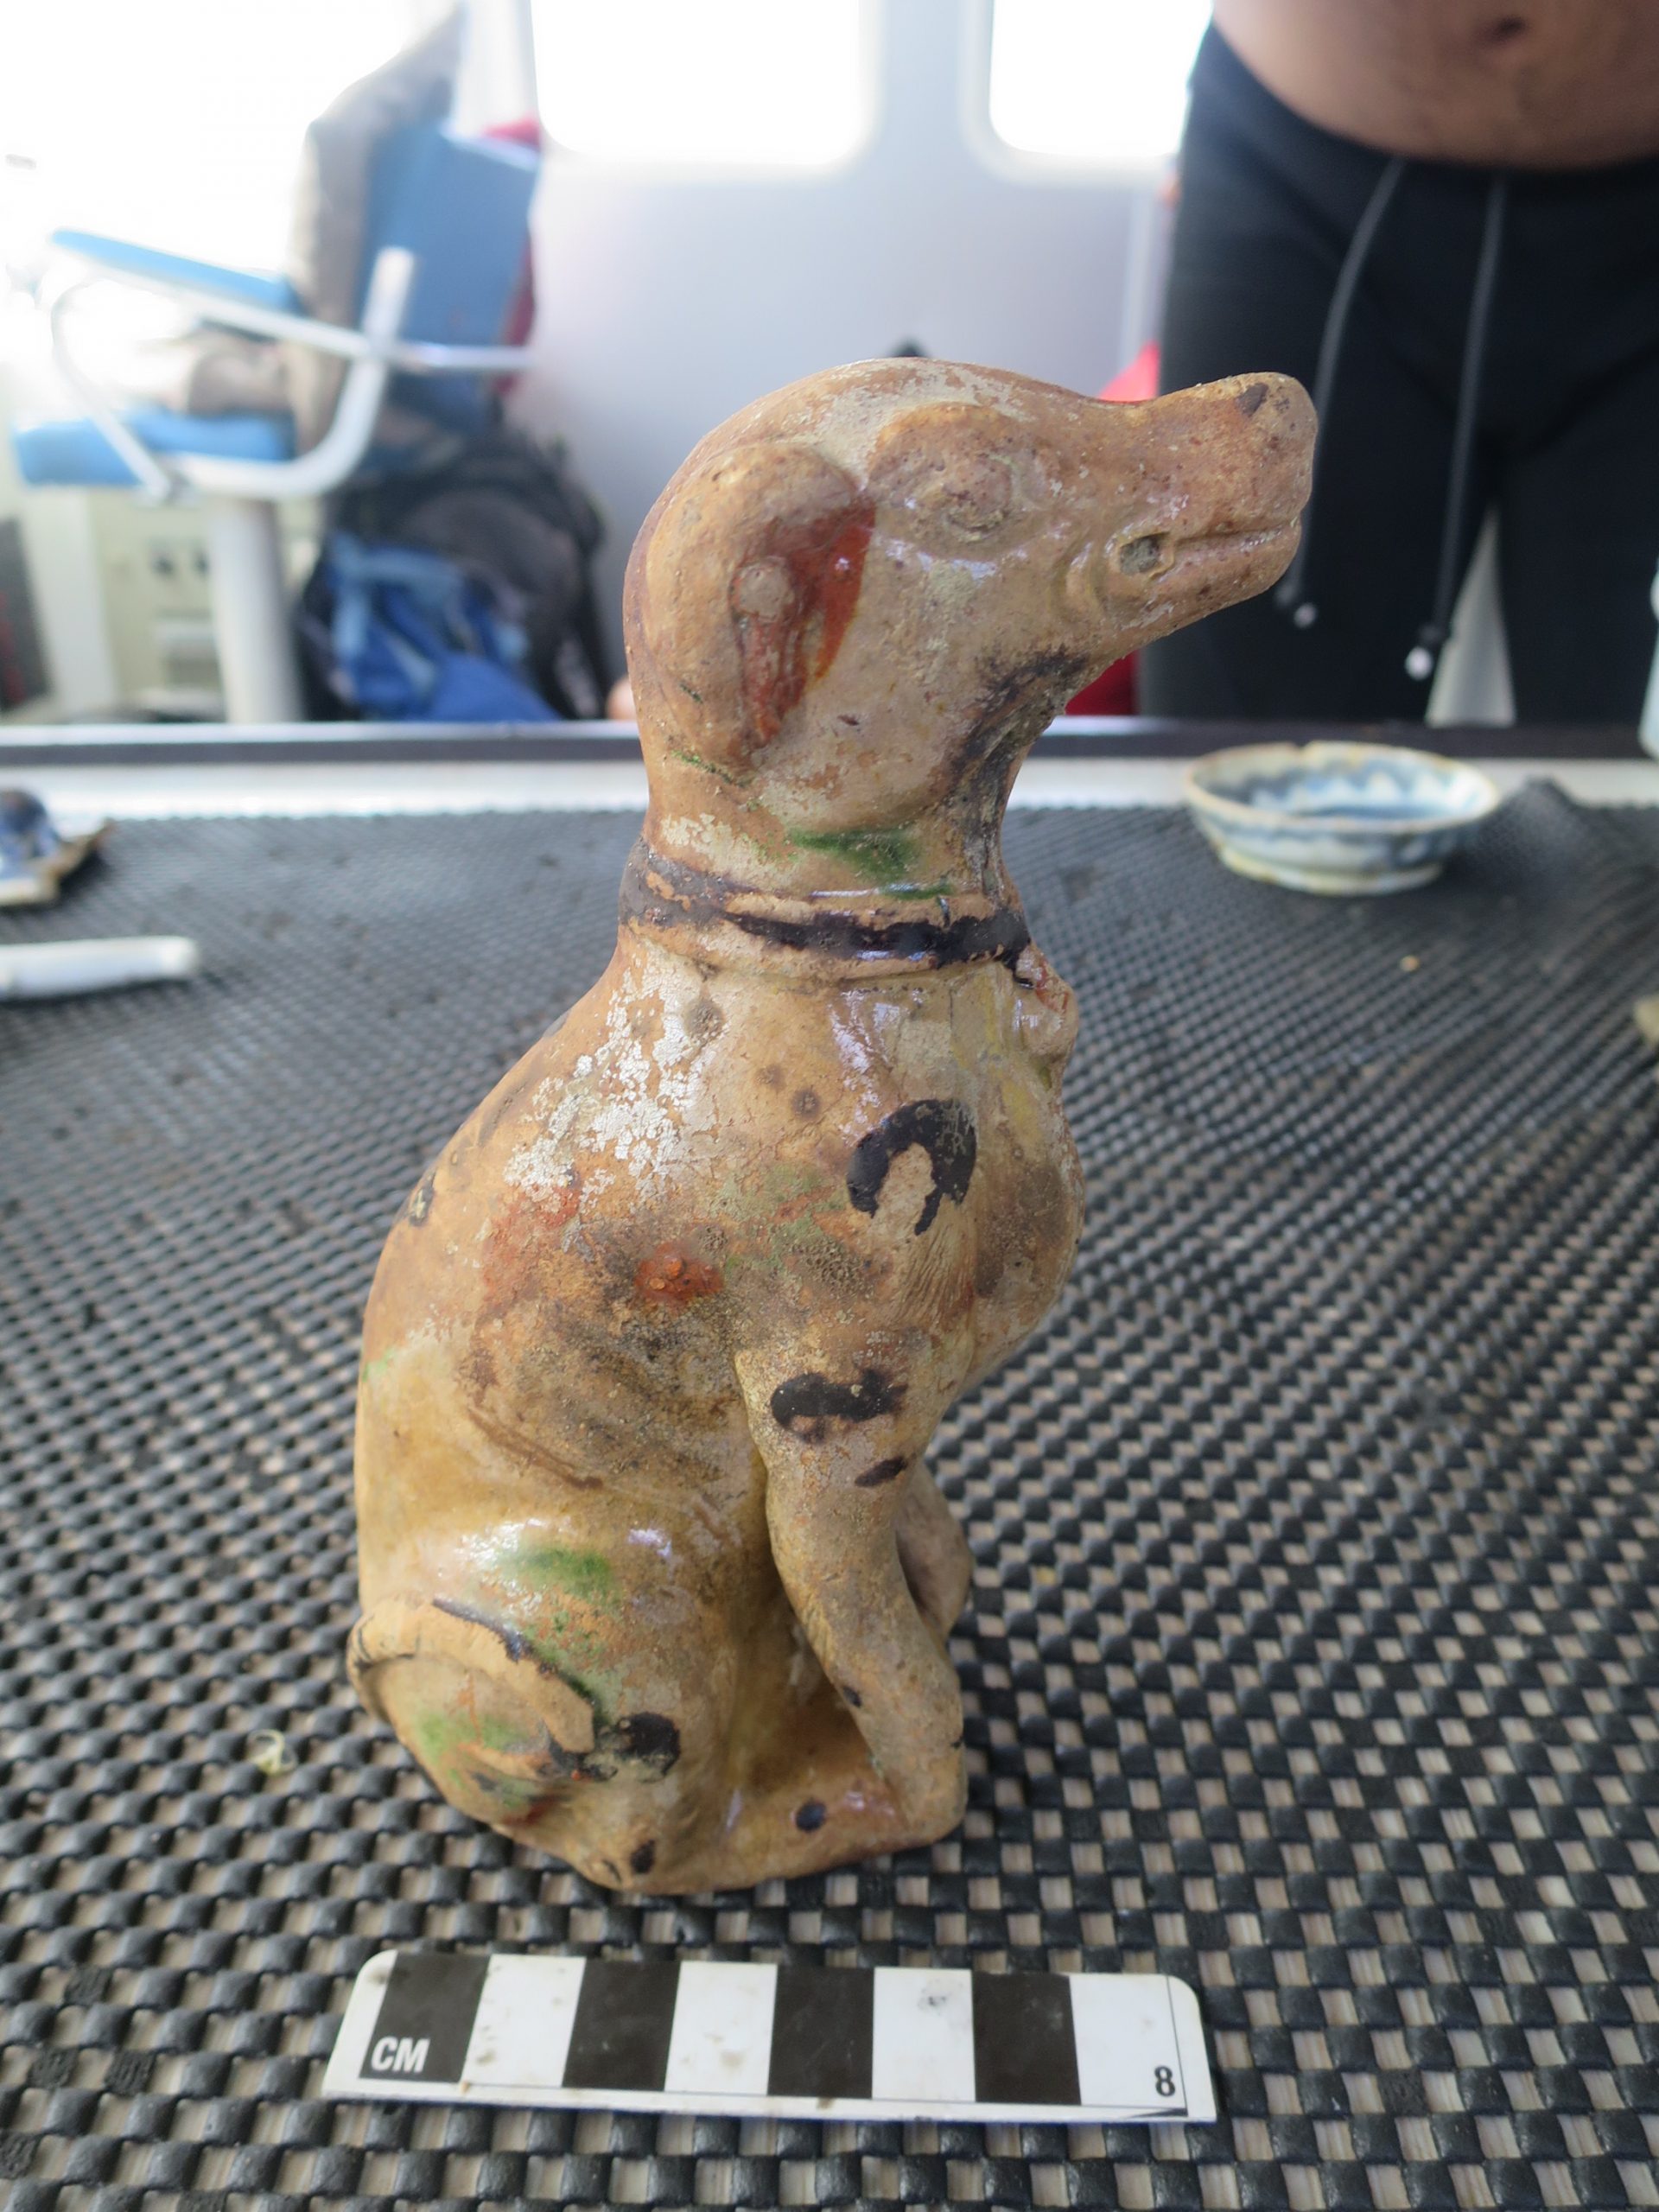
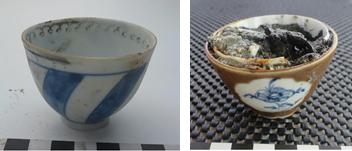
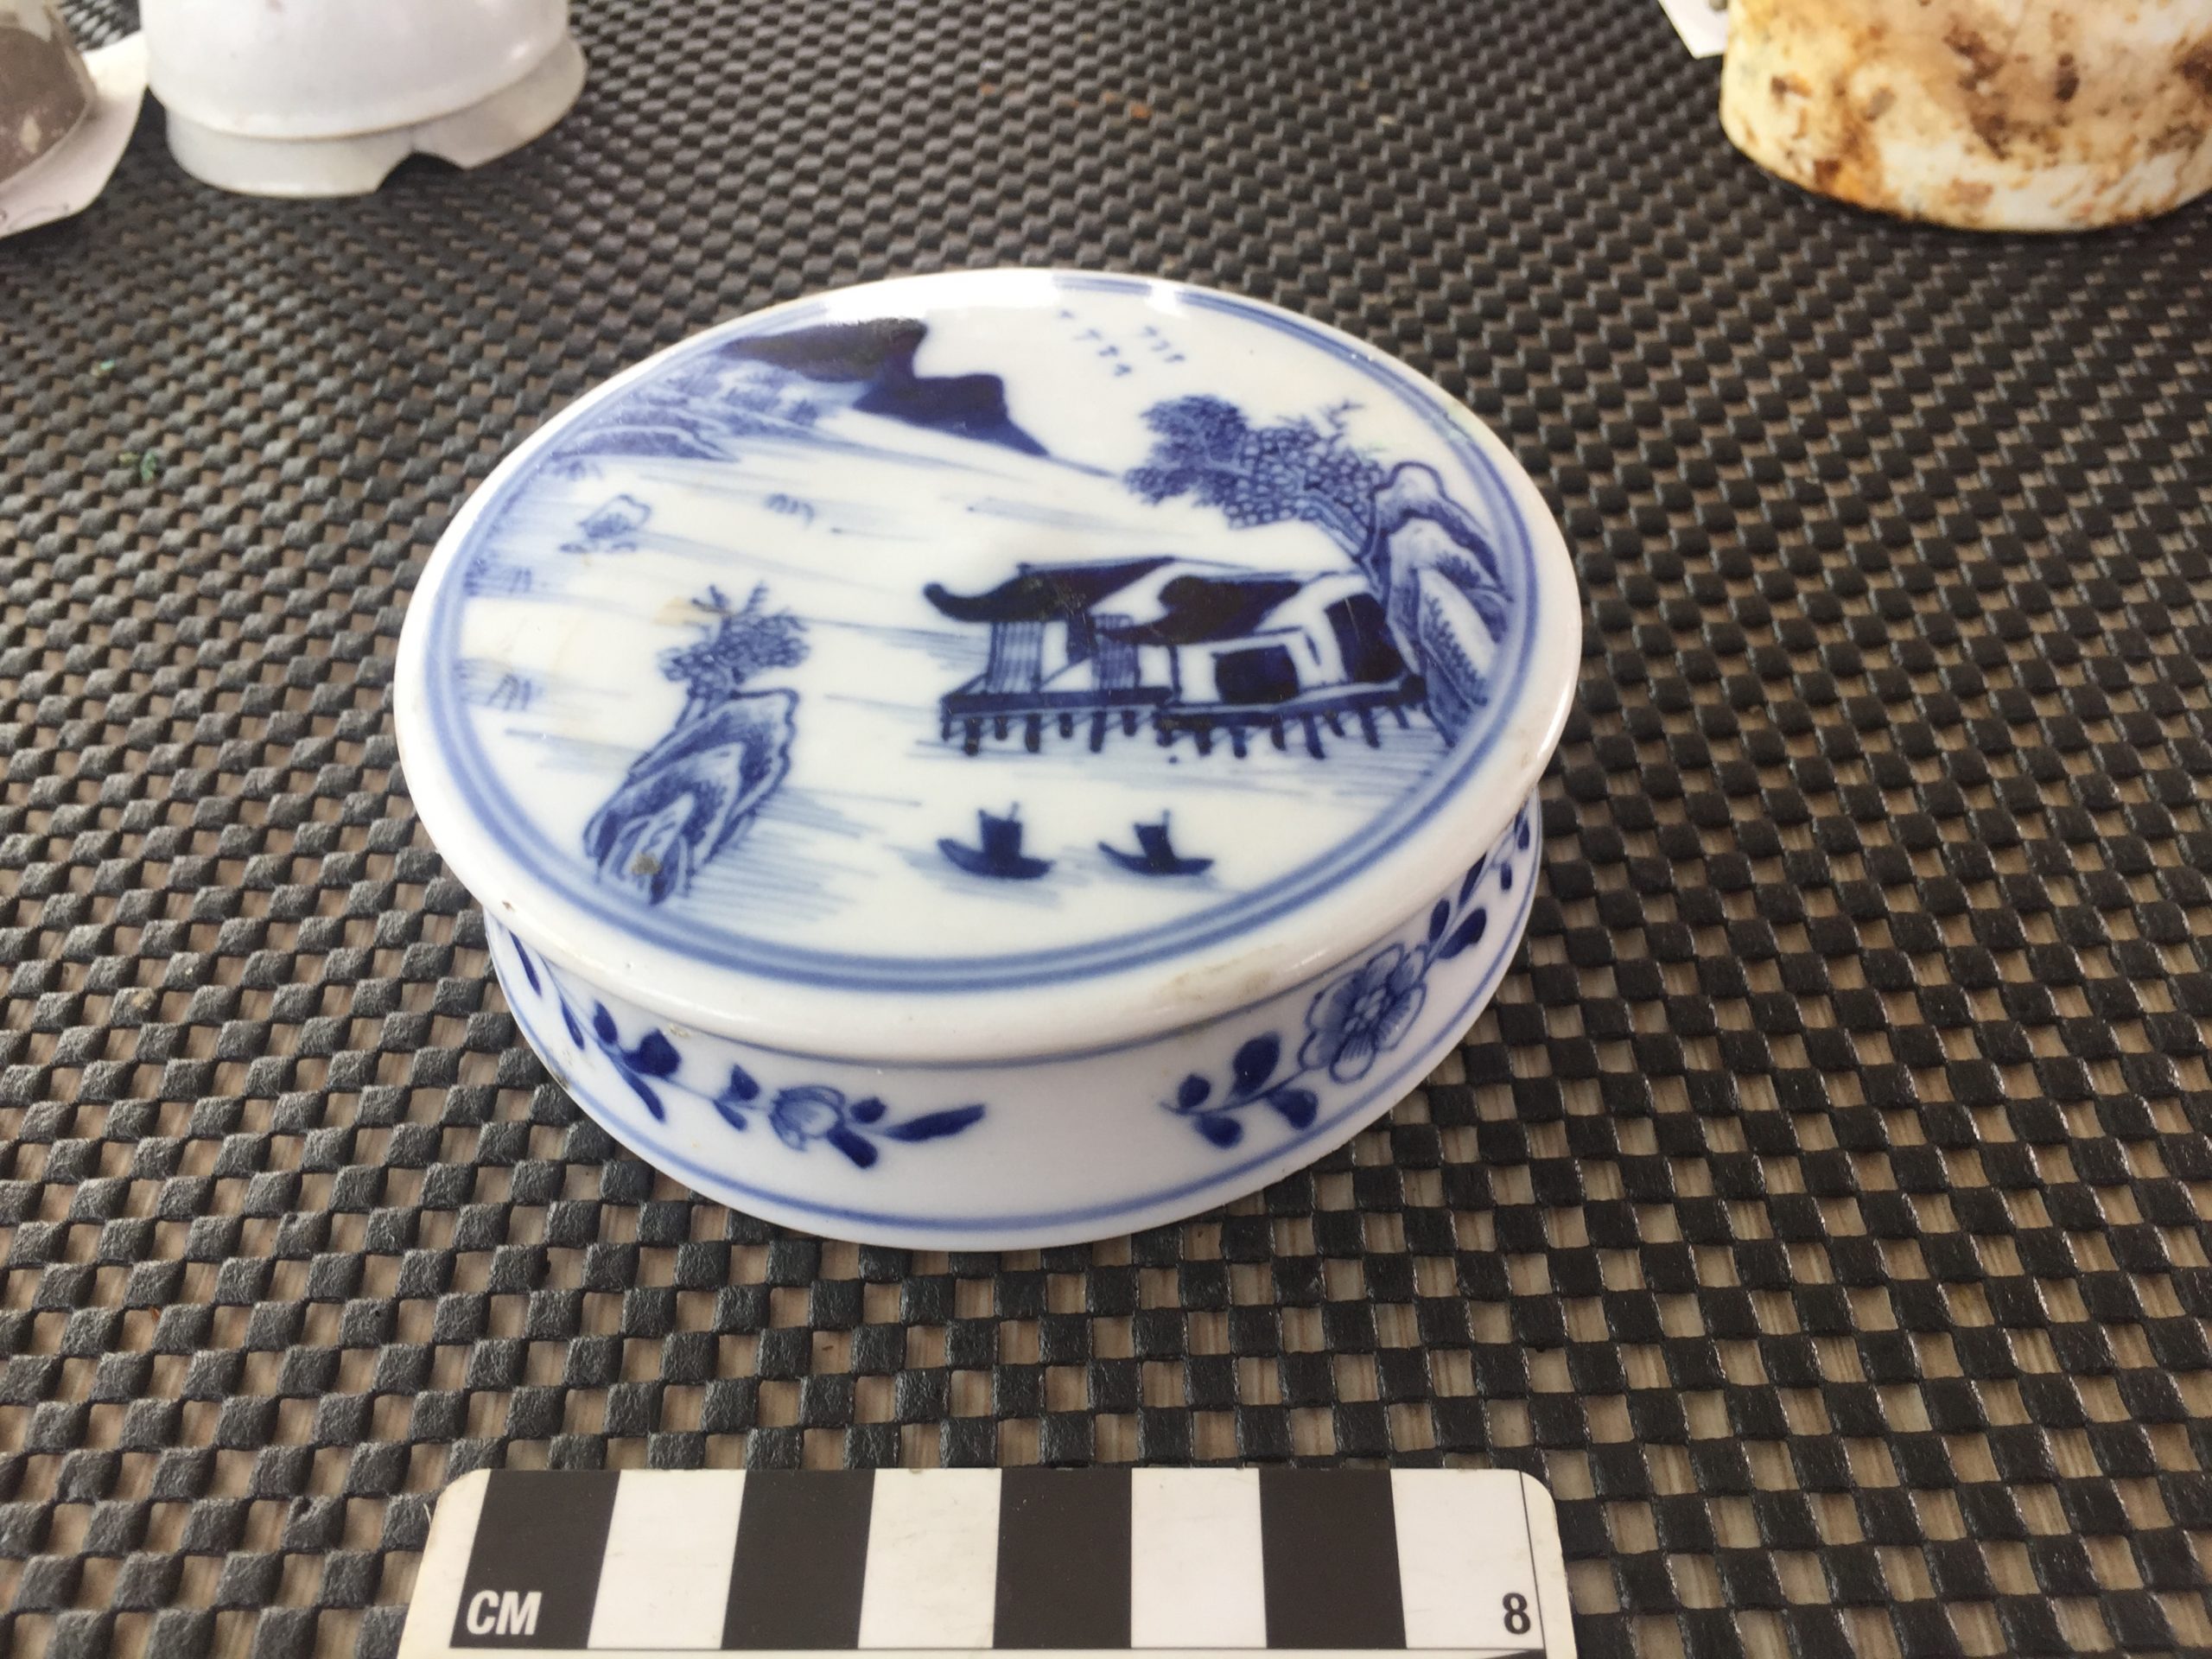
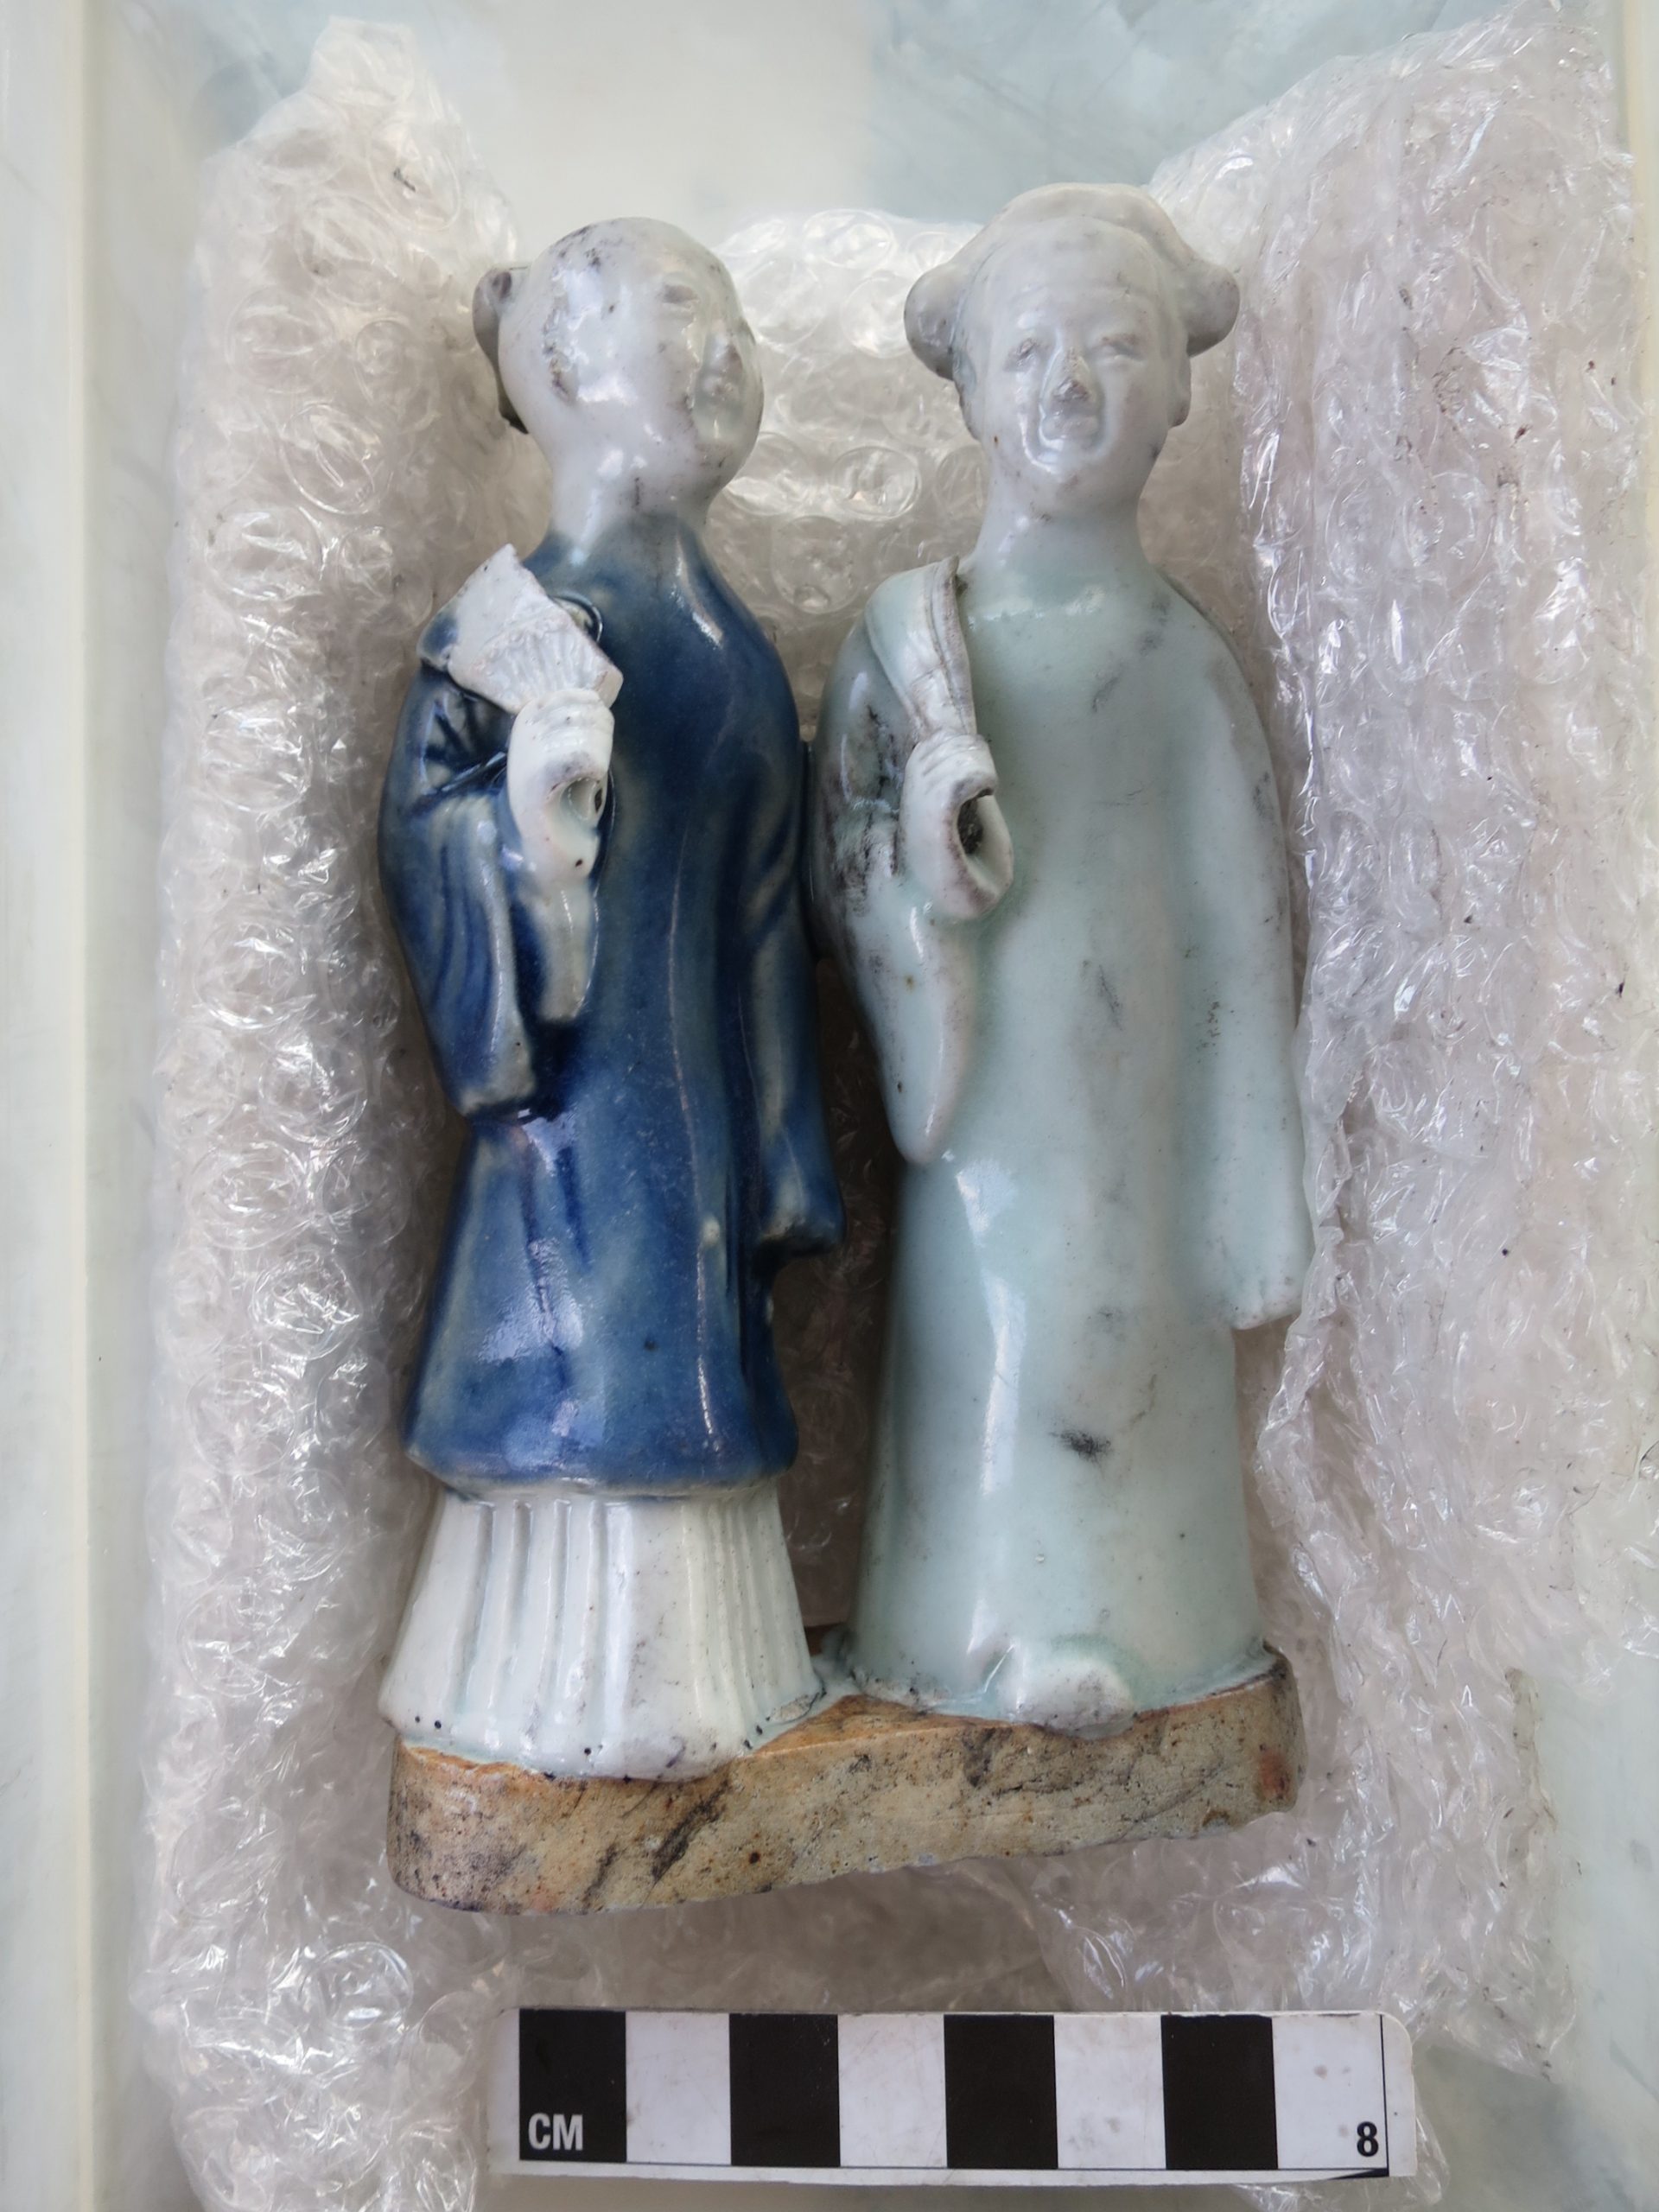
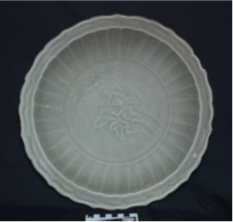
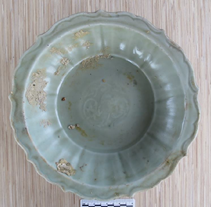
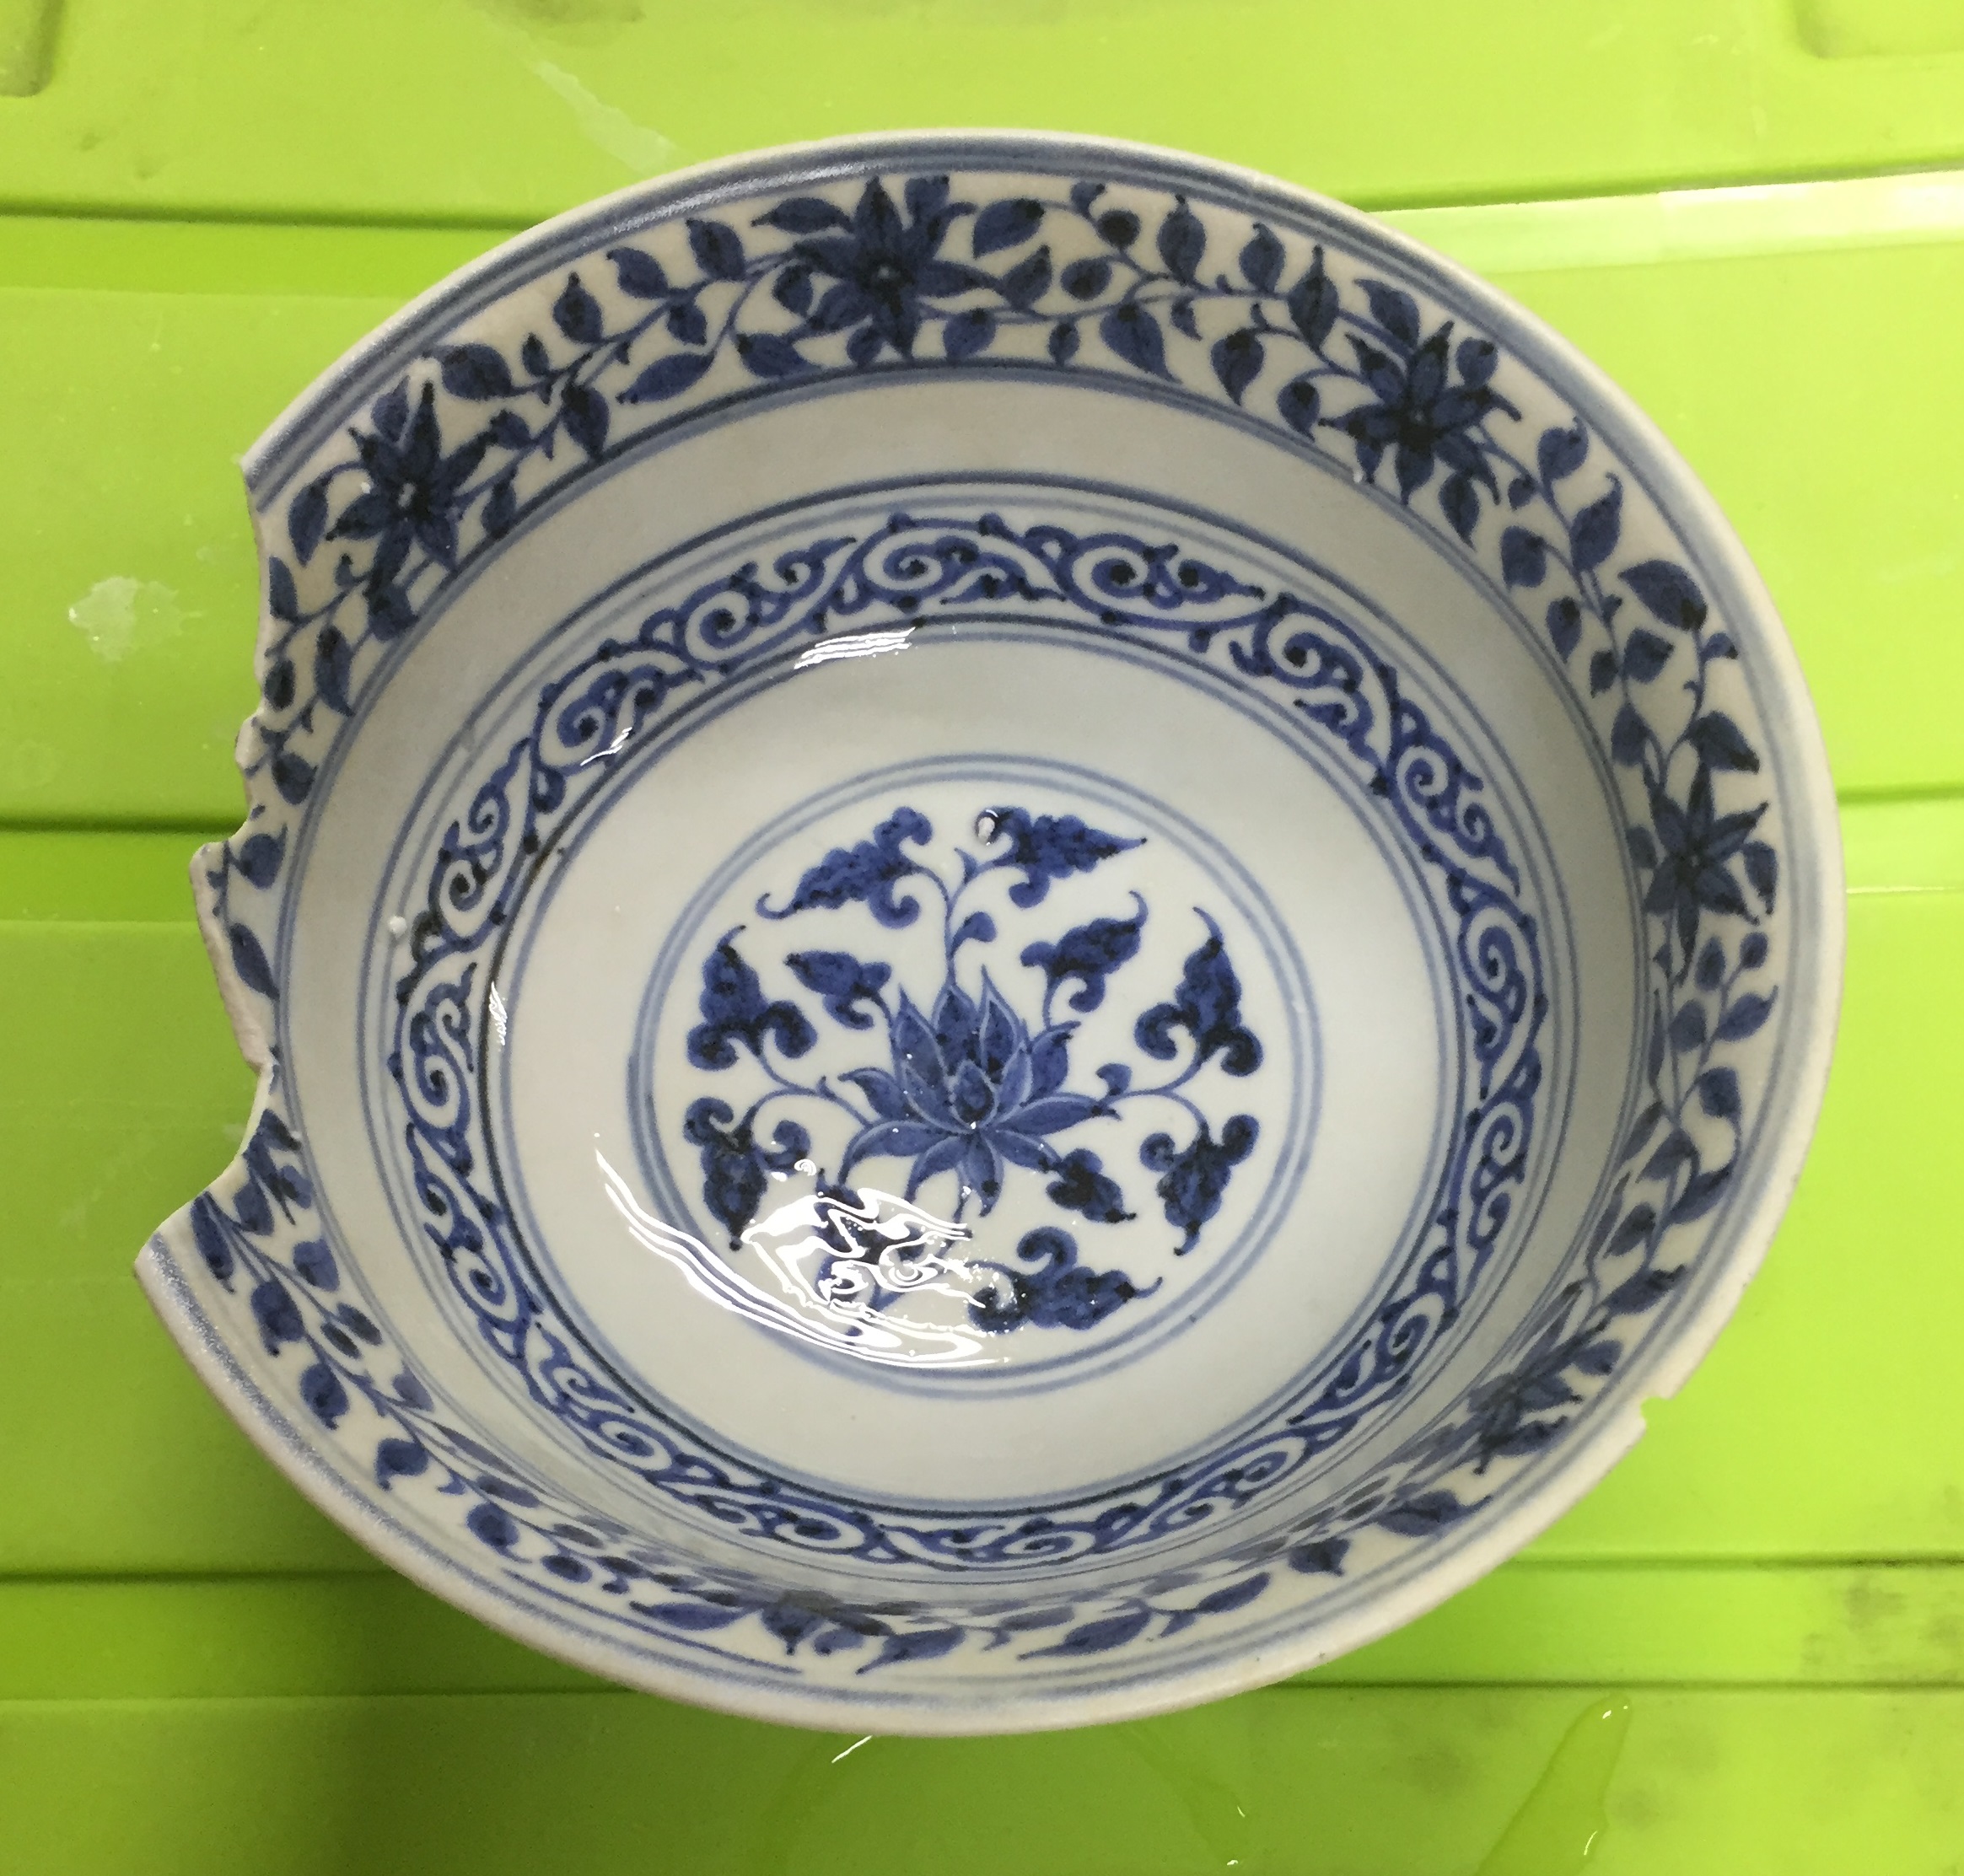
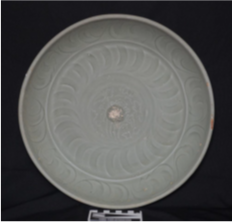
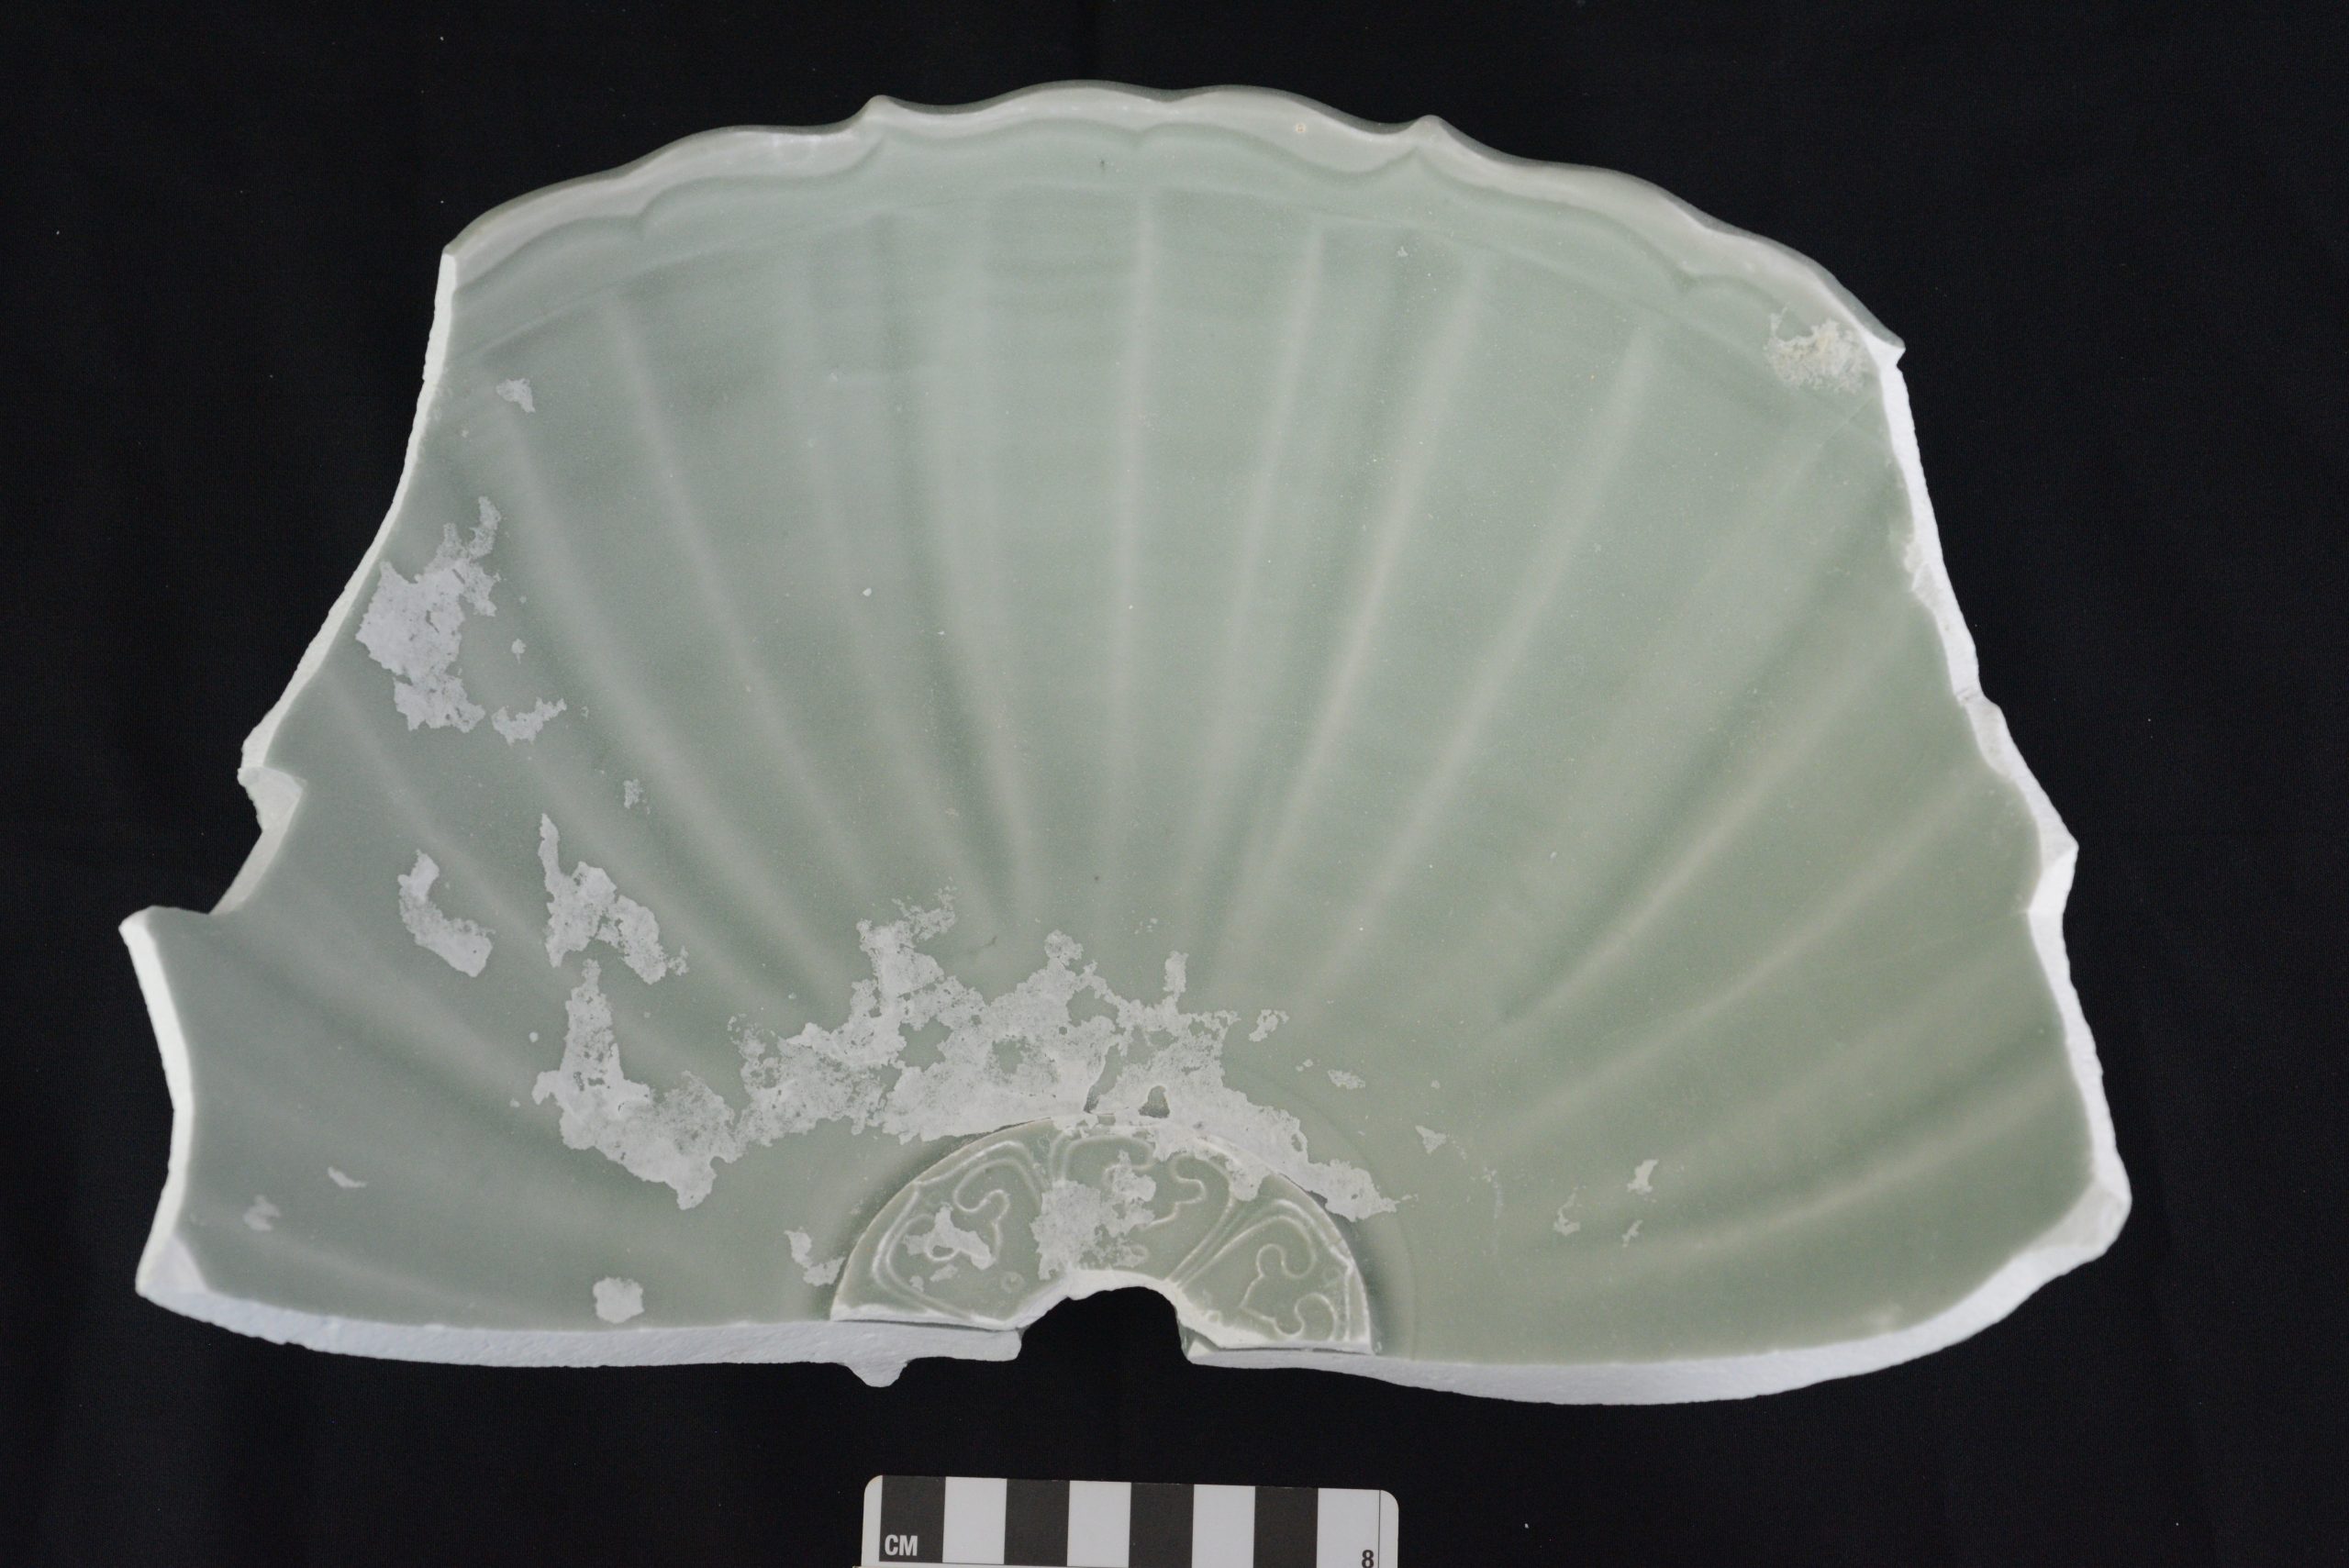
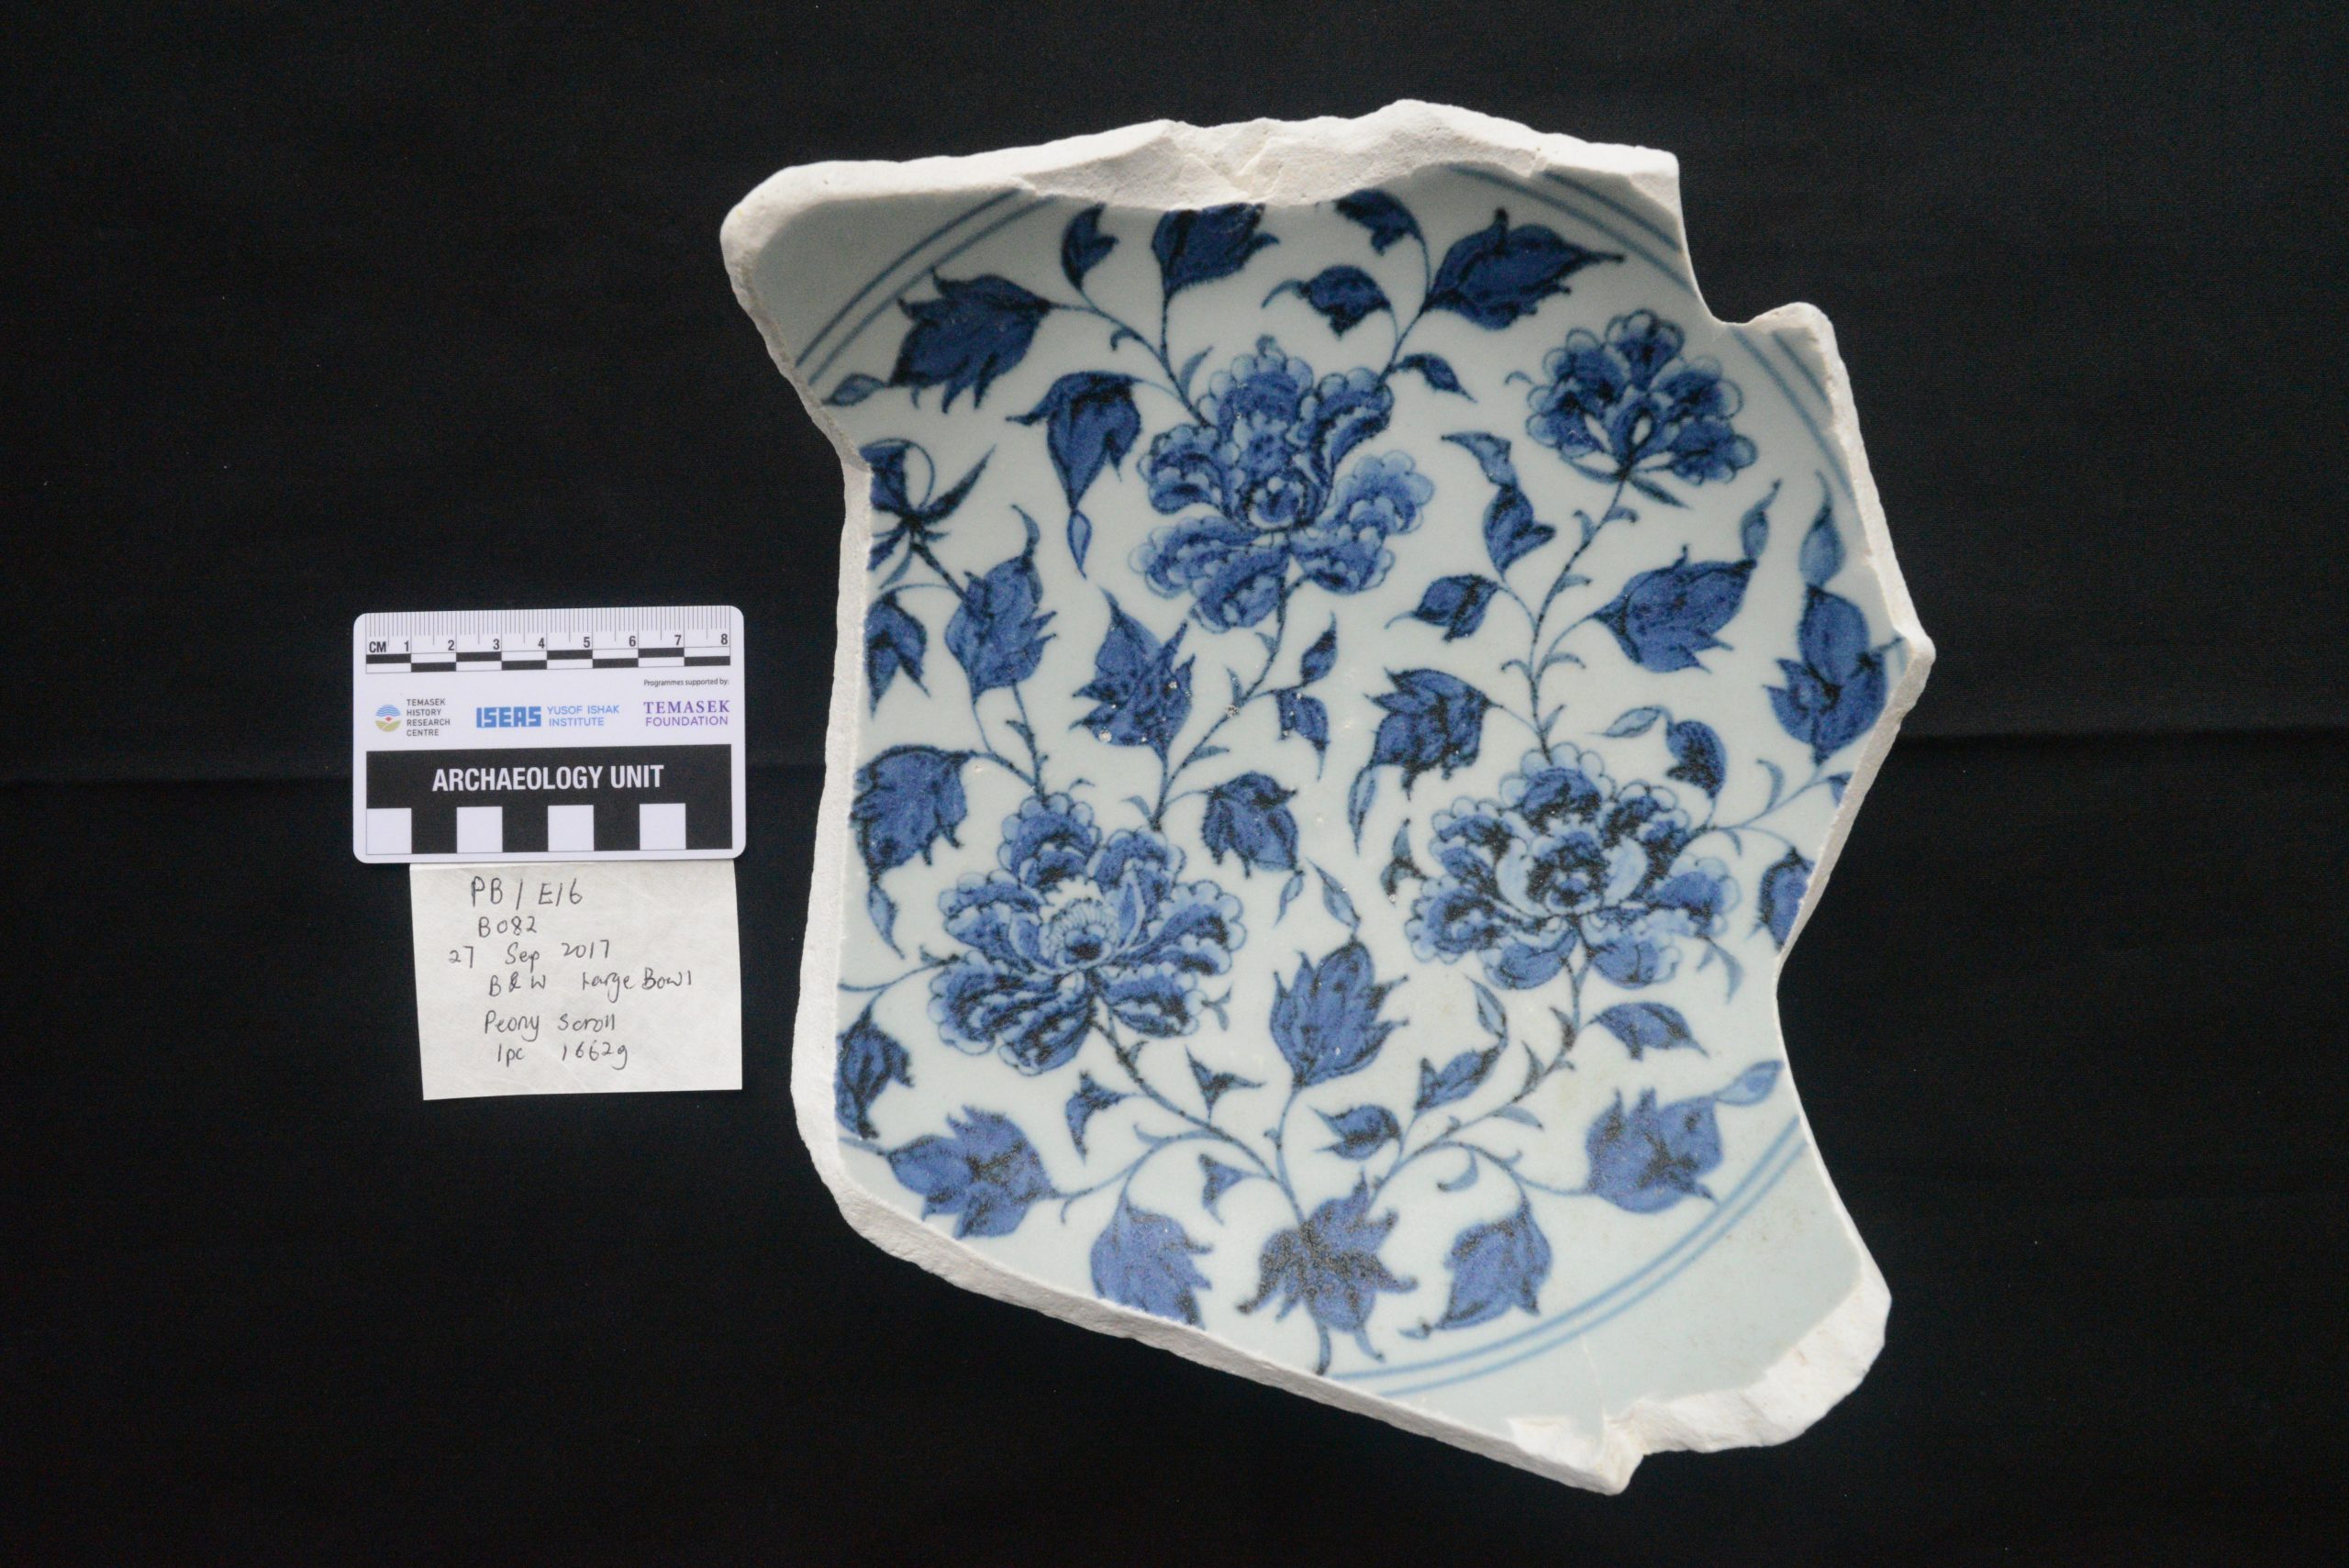
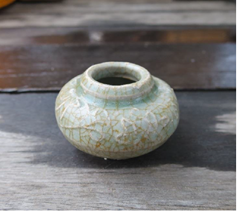
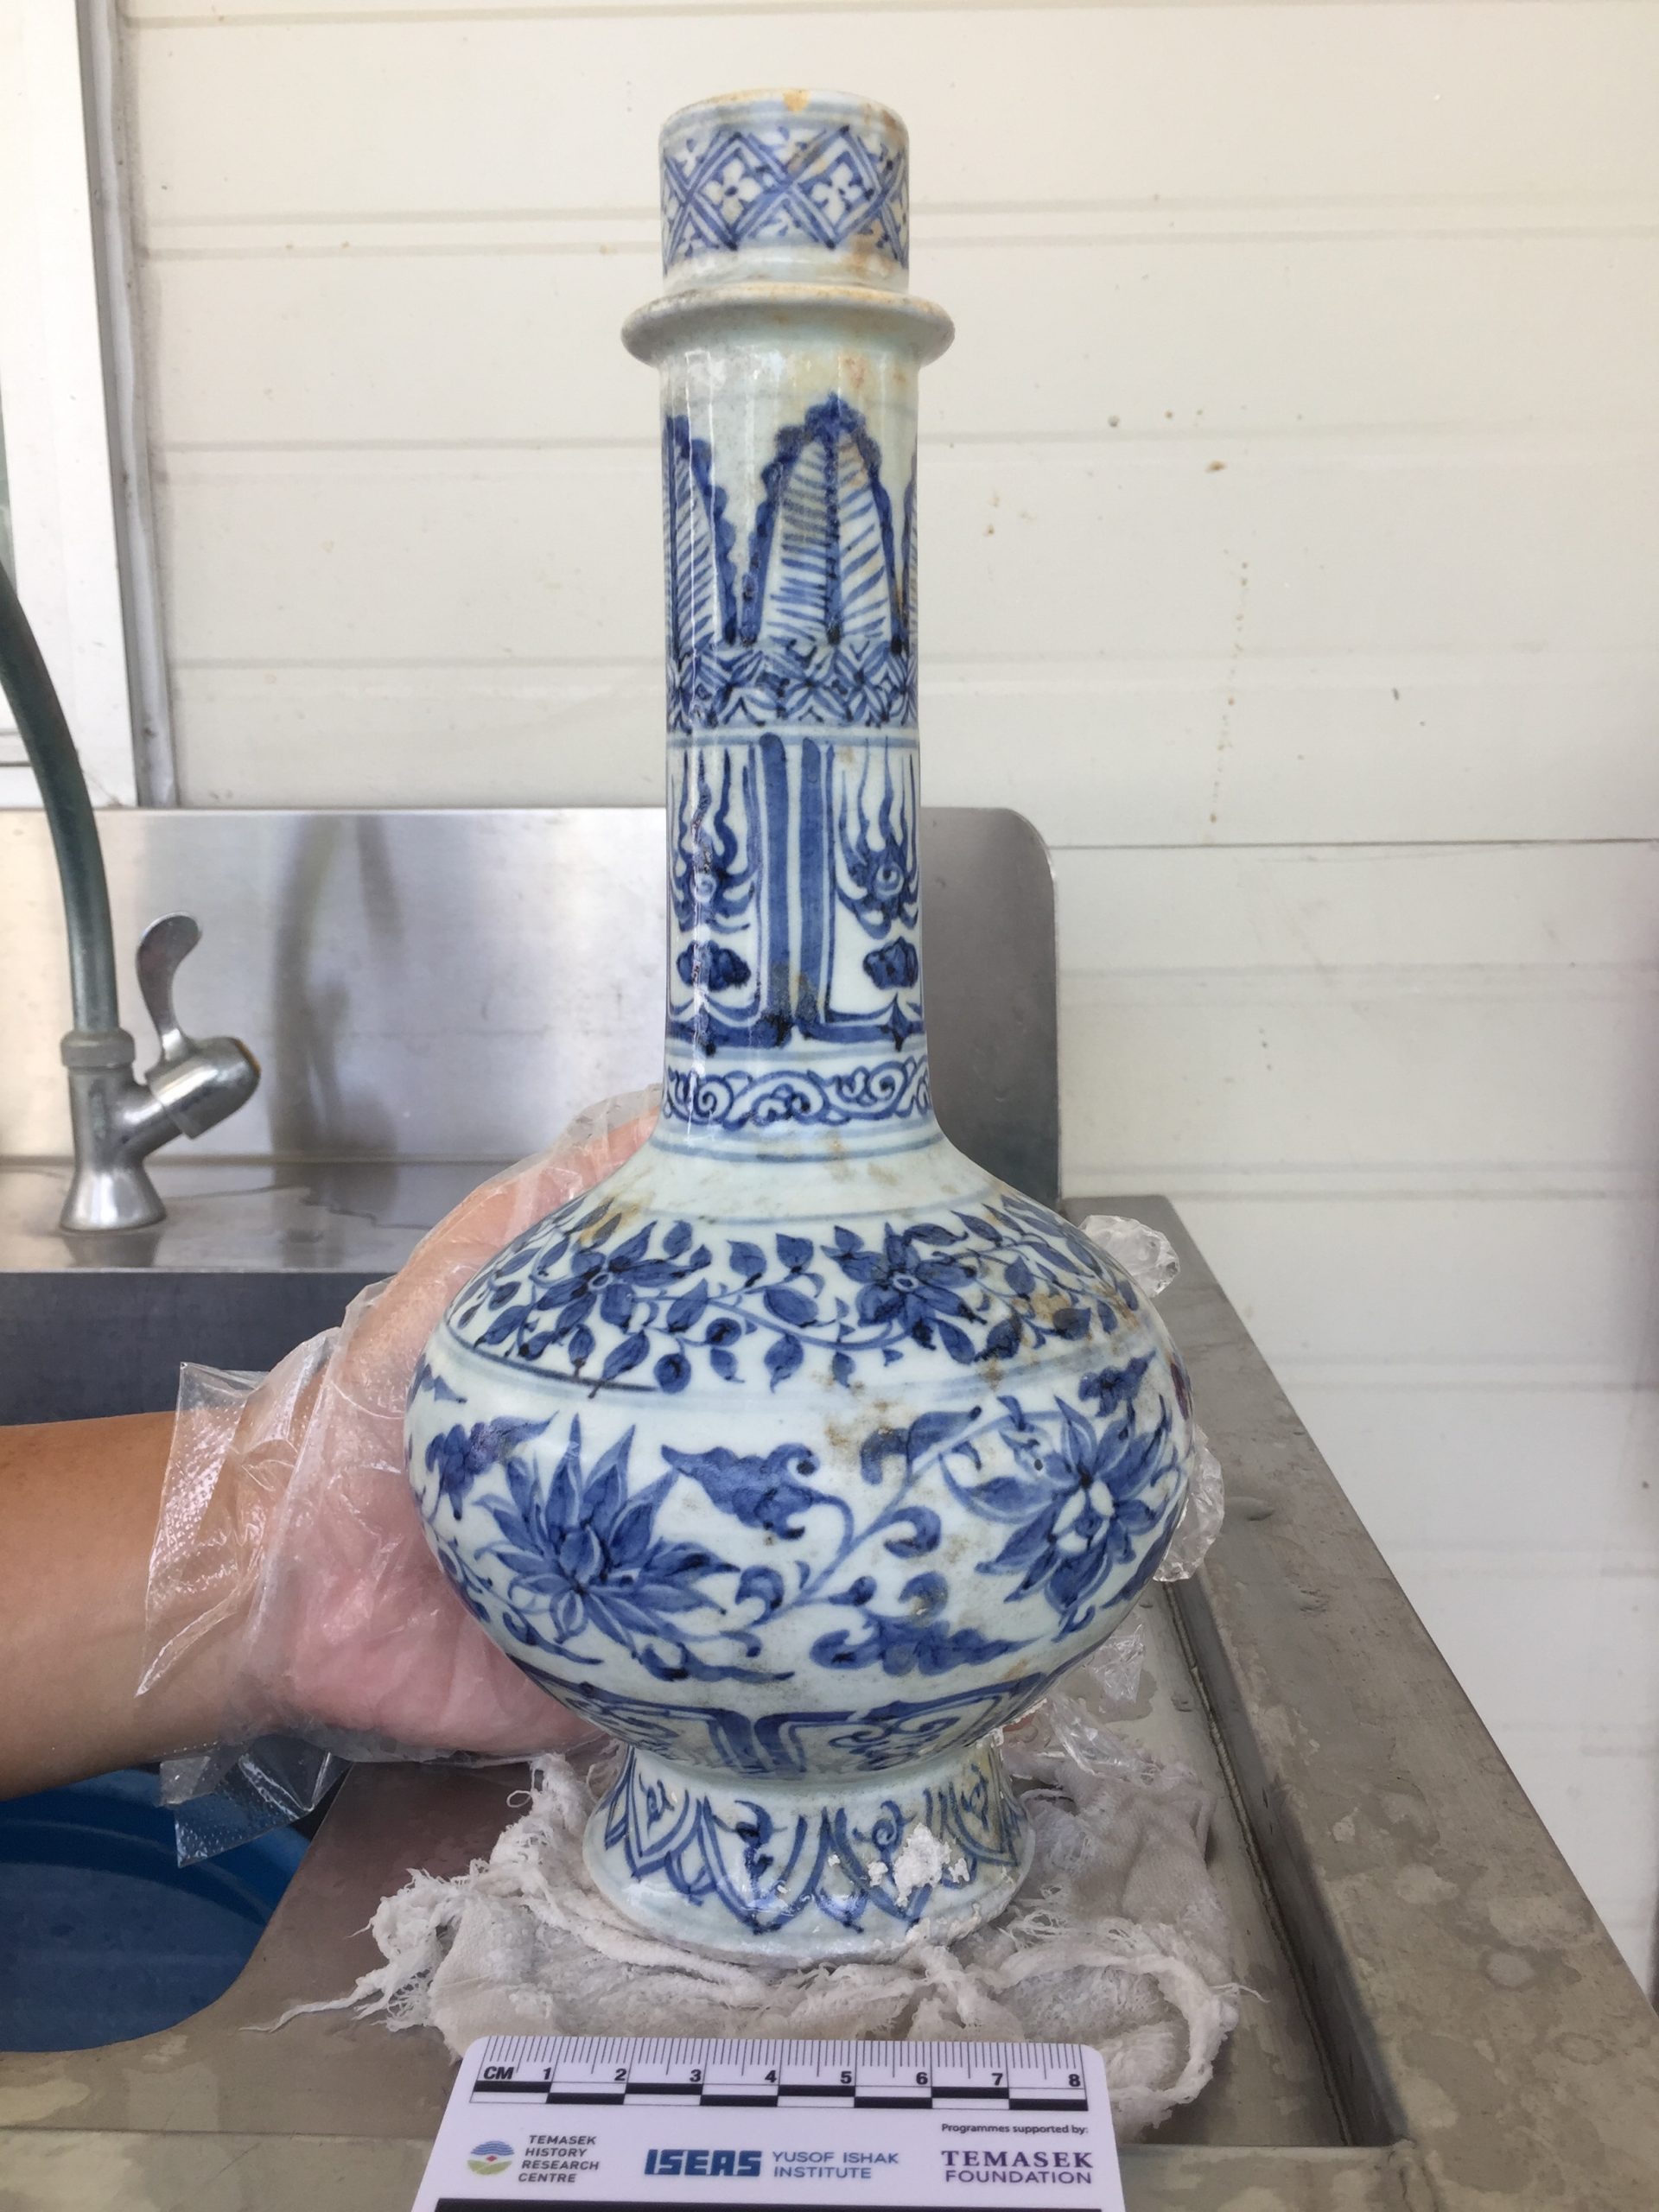
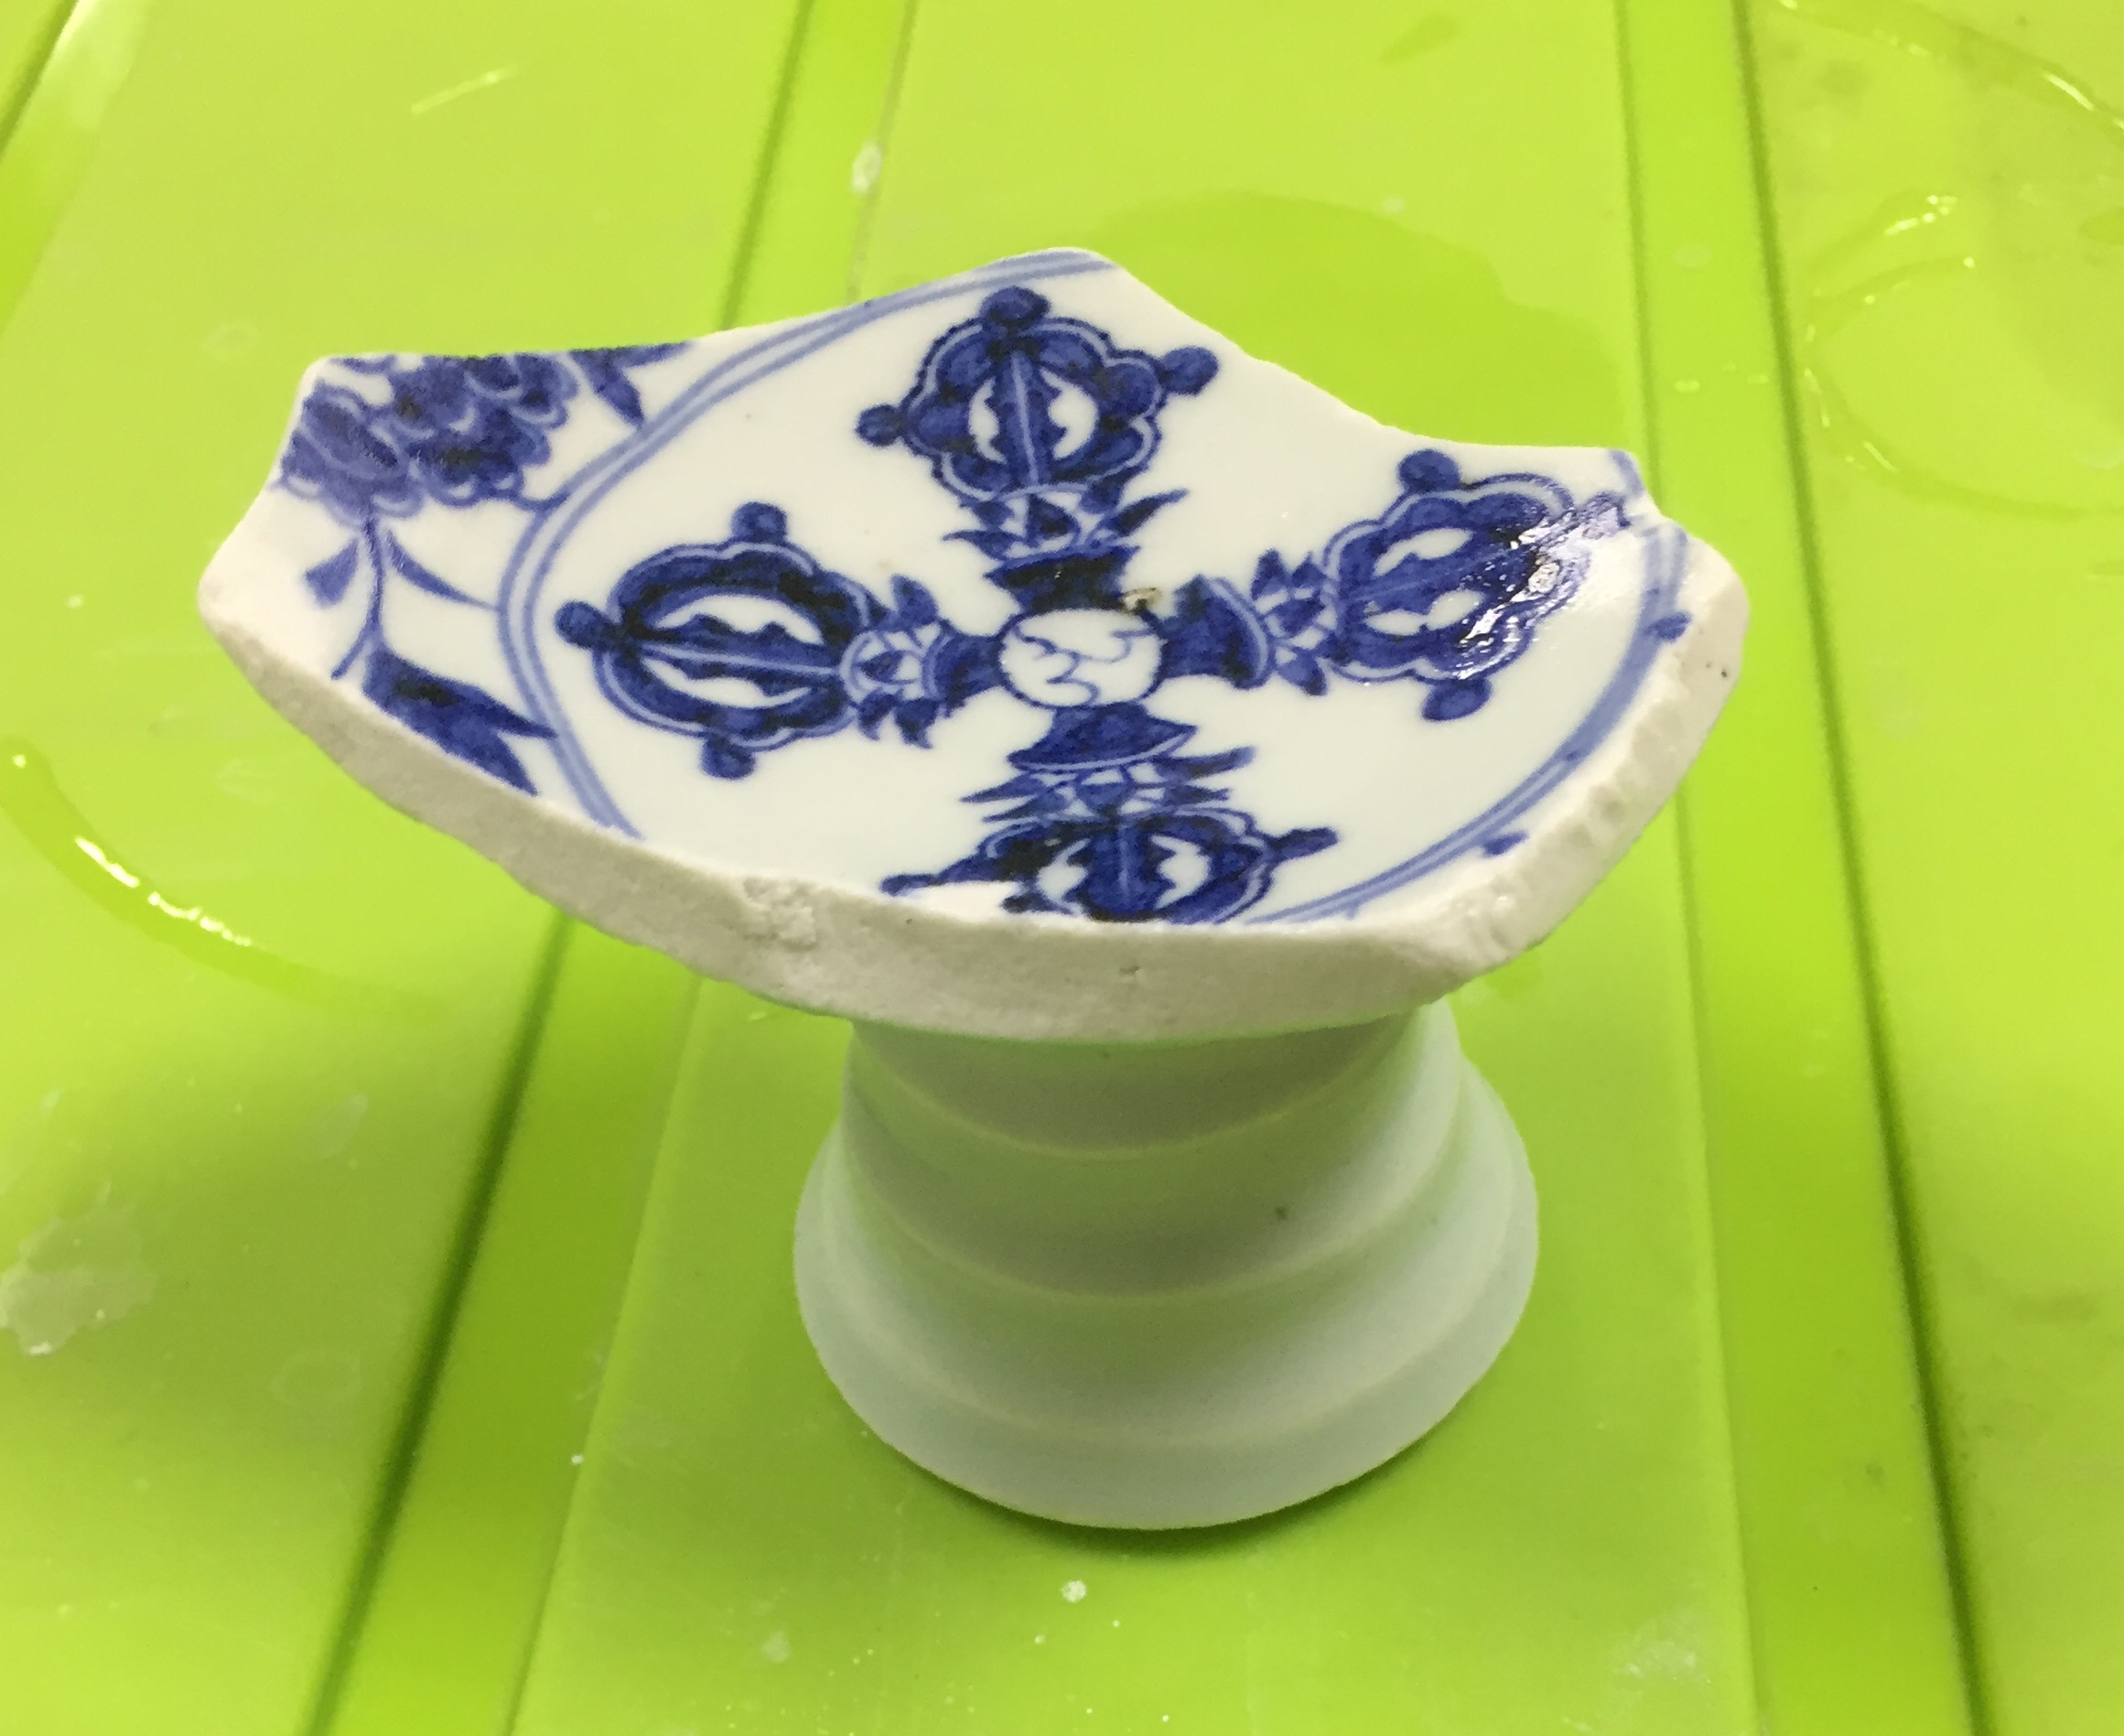
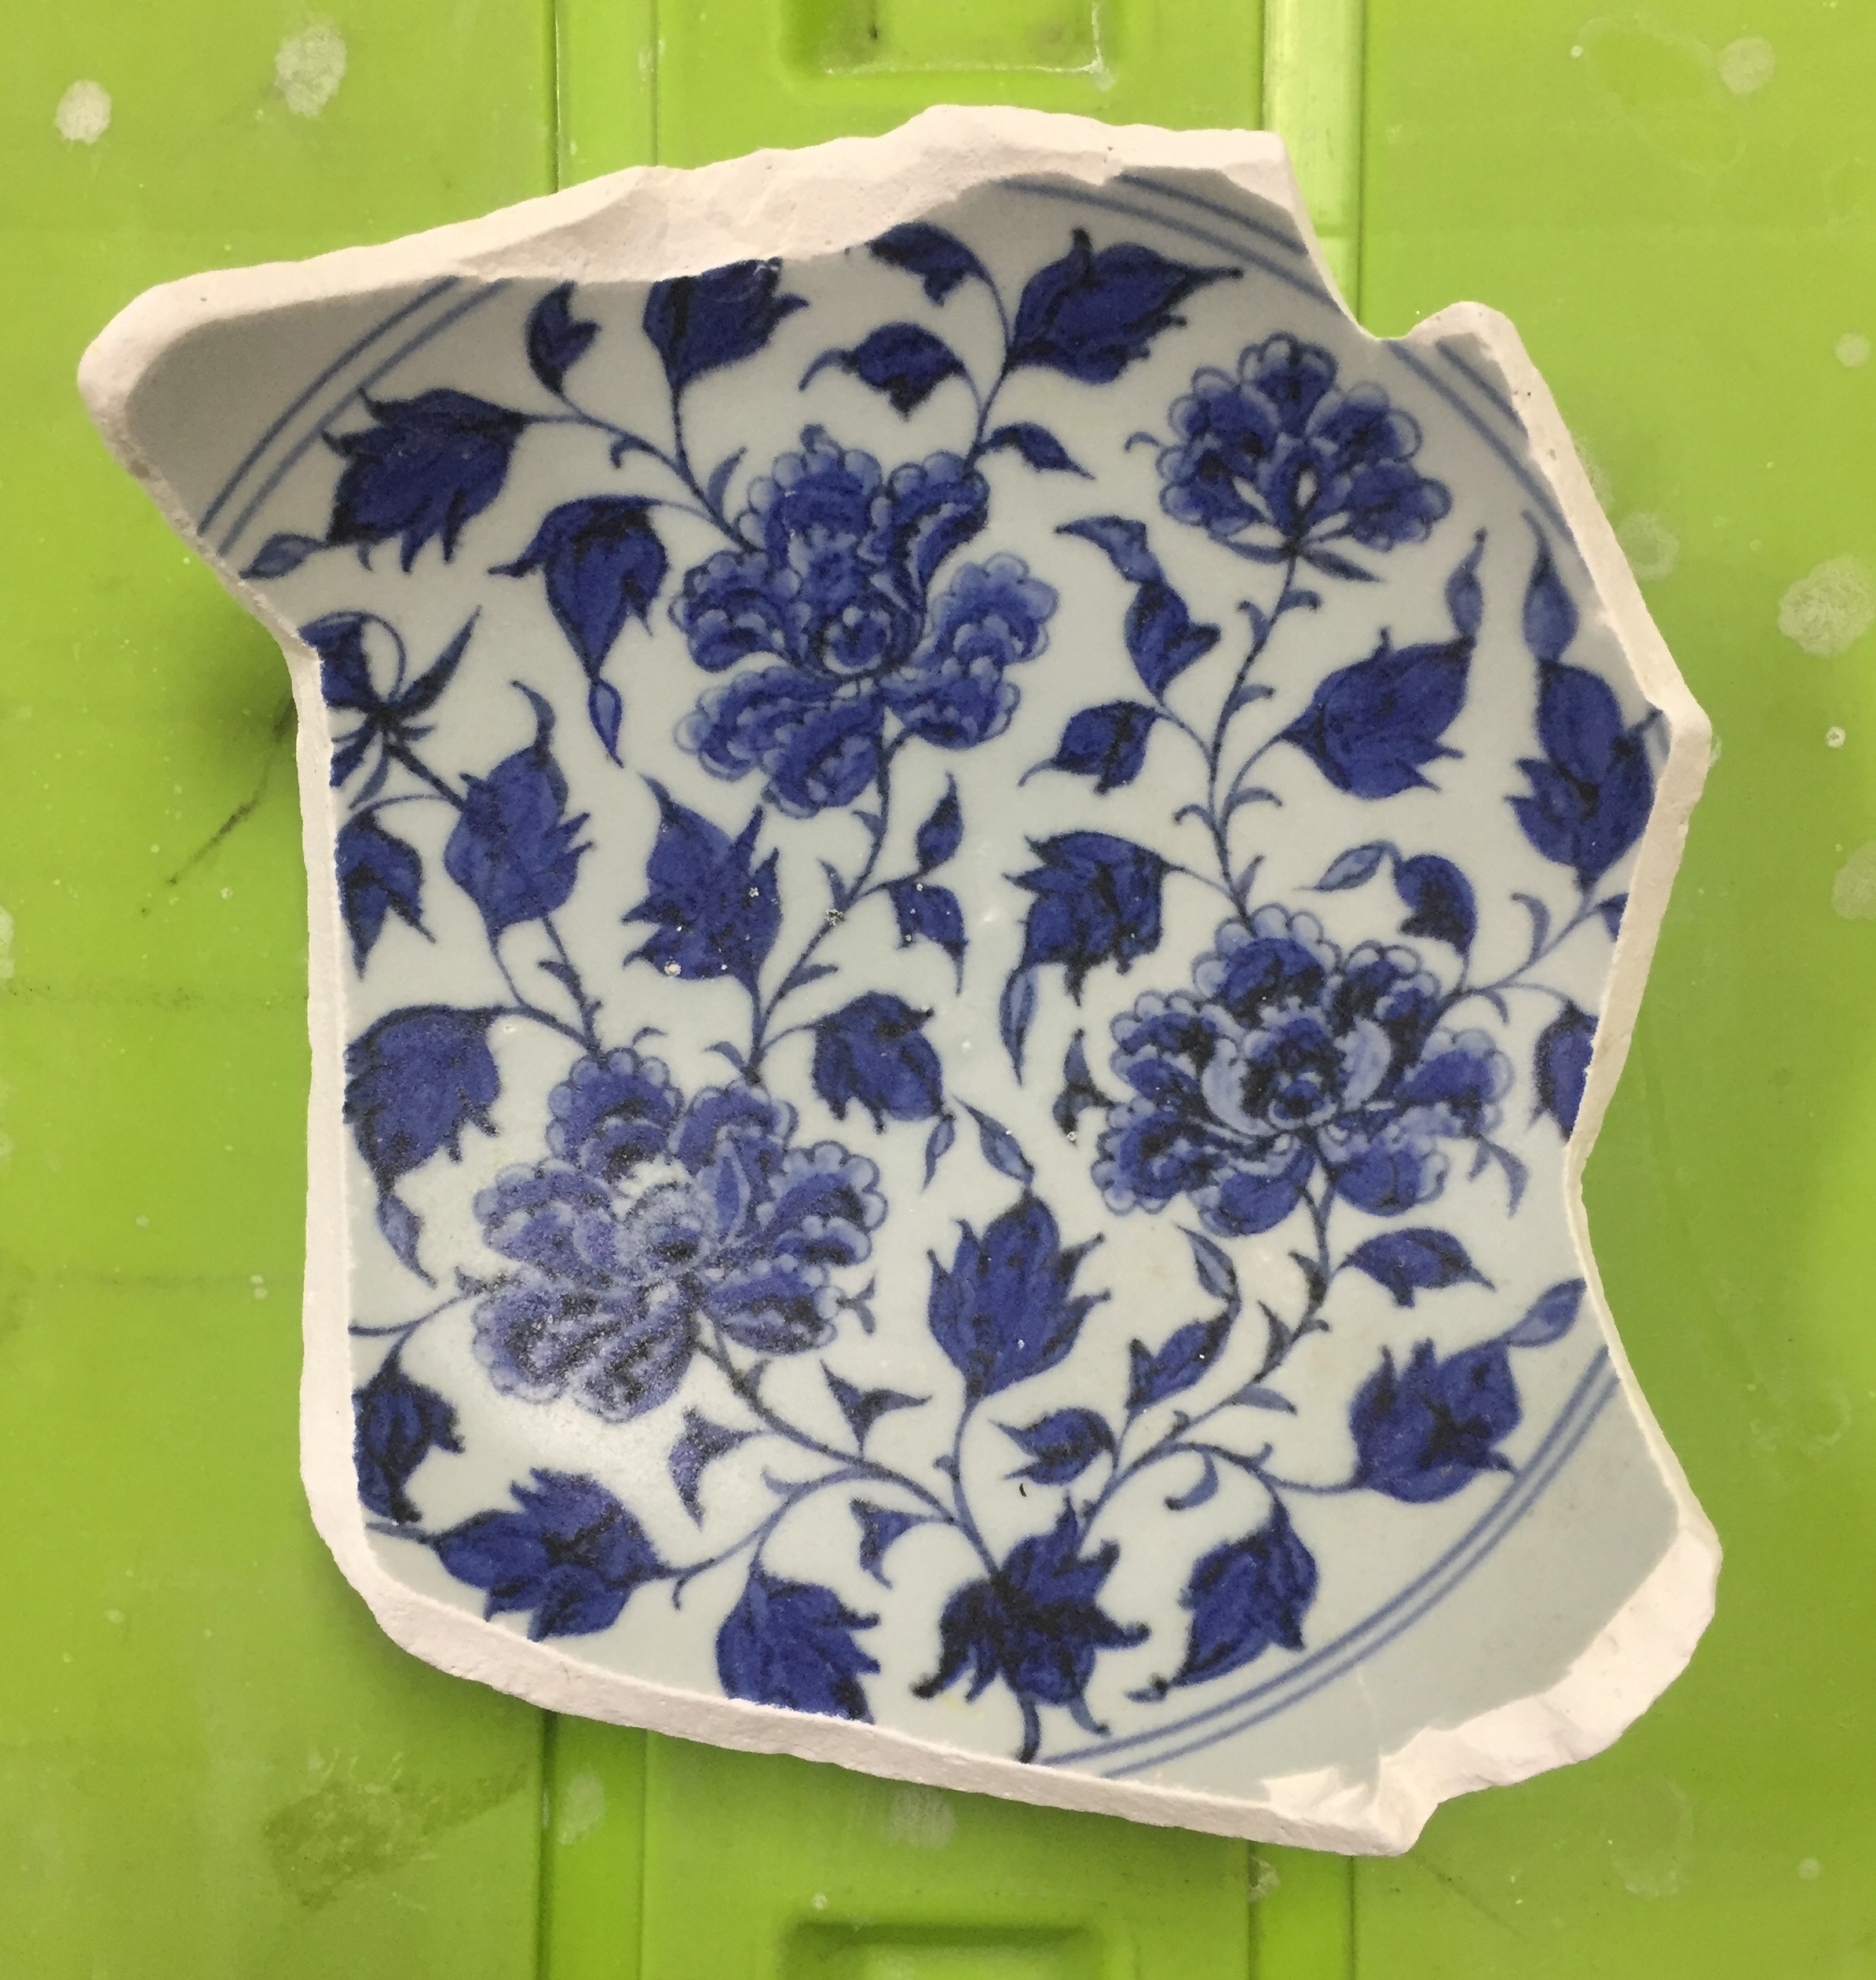
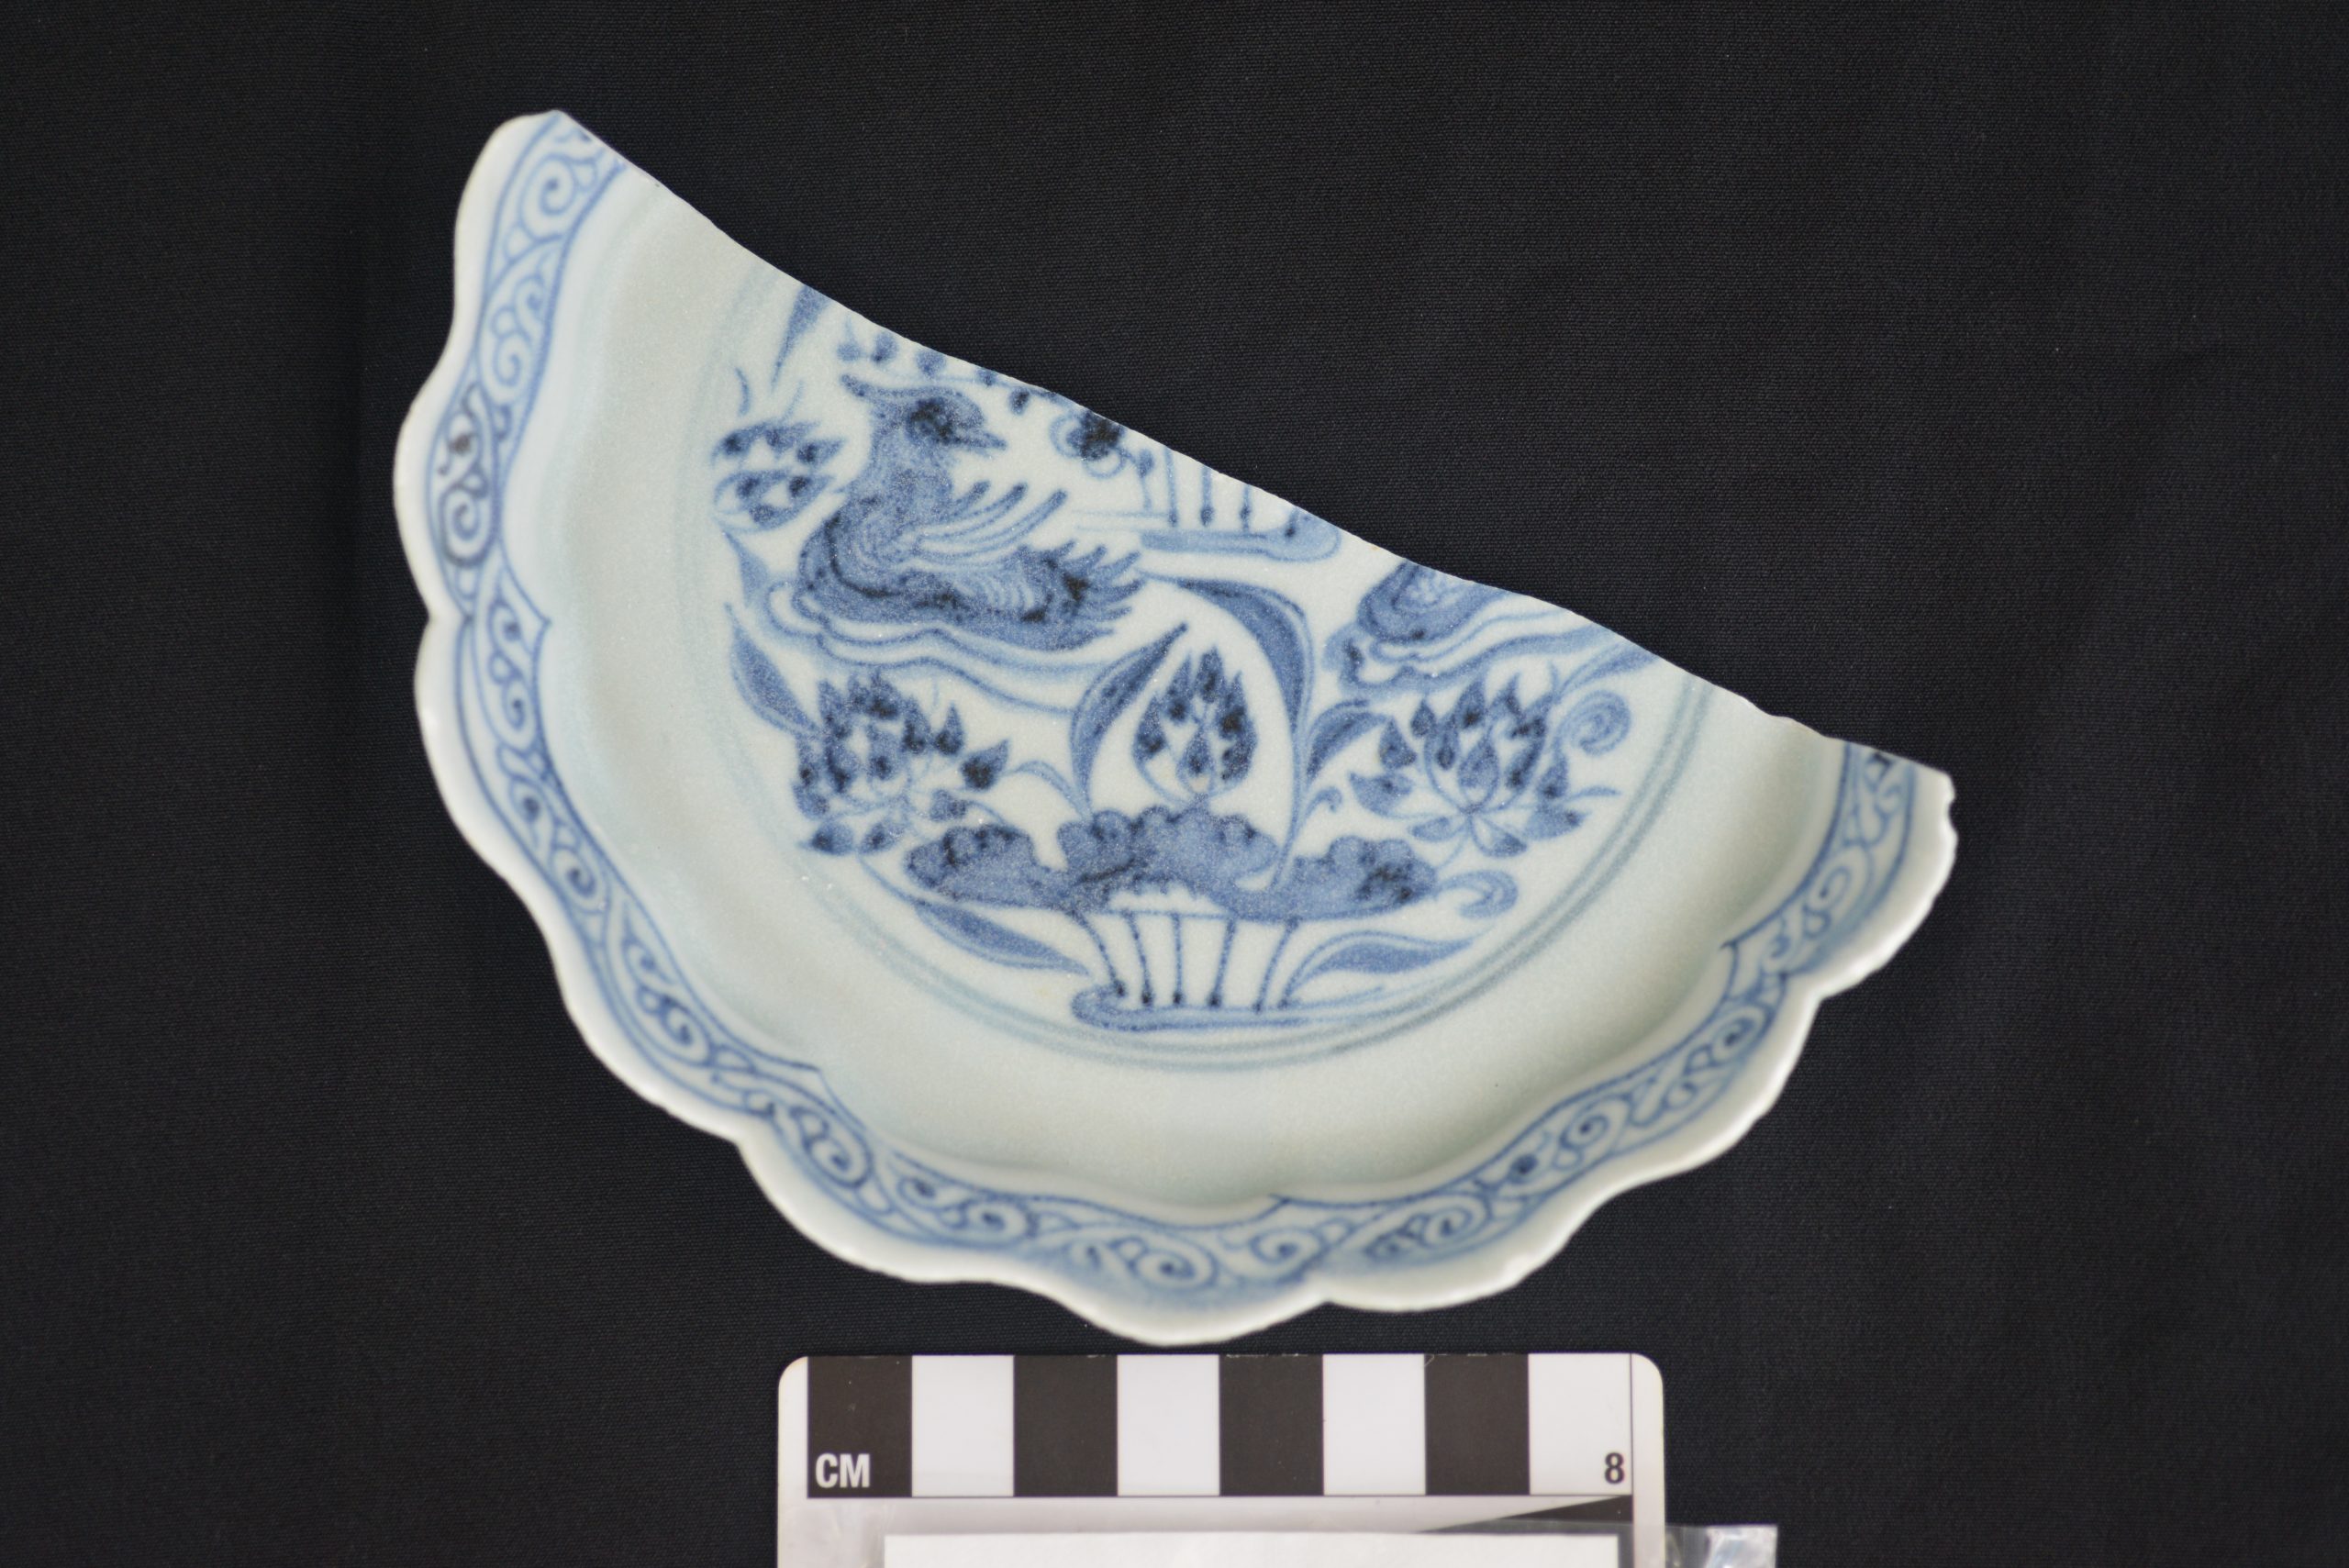
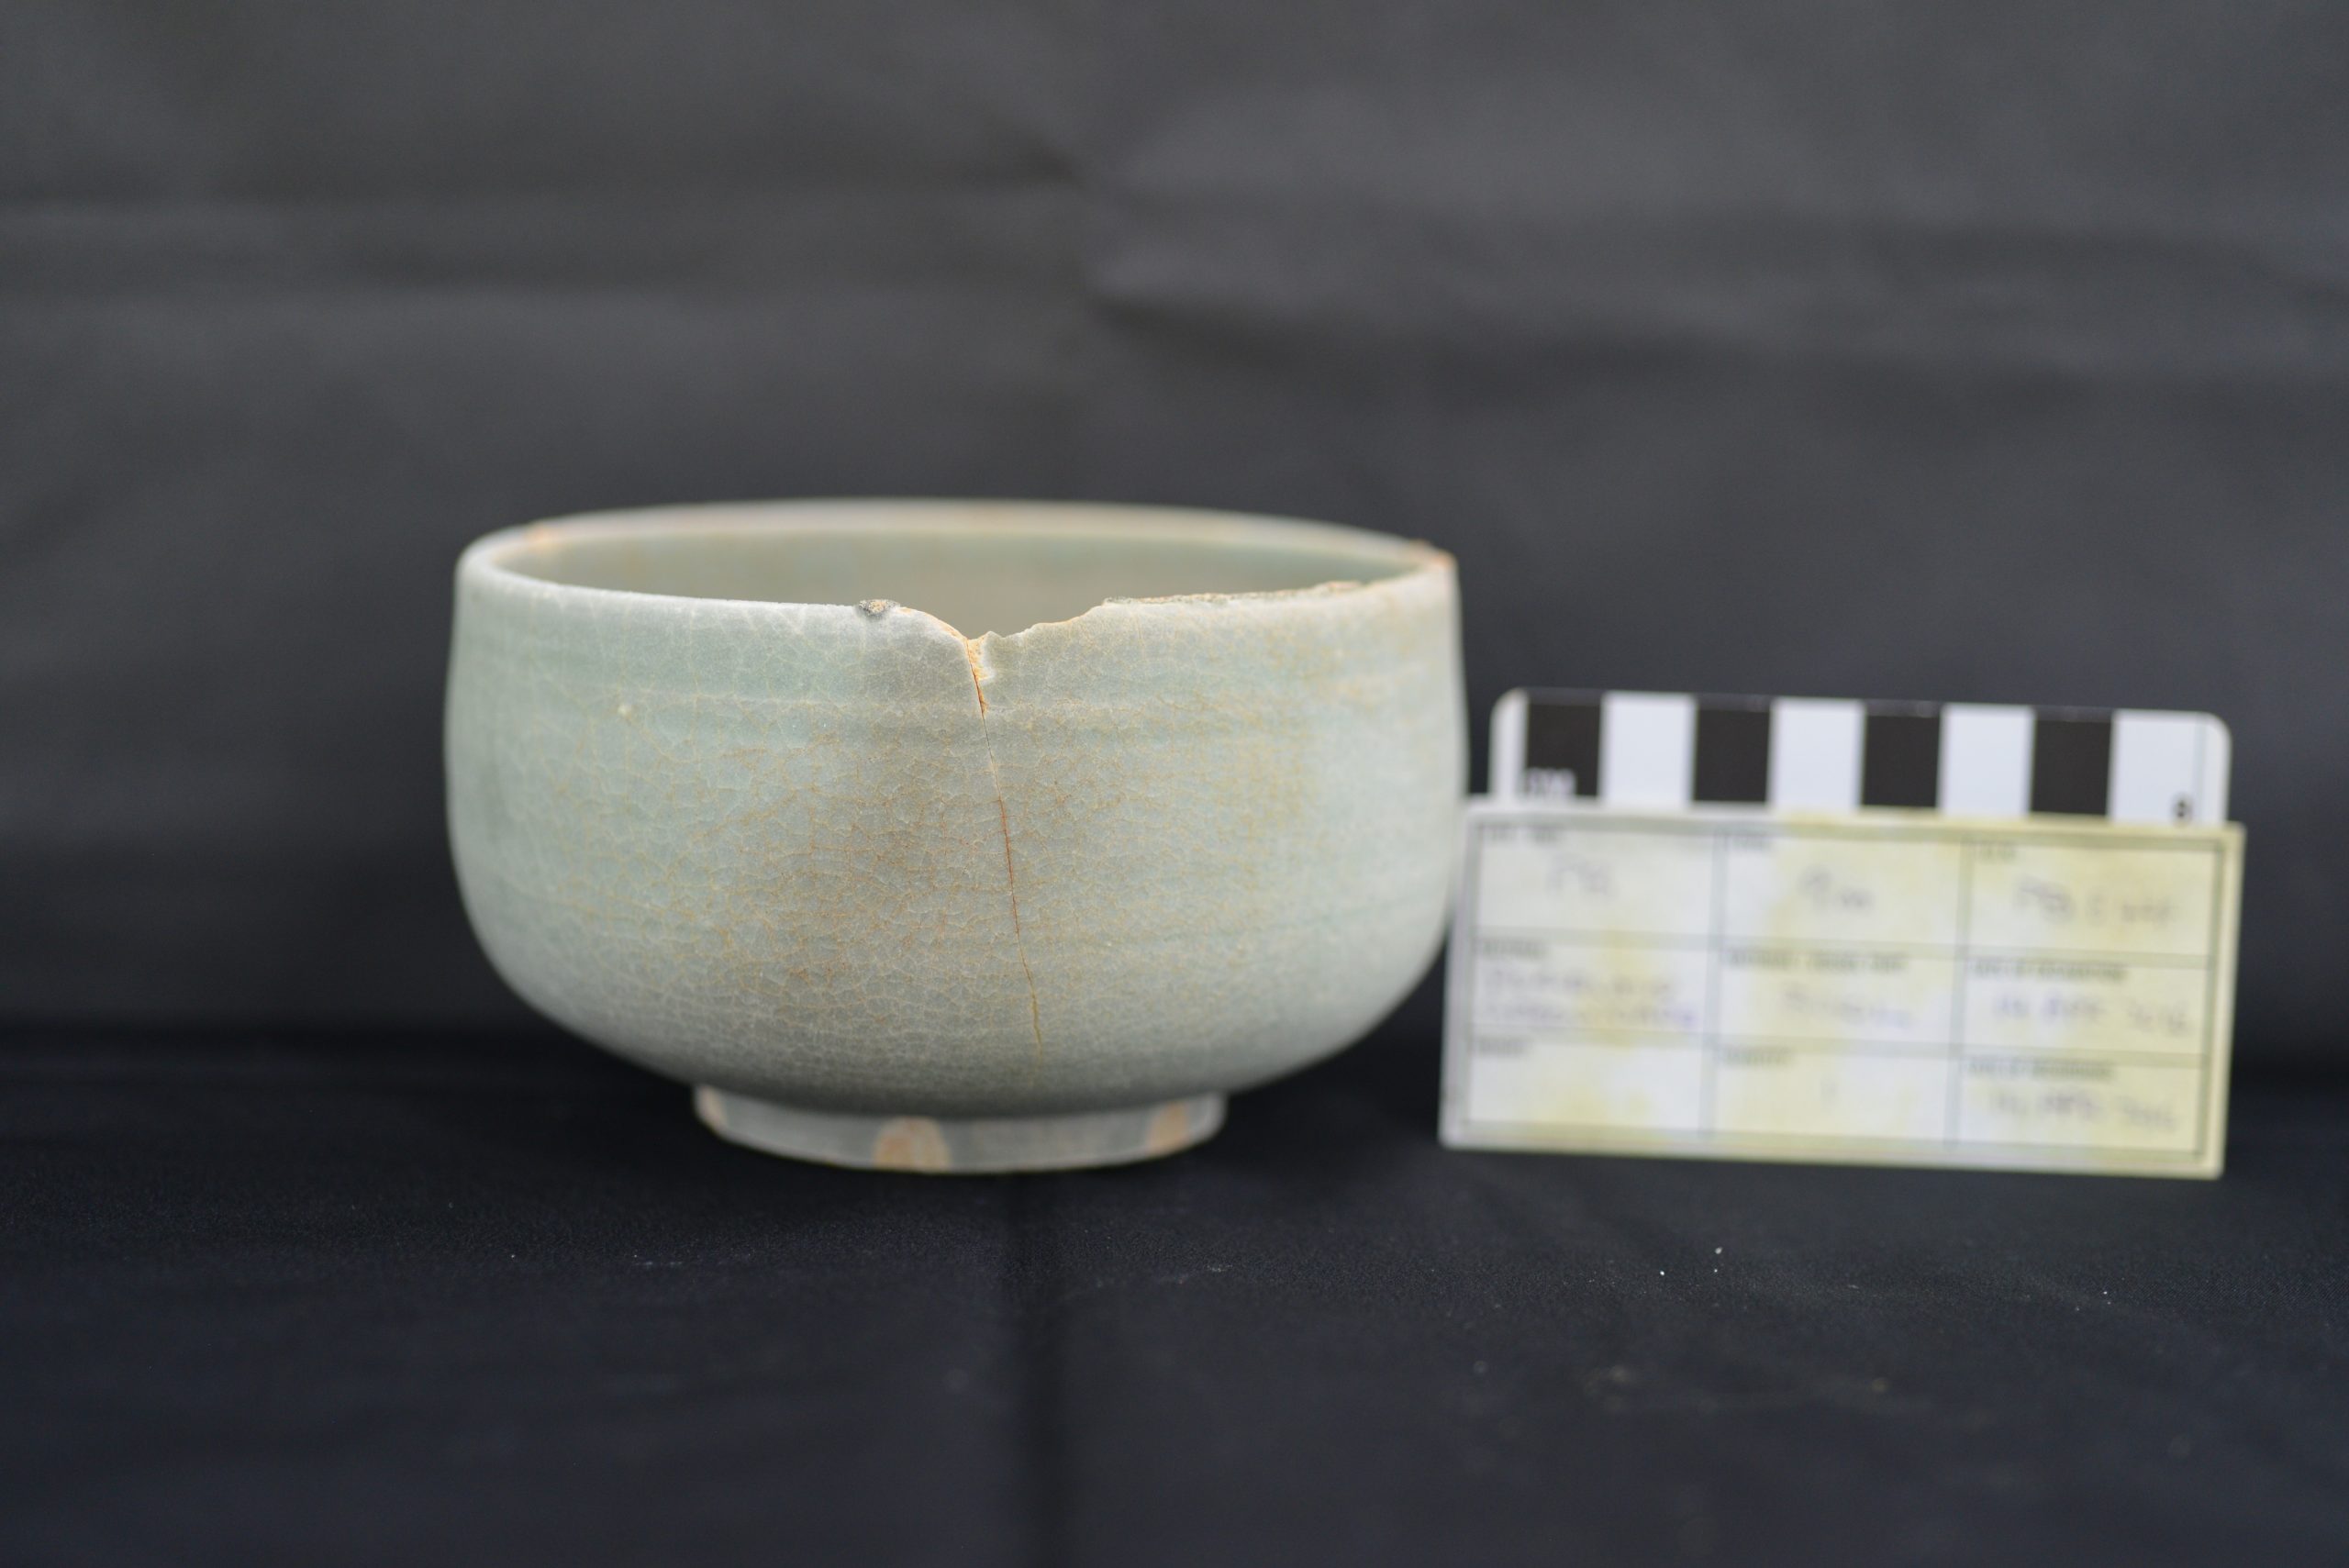
On 16 June 2021, National Heritage Board and ISEAS – Yusof Ishak Institute announced the discovery of two historic shipwrecks within Singapore Territorial Waters around Pedra Branca. Sharing some photos from the excavation and retrieval process, and some of the artefacts retrieved from the sites.